Booting Linux from a USB Memory Stick
Linux on a Stick
Fabrizio Ciacchi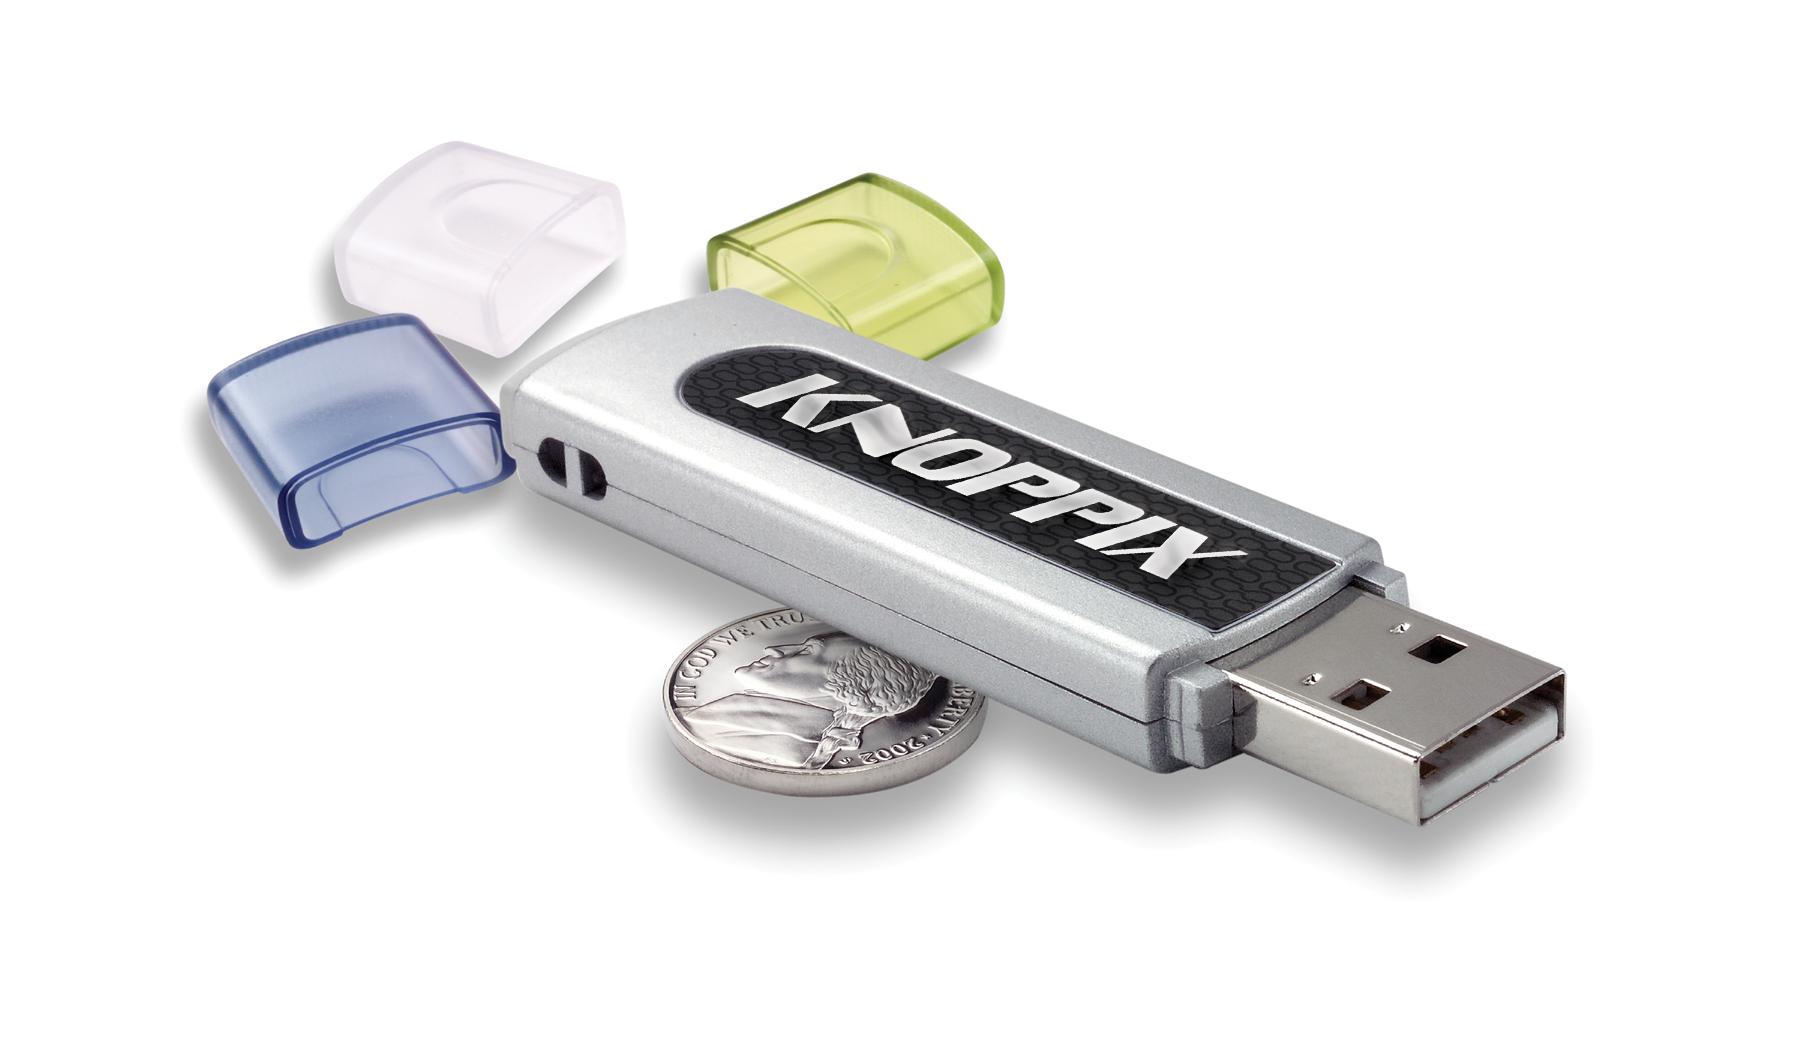
Booting Linux from a USB Memory StickLinux on a StickFabrizio Ciacchi |
|
A bootable "live" CD like Knoppix [1] or Kanotix [2] gives the user a fully portable operating environment. You can carry your system with you and boot it from anywhere.
Your tools, your files, and your workspace will follow you wherever you go - even to another PC with a different operating system. Live CDs are also used by system administrators for troubleshooting computers that won't boot normally.
What could be more portable than a live Linux CD? What about a live Linux USB memory stick? A tiny USB memory stick is even more portable, and often more durable, than a CD, and writing to USB memory is typically smoother and faster than the business of "burning" data to a CD.
With some tricks and a bit of work, you can configure a Linux distribution to boot from a USB memory stick. All you need is a memory stick and a suitably small Linux distribution. Of course, this trick only works if the BIOS of the PC you are booting supports USB boot.
USB memory sticks come in different sizes. Some hold as much as 1 GB, which would pose few limitations to the size of the on board operating system, but smaller sticks are less expensive and much more common. Part of our purpose is to create an inexpensive system, so I will base this discussion on the standard and very common 128 MB size. However, the procedure I describe in this article can also be used to put a larger Knoppix-based distribution on a larger USB memory stick.
| The Author |
|
Fabrizio Ciacchi (http://fabrizio.ciacchi.it) is an italian student of Computer Science at the University of Pisa. He also works as a consultant and writes articles on Linux. |
Assuming you want room to work and store documents, it is a good idea to only use half of the available space (64 MB) for the Linux system and related tools. Obviously, it would be very difficult to include useful but expansive tools such as OpenOffice or the Gimp.
Luckily, several developers in the Linux community are already working on the problem of how to put Linux in a very small space. The following distributions are possible candidates for USB:
For this example, I chose to install Damn Small Linux (DSL) [3] because DSL is the most flexible of the distributions I found. Flonix and Feather Linux are based on it, and its size is about 50 MB, so it would work for an even smaller 64 MB memory stick if necessary.
The first step is to back up all the data that is currently on the memory stick. Insert your USB stick, open a terminal, and write:
$ su
Password: - insert Root U
password and press ENTER -
# mkdir usb_pen
# mkdir usb_backup
# mount -t vfat /dev/sda1 U
usb_pen
# cp -a usb_pen/* usb_backup
# umount usb_pen
Now that all your data is safety stored, you need to format your memory stick to reduce your chances of encountering a problem during boot. To perform this operation, give the following command as root (when the pen is inserted but not mounted):
# fdisk /dev/sda
When fdisk starts, press p to see the list of all the partitions on your media (generally one), then press d to delete the first partition. If you have more than one partition, make a backup of all partitions (ie. sdal, sda2, etc.), then delete them all. When all the partitions are deleted, follow the instructions in fdisk to create a FAT16 primary partition and make it bootable.
| Common Problems |
|
The most common problems you may face when implementing this system are:
First of all, you need to check in the BIOS (usually you can enter into it by pressing del or F1) if the USB-keyboard and the USB-legacy options are enabled; then, you need to insert your USB memory stick and check in the boot device sequence if there is an option for booting from USB. (Boot from Zip USB is sometimes a good choice.) Then select the USB device as the first boot peripheral. A USB boot option may not be available on some computers, since support for USB boot was introduced only in recent years. You can bypass this problem if you use a boot floppy that loads the USB modules and searches for the Linux distribution on the USB media. Of course, carrying around a boot floppy with the Linux memory stick isn't as appealing as booting directly from the memory stick, but if your computer doesn't support USB boot, this alternative option may still provide some of the portability benefits described earlier in this article. You'll find a floppy image that supports USB boot at the DSL site [13]. When you have downloaded the file, you can create a floppy, by typing this command as root:
# dd if=bootusb-0.8.img of=/U dev/fd0 bs=1024 conv=sync ; U sync Then shut down your computer, insert the USB memory stick and the floppy, turn on the computer, and select the floppy as the first boot device in the BIOS. Another possible problem, which is independent of whether you are booting to a floppy or directly to USB, is that some USB devices may not support the booting procedure. This problem can be caused by a non-standard MBR for the USB device. For this article, I used a 128 MB Iomega Mini Drive (www.iomega.com), which worked properly with a good transfer speed, but some of the devices I tested did not support this boot process. To address this problem, SPB-Linux provides a program that implements an alternative boot sector on the USB device to support USB boot [14]. |
The next step is to download the ISO image of Damn Small Linux [12]. The size of the image is about 50 MB, so the download might take a while depending on your Internet connection. When you have downloaded the file, open a console, use the su command to log in as root, and go to the directory with the dsl-0.8.3.iso file. Then execute the following commands:
# mkdir dsl_temp
# mkdir dsl_usb
# mount -o loop dsl-0.8.3.iso U
dsl_temp
# cp -a dsl_temp/* dsl_usb
At this point you have copied the content of the iso image into a new directory so you can work on it. If you try to copy this data directly to the USB memory stick, it will not boot because we need to fix the position and the naming of files. With the console opened, enter the following commands:
# cd dsl_usb/
# mv boot/isolinux/* ./
# rmdir boot -r
# mv isolinux.bin syslinux.bin
# mv isolinux.cfg syslinux.cfg
# cd ..
The last part is very simple; mount the USB memory stick, copy all the data to it, and, after umount, use the syslinux program to make it bootable.
# mkdir usb_pen
# mount -t vfat /dev/sda1 U
usb_pen
# cp -a dsl_usb/* usb_pen
# umount usb_pen
# syslinux /dev/sda
Now reboot your computer, leaving the memory stick inserted, modify the BIOS boot device, and let the system boot to DSL on the memory stick.
As I mentioned, this process only works if your computer can boot from a USB device. In addition, a USB device with a non-standard Master Boot Record (MBR) may have problems supporting system boot under Linux. See "Common Problems" for more information.
| Info |
|
[1] Knoppix homepage: http://www.knoppix.net [2] Kanotix homepage: http://kanotix.com [3] Damn Small Linux: http://www.damnsmalllinux.org [4] RUNT: http://www.ncsu.edu/project/runt [5] Slackware: http://www.slackware.com [6] ZipSlack: http://www.slackware.com/zipslack [7] Feather Linux: http://featherlinux.berlios.de [8] Flonix: http://www.flonix.com [9] Puppy Linux: http://www.goosee.com/puppy [10] SPB-Linux: http://spblinux.sourceforge.net [11] Debian homepage: http://www.debian.org [12] DSL ISO image: http://ftp.belnet.be/packages/damnsmalllinux/current/dsl-0.8.3.iso [13] DSL USB floppy boot image: http://ftp.belnet.be/packages/damnsmalllinux/current/bootusb-0.8.img [14] Alternative boot sector: http://home.tele2.ch/spblinux/spbsetup/Linux/spb2_mbr.sec |