System Emulation with QEMUVirtual BenefitsFabrizio Ciacchi |
Linux supports several applications that let you emulate the conditions of a hardware architecture. These applications can create a virtual computer within your Linux machine. You can use this virtual computer to test software or even run another operating system. An application that emulates a hardware environment is known as a system emulator. The most common system emulators for Linux are Bochs [1], a very powerful emulator that is often difficult to configure, and VMware [2], a very good and very fast emulator that, unfortunately, comes with a higher price because it is a commercial product. But another competitor in the field of system emulation is coming on the scene. In this article you'll learn about the powerful (and free) QEMU system emulator application.
| THE AUTHOR |
|
Fabrizio Ciacchi, http://fabrizio.ciacchi.it, is an Italian Student of Computer Science at the University of Pisa. He also works as a consultant and writes articles on Linux. |
QEMU is extremely easy to use, and it provides simple commands for tasks that may be difficult with other emulators. I'll show you how to use QEMU in some real situations, but keep in mind that this article only covers a fraction of the features and commands available with QEMU. To see the rest, download QEMU yourself and put it to work.
QEMU is available as source code or as a precompiled Linux binary. You'll find the precompiled binary version at the QEMU homepage [3]. Download the binary version to the root ("/") directory. Open a console, place the file in the directory, then become root and give the following commands:
$ cd /
$ su
- Insert Root password U
and press ENTER -
# tar zxvf U
qemu-0.6.1-i386.tar.gz
# qemu (to test)
The program will unpack all the necessary files in the correct location for the Linux system. If you have a problem with the precompiled version of QEMU, or if you want to install QEMU from source, you need to download the latest source version and give the following commands from a console:
$ su
- Insert Root password U
and press ENTER -
# tar zxvf qemu-0.6.1.tar.gz
# cd qemu-0.6.1
# ./configure
# make
# make install
# qemu (to test)
You must launch QEMU from within an X Window Environment. When you launch QEMU, it will begin by emulating the hardware environment of your computer. (If you are on a Pentium II, QEMU will emulate a Pentium II; if you are on a PowerPC, QEMU will emulate a PowerPC.) To emulate a different hardware architecture, specify the name of the architecture with the qemu command. For a list of the architectures supported by QEMU, enter qemu- and press the TAB key twice.

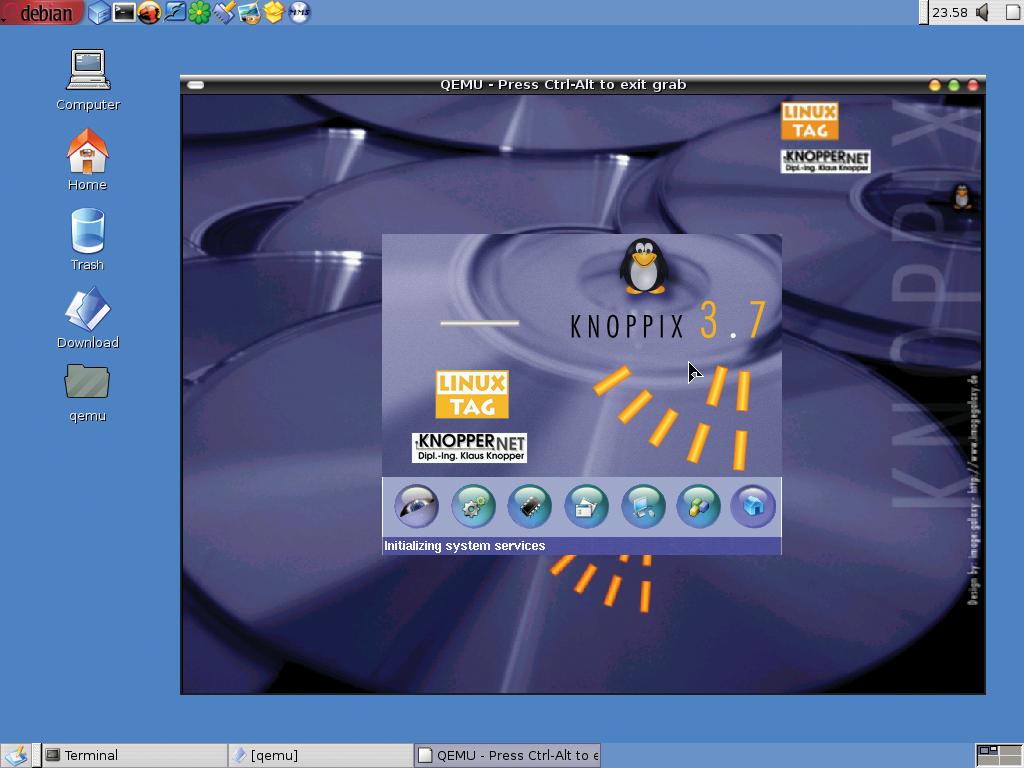
You could use QEMU to test an ISO image you just downloaded. For example, if you find a Live-CD ISO image of a Linux distribution on the Linux Magazine DVD, you can use QEMU to test the distribution. For example, assuming you have an ISO image of KNOPPIX [4] called knoppix.iso, if you want to test the image before mastering, you can open a console, became root (to make sure you can access all the peripherals without problems), and give this command:
$ su
- Insert Root password U
and press ENTER -
# qemu -cdrom knoppix.iso
Another window will open, and the emulation will begin as if the program were executing from real hardware. Knoppix presents a graphical boot and, after the choice of a booting method, starts in graphical mode. You can boot and use KNOPPIX as you always do, with the obvious limitation that an emulator will most likely be slower than a system running directly on the hardware.
The easiest way to use the Internet and communicate with the host environment is to use the -user-net<$> option:
# qemu -user-net -cdrom knoppix.iso
If a Samba server is installed on the system, the emulated environment can access the host environment (via Samba) with the option -smb <directory><$>. This option for accessing SMB can only be used with the -user-net<$> option.
If you have a CD containing a Linux distribution or a Linux live CD, you can run it with a simple command:
# qemu -user-net -cdrom U
/dev/cdrom
With this option, insert the CD into the CD drive without mounting it. QEMU uses the device file, instead of the ISO image, to start the emulation. This is a very useful option that makes media such as a CD or a floppy disk accessible to both the host system and the emulated system.
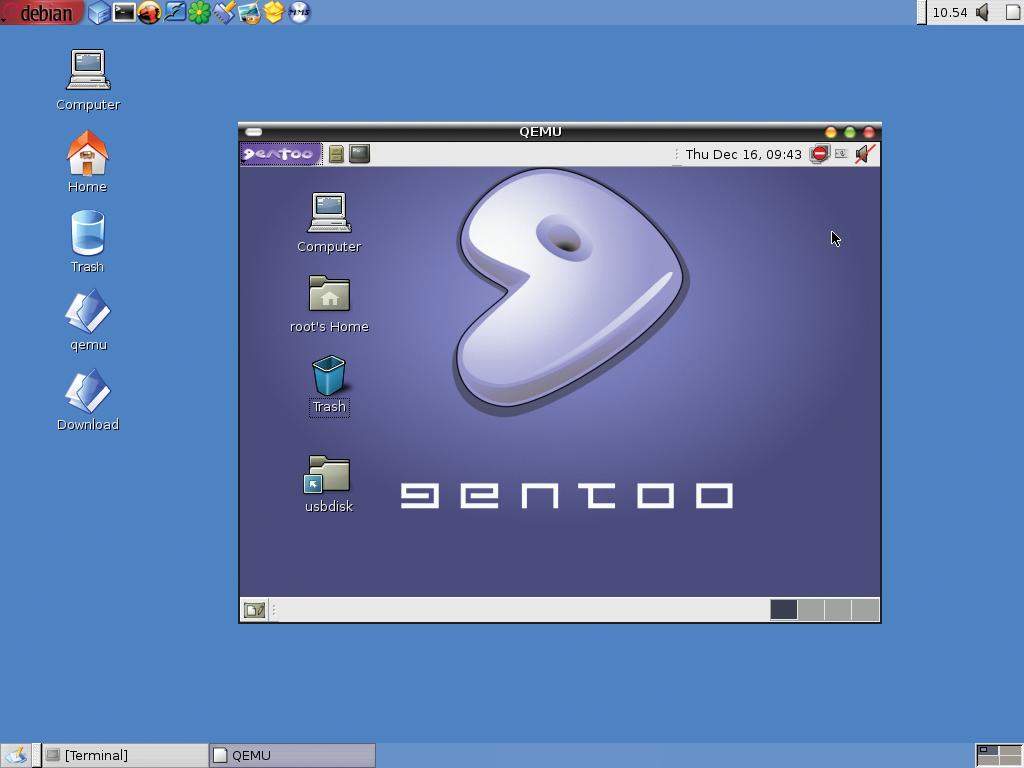
Another situation in which we can use the device path instead of the name of a file image is represented by a QEMU command that can boot an operating system on a hard disk. A typical example is a hard disk with two different versions of Linux, for example Debian and Gentoo; what happens if we are in Debian and we want to boot Gentoo? In a normal situation, we have to close all the programs, log off from the X environment, and reboot the system. With QEMU, you can boot an operating system on your hard disk without rebooting:
# qemu -snapshot -hda /dev/hda
The -snapshot<$> option specifies that all the modifications to the disk will be written in a temporary file instead of to the disk itself. This option helps prevent data loss in a situation where the emulation is on the same hard disk with the host system. If you have a boot loader like GRUB (Figure 2) installed in the MBR, you will see the emulated system boot. Once the system boots, you can use it normally (Figure 3).
QEMU's -m<$> option permits you to specify the amount of Virtual RAM (in MB) to use in the emulation (the default is 128 MB); if you have a lot of physical RAM, specifying more virtual RAM improves the performance of the emulation. Resuming the example above, if you have 512 MB of physical memory and you want to ensure adequate performance of the emulated Linux system, you could use the command:
# qemu -snapshot -m 256 U
-hda /dev/hda
If you want to install a Linux distribution in the emulated environment, you need to create a file that QEMU can use as a virtual hard disk. To create this file, you can use a program called qemu-img, which is available with the QEMU application; the syntax for using qemu-img is very simple, we pass the name hdd.img and the size (in MB) of the image we wish to create:
# qemu-img create U
hdd.img 2000M
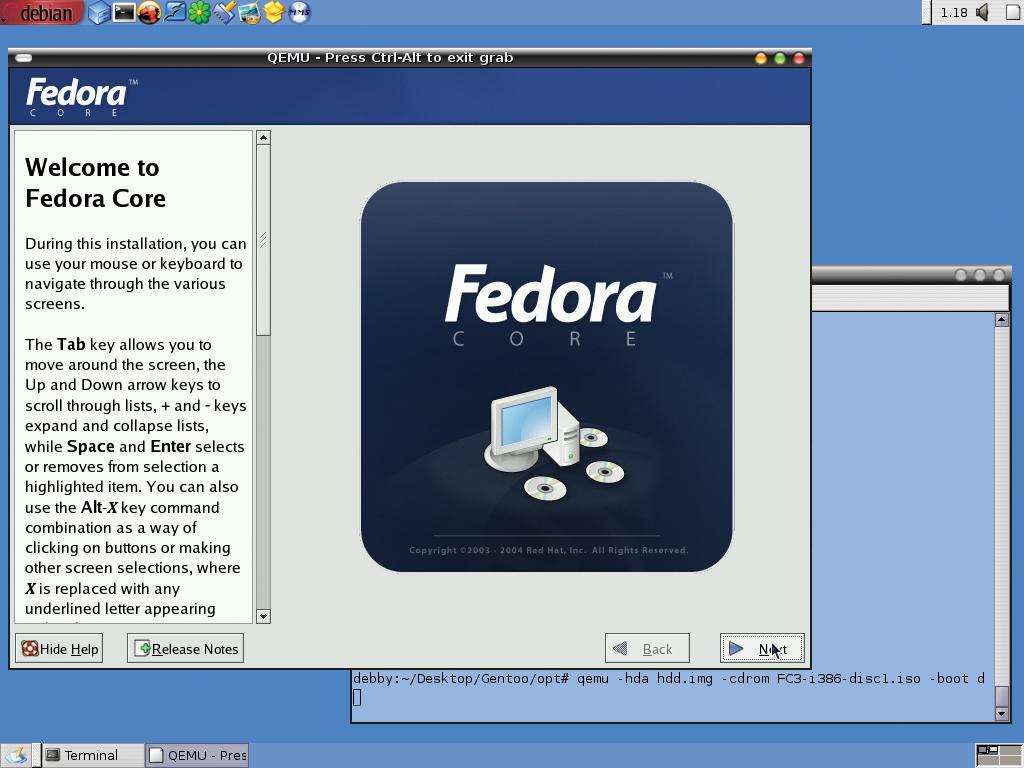
Once you have created the file that will serve as the virtual hard disk, you can now install a Linux distribution directly from an ISO image. For example, you could download the Ubuntu [5] distribution and install it in the emulated environment. (Ubuntu is also included on this month's Linux Magazine DVD.) When you have finished downloading an ISO image for Ubuntu, tell qemu the file to use as a virtual hard disk -hda hdd.img<$>, the path of the ISO image to use as a CD-ROM, and the device boot -boot d<$>. By default, QEMU assumes the boot starts from the hard disk (if it is present):
# qemu -hda hdd.img -cdrom U
ubuntu.iso -boot d
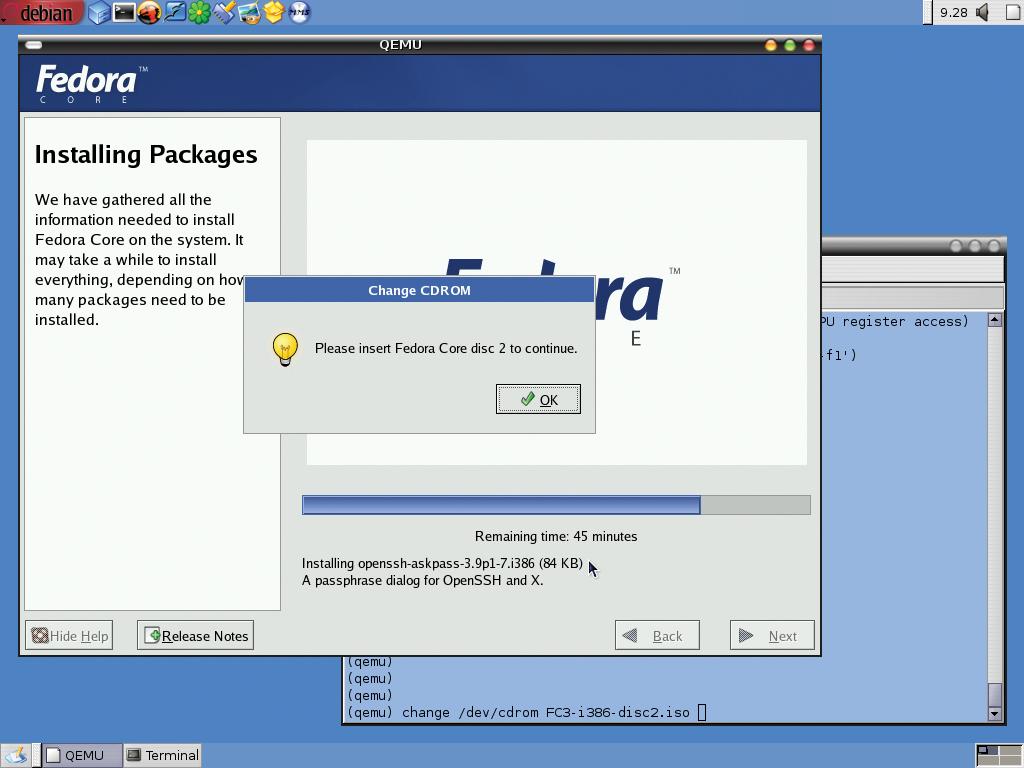
But what happens if you want to install a distribution that has more than one CD? In this case, you need to pass the -monitor stdio<$> option, so when QEMU launches the emulation, an interactive shell opens in the terminal:
# qemu -monitor stdio U
-hda hdd.img -cdrom U
fedora_cd1.iso -boot d
In this shell, you can give commands to drive the emulation. The various shell commands allow you to reset the emulation, save the emulation state to restart the emulation later, or change the file of a particular emulated device. If you have multiple ISO images representing a collection of installation CDs for a Linux distribution, you can change to the second CD in the installation set with a command like the following:
# qemu change cdrom U
fedora_cd2.iso
When you have finished the installation process, you have an image of the hard disk that you can boot with QEMU.
To start the emulation, give the following command:
# qemu hdd.img
In this case, we don't use any option for the executable because the default parameter passed to QEMU is intended for the main hard disk hda.
Who doesn't remember DOS? A scenario that was once common (and is still possible) is the case where your organization has an important program that only runs in DOS. Rather than creating a 50 MB partition for one DOS program and rebooting Linux when you need it, you could use QEMU with a pre-made image of FreeDOS [6] (a DOS distributed with the GPL license). You can download FreeDOS from [7].
When you have downloaded the compressed image of FreeDOS fdos-100meg.tar.gz, open it with file-roller or ark and extract the file fdos_8h1.img in a directory. As root, give this command:
# qemu -hda fdos_8h1.img -fda U
/dev/fd0 -boot c
Notice that we have passed the -fda<$> option to QEMU; like the -hda<$> and -cdrom<$> options, this option is used to read the content of the floppy disk in the emulated environment. FreeDOS then starts and is fully operative. You can, therefore, create a directory for your DOS program and copy the files you need into it; in the emulated FreeDOS, write:
C:\> mkdir program
C:\> copy A:\*.* C:\program
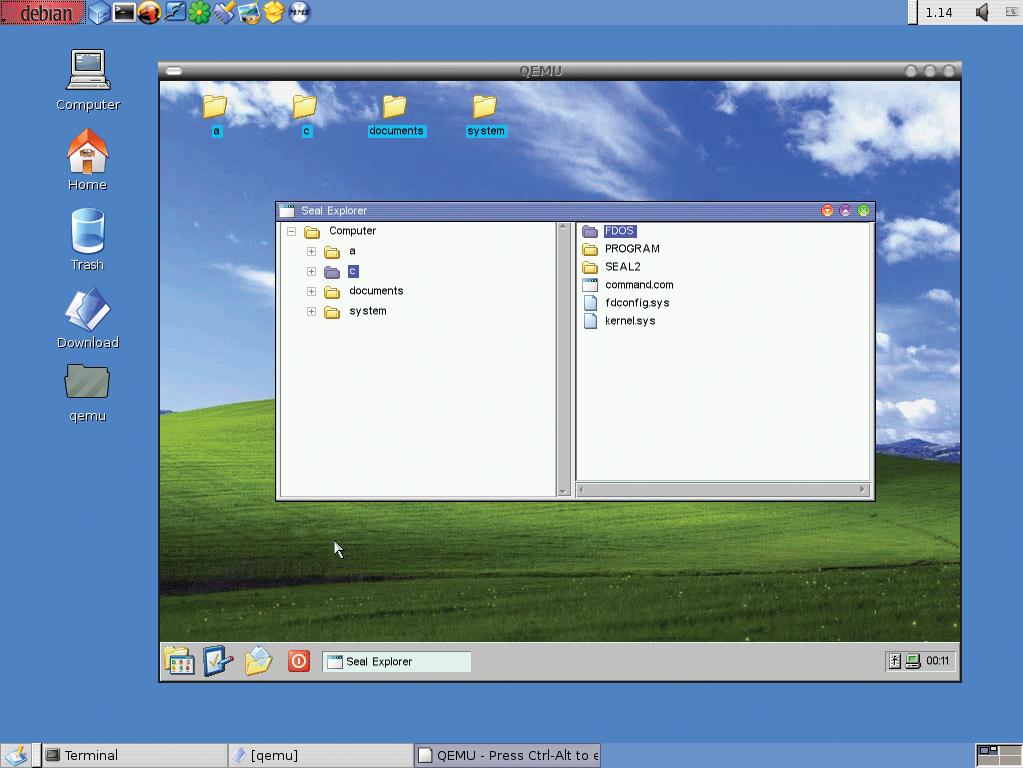
Now that you have a working DOS, you can use it for other things. For example, you could install the SEAL [8] program. SEAL is a Graphical Environment for DOS (like Windows 3.1) that comes with some built-in features similar to the features provided with a more advanced system such as Windows 98. The install files for SEAL are in the directory C:\fdos\seal2. Sometimes the program doesn't start because of problems in memory management, so you also need to use the accompanying utilities for swap management:
C:\> cd C:\fdos\seal2
C:\> cwsparam
C:\> cwsdpmi
C:\> cwsdpr0
C:\> install
Once SEAL is installed, you need to restart the swap programs and start the mouse program, then you can start SEAL (Figure 6).
C:\> cwsdpmi
C:\> cwsdpr0
C:\> cd C:\seal2
C:\> ctmouse
C:\> seal
QEMU is a very powerful emulation application. Like other emulators, QEMU suffers from performance problems. An application can't run as fast inside QEMU as it can on the host system. On the other hand, QEMU's speed is comparable to other emulators such as Bochs.
You can use QEMU to test other operating systems, such as NetBSD or BeOS. You'll find a very big archive of OS images at FreeOSZoo [9], and you can also use the images built for Bochs [10]. Some operating systems may even have a QEMU (or Bochs) image you can download.
|
|