Managing SQL databases with Knoda
A Better View
Marcel Hilzinger
Managing SQL databases with KnodaA Better ViewMarcel Hilzinger |
|
Many Linux users wish for a simple GUI-based tool that would help them manage their database intuitively. KDE's Knoda program is a good candidate for this role. In this first part of our Knoda workshop, we investigate the basic functions of Knoda. You'll learn how you can use an existing database to create fairly complex queries with just a few mouse clicks.
Knoda is a KDE database front-end for the MySQL, PostgreSQL, SQLite2, and SQLite3 databases. Knoda can also use ODBC drivers to access other database servers. We will focus on SQLite for this workshop. If you would like to work through the examples, you will need the SQLite2 database, musik.db, which is stored in the download area of the Linux Magazine website [1]. The database is a typical playlist-type database as used by the KDE player Amarok for internal management purposes.
If you prefer to use your own Amarok database instead of the sample file, simply copy your Amarok database (.kde/share/apps/amarok/collection.db) to your home directory and rename the file musik.db. You will also need the sqlite-3.0.8 package in this case, as the current version 1.1 of the Amarok player uses the SQLite3 format.
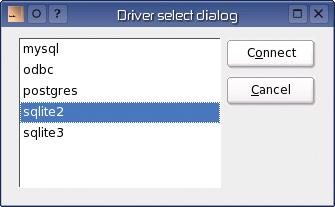
When you launch Knoda, by pressing [Alt]+[F2] and typing knoda, the main window of the program appears, prompting you to select a driver. Select your preferred database driver and click on Connect (see Figure 1). Now select File / Open local database to open the music database, and in the file browser dialog that appears, double-click the musik.db database file.
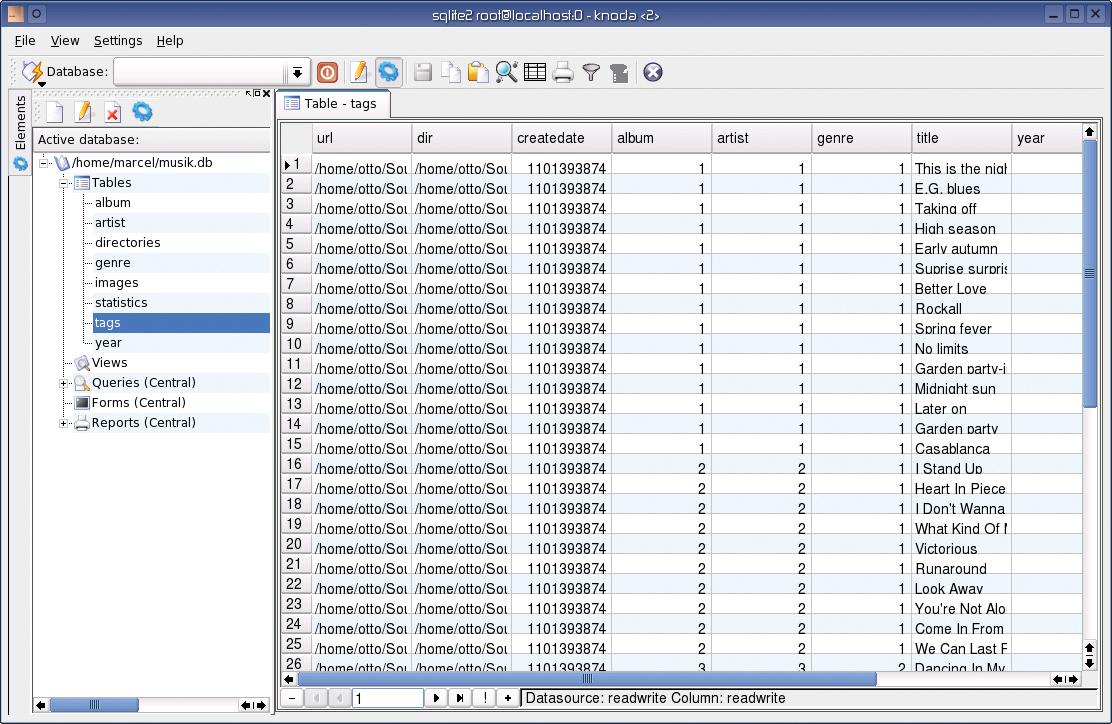
Knoda will then show the database and the path to the database as the Active database:. Clicking on the plus character to the left of Tables should take you to the album, artist, directories, etc. tables. You can then double click on a table to launch the table editor and view the table content. When you select a table, Knoda opens a new tab to display that table. Figure 2 shows you the main Knoda window.
Knoda stores queries, forms, and reports in .hk_classes/DATABASE/HOSTNAME by default. This allows you to store queries for databases where you do not have write privileges (on a MySQL server, for example). On the downside, this approach is not very useful if you need to mail a database including a query, since the query is not stored within the database. To avoid this, set up Knoda to store all elements within the database. Select Settings / Database preferences and change the entries for Open and Save from local to central.
The various modes, which you can set by selecting View / Design or View / Table data are another important aspect of working with Knoda. When you select an entry below Active database, Knoda opens the selected entry in view mode. You can add new records to tables or sort tables by clicking on a column header. If you now change to design mode, you can view the fields and indexes associated with the table. Design mode also shows you the GUI-based Query Designer tool. To view the results of a query, switch to table data mode.
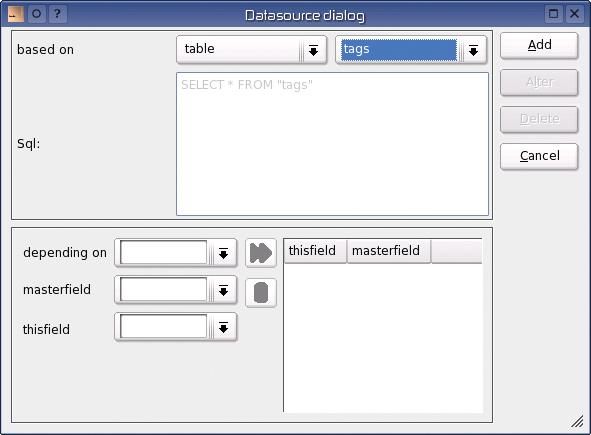
To create a new query, right click Queries and select New. Knoda will open a new tab labeled Query. Now right click the gray field in the top half of the window and select Add datasource. The data source dialog shown in Figure 3 appears. For your first query, select the tags table and click on Add. This table holds the important information in the Amarok music database.
After adding a data source, the gray box (which was previously empty) now has an element called tags0. To query the tracks in the database, click on the first column (to the right of Table) and select the tags0 entry. Repeat this step for Fieldname. Select title in this case. This completes the first query. To view the results, select View / Table data or click the cogwheel icon.
Let's assume you would like to sort the results alphabetically. To do so, change back to design mode, select ascending or descending in the Sorting pull-down menu, and switch back to table data mode. To see the titles that start with the letter A, you can add LIKE `A%` as a condition. (Don't forget the single quotes; they are important.) Now launch the query again by toggling back to table data mode. You can store the query by selecting File / Save.
The tags table gives us the track names, but not the artists or album names. Amarok keeps this information in separate tables and uses an ID to reference the data. As the names suggest, the artists table stores the artists' names, and the albums table stores the titles of the individual albums. You can define a query to merge this information. To do so, first create a new query, and then, in the data sources dialog, add the tags, artists, and albums tables. You should see boxes labeled tags0, artists1, and albums2.
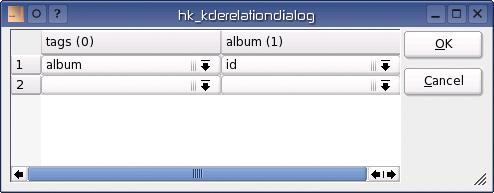
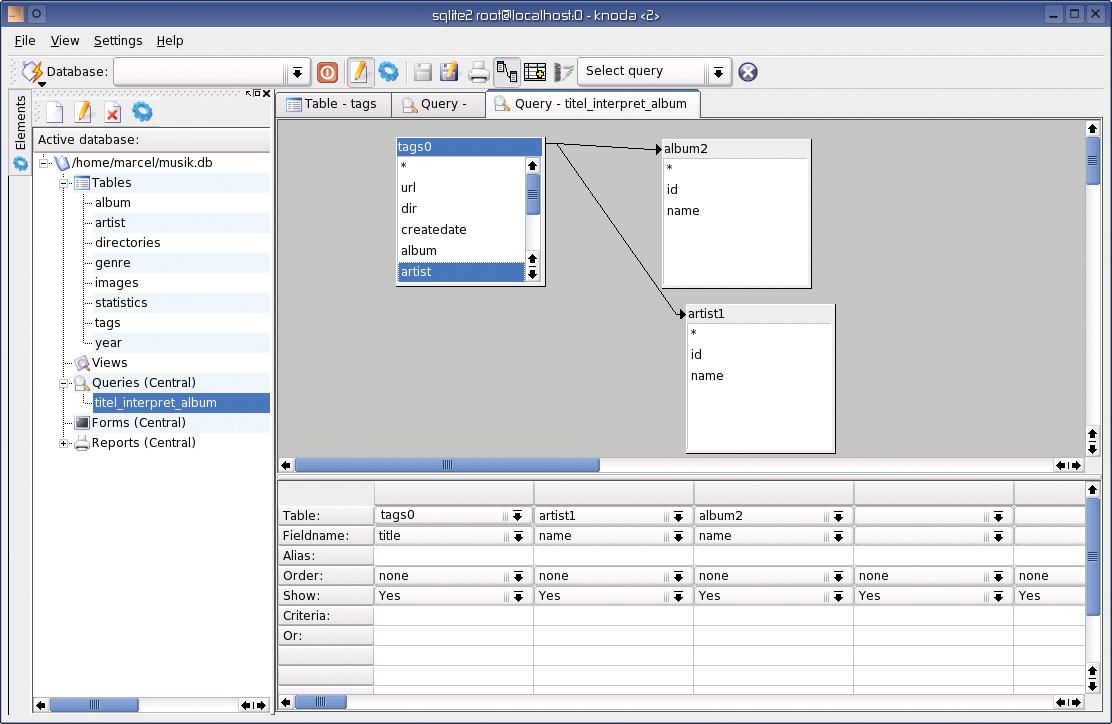
The next step is to link the album field in the tags table with the album table. To do so, drag the album entry from the tags0 box and drop it on the id entry in the albums2 box. The dialog shown in Figure 4 appears; click OK to confirm. Now repeat these steps for the artists table. Drag the entry for artists out of the tags0 box, and drop it on the id entry in the artists1 box. Knoda uses arrows to display the links you just created (see Figure 5).
Now all you need to do is tell Knoda what you are looking for. To generate an overview of titles, including album and artist names, you need to set the following fields in the lower half of the window:
Table:tags0 Fieldname:title
Table:artists1 Fieldname:name
Table:albums2 Fieldname:name
Now, when you switch to table data mode, Knoda should show you a list of titles, including the artist and album names. You can select File / Save to store your query. Knoda's table data mode has a print feature, allowing you to create a hard copy of the table. This said, you might prefer to create a neatly formatted report instead. We'll show you how to create a report in next month's Linux Magazine.
| INFO |
|
[1] http://www.linux-magazine.com/Magazine/Downloads/52/Knoda [2] Knoda: http://www.knoda.org/ |