The PC Emulator VMware Workstation 4.5.2 for LinuxPC in a BoxHagen Höpfner |
Despite the success of Wine-based compatibility applications, you may still have the need to emulate a complete PC. For example, you might want to try out a Windows program that doesn't work in Wine, set up a number of test machines without being restricted by partition tables, or just test your new website using a variety of operating systems and browsers. If so, a virtual machine is the way to go.
In contrast to API emulators like Wine, VMware workstation emulates a complete computer as a software program. The so-called guest operating system runs within the VMware simulation, which can't distinguish this environment from a real PC. VMware [1], the enterprise behind the product with the same name (which became a subsidiary of EMC corporation in 2004), has Linux and Windows variants of the emulator. The boxed version costs US$ 199 in the VMware store [2]; the download variant costs just 10 dollars less [3].
For the emulation to run at anything like an acceptable speed, the host PC needs to be pretty quick. VMware recommends a Pentium II or equivalent AMD CPU, 256MBytes RAM, a 16-bit video adapter, and at least 20MBytes of free disk space for the VMware software. Of course, you need to add disk space for the host to assign to the guest system and a network card - assuming the emulated PC will need to access the network.
These specifications should be regarded as a minimal configuration. VMware supports almost any Microsoft product from MS DOS through Windows Server 2003, most major Linux distributions, Novell Netware 5/6, Solaris 9/10 for X86, and FreeBSD as guest systems. But unofficially, VMware will support a wide range of other operating systems. The emulator tricks the guest OS into detecting the hardware listed in "Box 1: Emulated Hardware."
Our lab system for this article used VMware for Linux 4.5.2 on a host PC with Suse Linux 9.1, an AMD Athlon XP 1900+ CPU, 512MBytes RAM, an NVIDIA GeForce MX4000-based video adapter (commercial NVIDIA driver), and a WLAN adapter.
As mentioned earlier, a VMware license isn't exactly cheap. If you prefer to test the emulator before investing US$ 199, a free 30-day test period is available. VMware simply requires you to register before downloading [3] and sends you a test key by return email. Registered users can then download an rpm package and a tar archive. In our lab we used the RPM package, which is quite easy to install by entering su -c "rpm -Uhv VMware-workstation-4.5.2-8848.i386.rpm".
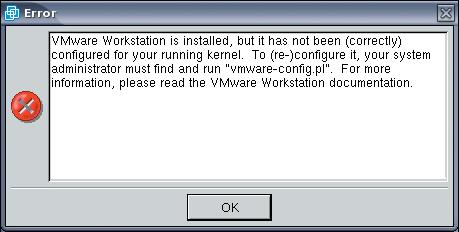
If you attempt to launch the program by typing vmware directly after the install, you'll be greeted with the error message shown in Figure 2. VMware requires you to launch the vmware-config.pl configuration script before using the program. The script introduces the host and the emulator. The virtual PC accesses physical hardware in parts and needs its own kernel modules on the host system to do so.
VMware does not have a pre-compiled kernel module for Suse Linux 9.1; instead the configuration script generates the module. To do so, it needs a C compiler, typically gcc in Linux. On Suse 9.1 the compiler is located in /usr/bin/gcc, as a call to whereis gcc will tell you.
The VMware module will not compile unless you have the sources for the current kernel. Suse keeps the sources in the kernel-source package, which you probably need to install and modify to match your kernel. This is easily done with some help from YaST, and you can then go on to prepare the sources:
cd /usr/src/linux
su -c "make cloneconfig && makeU
 prepare-all"
After completing these steps, type su -c vmware-config.pl to launch the configure script. The script prompts you to read and accept the license agreement. When the configure script asks you where the kernel header files are stored, simply press the [Enter] key to accept the script's default setting. After a short time, in which the configure script builds the binary, you are asked if you need a network-capable version of VMware. If you want a network-capable version, you should additionally opt for NAT support and allow the script to assign a private subnet.
| Box 1: Emulated Hardware |
|
VMware emulates a complete PC with a fixed hardware platform. The emulated hardware has nothing to do with the actual equipment the host computer has, but the guest system only sees the virtual components. Processor:
SCSI devices:
Removable media:
Ports:
Network devices:
BIOS:
|
Say yes when asked Do you want to be able to use host-only networking in your virtual machines?, if you want this networking variant to be available later. Host-only networking means that the emulated PC can only access the host system over the network. The emulated PC can use the host's Internet connection in NAT or bridge mode. In bridge mode, the emulated PC behaves as if it were attached directly to the LAN. It needs an IP address of its own, and this IP address must be valid for the local network.
If you want the VMware PC to mount the host file system, the script creates a host-only network device. VMware then uses Samba to access the host. The script only needs a user name and password to configure Samba - the Samba users have to be regular users on the host, however. To add users later, become root and then enter /usr/bin/vmware-smbpasswd vmnet1 -a username.vmnet1 is the Samba network device.
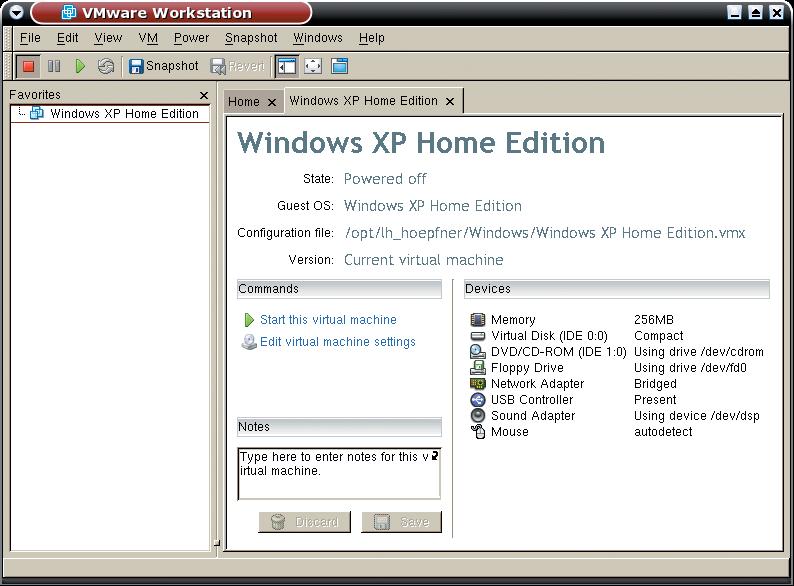
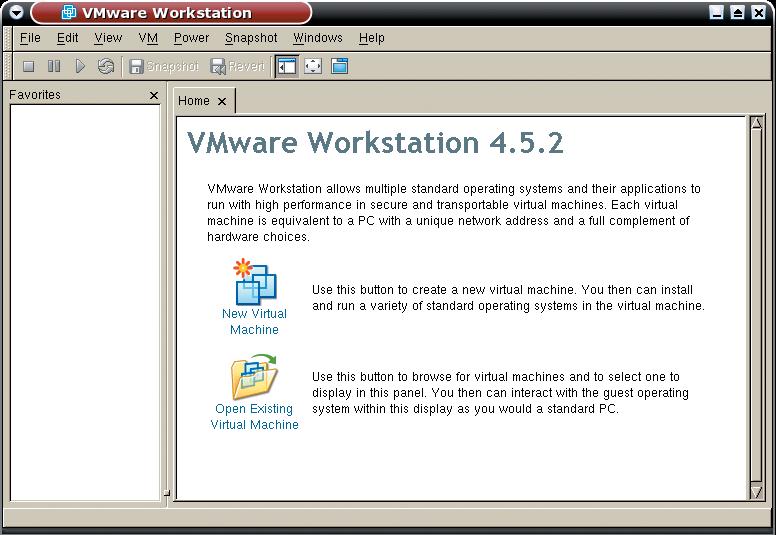
After completing the configuration, vmware will launch as shown in Figure 3. You can now click New Virtual Machine to launch the wizard. The wizard prompts you to select the guest operating system you will be installing, to specify a file for the emulated file system, and to set the file size. The results are shown in Figure 4.
Clicking on Start this virtual machine will boot the virtual PC. The emulated machine does not have an operating system at present - you need to install the operating system just as you would on a real computer. To install the guest operating system, insert the guest operating system installation CD into the host drive.
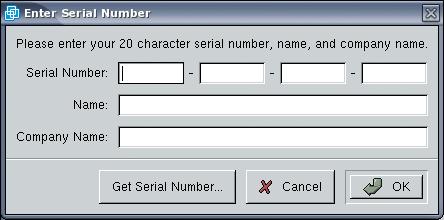
Before you boot the system, the non-registered version of VMware will remind you that you need a serial number. If you purchase a license, the license includes a serial number; the serial number for the test version is mailed to you. Type the serial number in the window shown in Figure 5; the Help | Enter Serial Number menu entry takes you to the right place.
| Box 2: Host Distributions |
|
The Linux version of VMware runs on a number of major distributions. As VMware comes with its own kernel modules, using VMware on any other Linux variants is tricky. The manufacturer supports the following distributions:
|
To install directly from CD, we had to enable legacy support for our CD ROM with the test version. The DVD/CD-ROM item, which allows you to set this option, is located in the virtual PC window Devices menu.
If the installation program prompts you for input, you first need to make sure the emulated PC is actually using your keyboard and mouse. To check the keyboard and mouse, click on the emulator window. VMware will hijack the keyboard and mouse at this point; but you can press [Ctrl] and [Alt] simultaneously to get out of jail.
If you are installing Windows or Linux as the guest operating system, it makes sense to install the VMware tools for the installation [4]. These tools accelerate graphics output, support a higher resolution and tell VMware to let go of the mouse when you drag it outside the border of the window. This saves you from repeatedly pressing [Ctrl] and [Alt].
The VM | Install VMware Tools... menu item tells VMware to load a simulated CD in the emulated CD drive. The required drivers are on the CD.
In our lab, we were unable to get VMware to run on Suse Linux 9.2. Although the install and configuration phases completed as described, VMware just would not play ball. The host system was unable to configure its WLAN USB adapter, and booting from CD within the virtual PC was a matter of luck.
VMware will let you know if the system they are attempting to use is too new. Before you start, you should take a look at the list of officially supported Linux distributions (see "Box 2: Host Distributions") and take this list seriously. If you do decide to try a non-listed Linux, download the 30-day trial license first to make sure VMware runs correctly with your Linux distribution.
| INFO |
|
[1] VMware homepage: http://www.vmware.com/ [2] VMware Store: http://www.vmware.com/vmwarestore/newstore/ [3] Download page: http://www.vmware.com/download/workstation.html [4] VMware Tools: http://www.vmware.com/support/ws4/doc/new_guest_tools_ws.html |