WMI and the reincarnation of the keyboard
Light and Speedy
By Philipp Klein
WMI and the reincarnation of the keyboardLight and SpeedyBy Philipp Klein |
|
Keyboard fans who prefer a lean environment have a difficult time. Most window managers have menus, panels, or even icons, but launching individual programs is restricted to point & click. Large-scale projects such as KDE and Gnome include sophisticated animations and other functions that many users do not need, and these functions have the effect of slowing down the window manager.
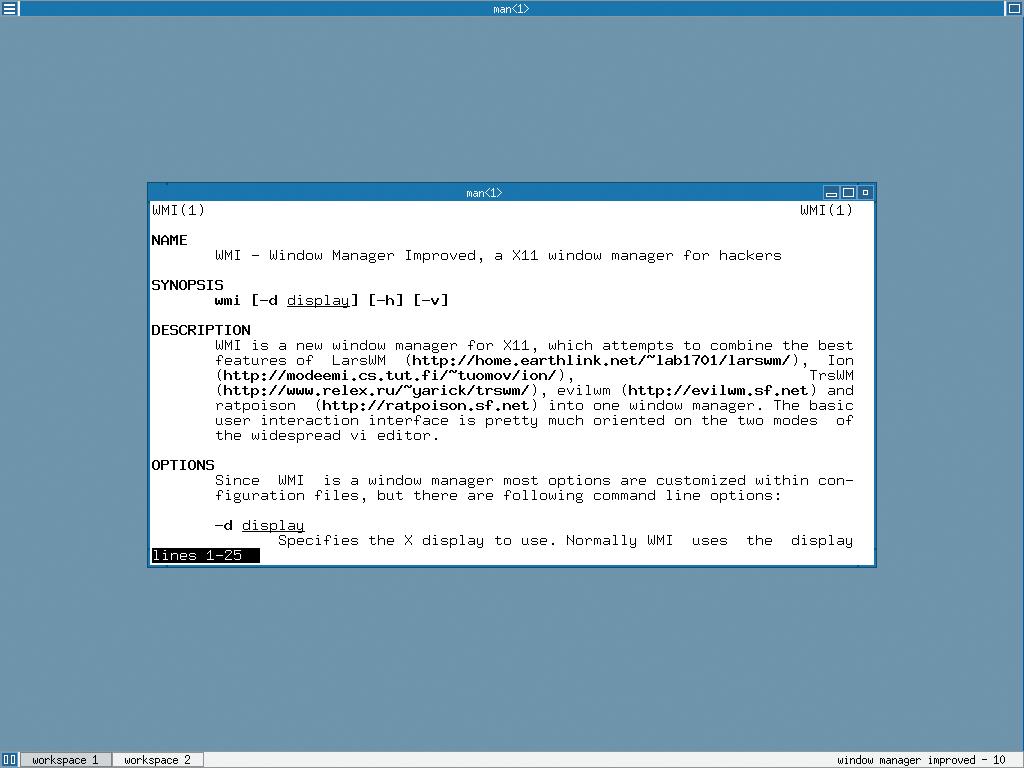
Window Manager Improved (WMI) is a fast and lean window manager with a special emphasis on the keyboard [1]. WMI offers extra speed that improves the user experience on older hardware.
The idea of a minimal window manager with mainly keyboard-based controls is not new, Other projects such as LarsWM [2], ION [3], evilwm [4] and ratpoison [5] have a similar philosophy. All of these tools give users two different modes. The lower part of the screen has a line for command input, which is enabled by pressing [ALT + e]. In command mode, users can launch programs installed on the system; in other words, the window manager fulfills the role of a simple terminal. The second mode in WMI is for shortcuts [ALT + i].
| Listing 1: ~/.xinitrc |
|
01 #!/bin/sh 02 exec /usr/local/bin/wmi 03 04 if test -x $HOME/.wmi/sti.pl ; then 05 $HOME/.wmi/sti.pl & 06 fi |
The WMI project homepage at [1] has downloads in various formats. Besides the source code archives, these downloads include binary packages for Debian, Slackware, and RPM. You can use the normal steps to install a package, and building the source code also follows the standard sequence:"./configure; make; sudo make install. After installing WMI, you need to set WMI as your default window manager. If you log on in text mode, the ~/.xinitrc entry shown in Listing 1 will do the trick. (The last three lines in the file are not relevant for the time being, but we will look at them later.)
Listing 1 will have no effect on the GUI-based login via GDM or KDM.
The first time you launch WMI, you will see no menus or any other means of launching your normal applications by pointing and clicking. Instead, you are shown a window with the WMI manpage, which describes the first steps and explains the way the two modes work. So let's start there. The first thing we want to do is tidy up the desktop. I will divide the desktop into a number of areas or workspaces. Readers may be familiar with this approach, as most window managers have workspaces or virtual desktops. It makes sense to set up a number of workspaces to help you keep track; you could organize your environment by application type, for example. One workspace could be for communication (email, IRC, Jabber, ...), a second for surfing the Internet, and a third for working with OpenOffice. To create these workspaces, we first need to enable input mode by pressing [ALT + i], which gives us access to WMI-specific commands. Now type
create-workspace
| Common Shortcuts in WMI | |
| [Alt + I] | Enable input mode |
| [Alt + E] | Enable exec mode |
| [Esc] | Quit input / exec mode |
| [Alt + M] | Maximize a window |
| [Alt + D] | Detach (hide) a window |
| [Alt+ A] | Attach (restore) a window |
| [Alt + Tab] | Toggle between windows |
| [Ctrl + Alt + Q] | Log out |
and you are prompted to enter a name for the new workspace. Typing Browser creates a workspace with this name. The workspace appears at the bottom of the desktop. To launch a browser, you first need to enable command mode by pressing [ALT + e]. You can then enter
firefox
to launch the Firefox browser. If you want to restore the window to full size, click on the button in the top right-hand corner of the program window, or you might find it quicker to press [ALT + M].
Follow the same steps to create more workspaces. Typing:
save-settings
will allow the workspace settings survive the next boot.
If you want to launch an application automatically after logging in, you must specify an entry in the ~/.xinitrc file. To launch an XTerm called shell in the top right-hand corner of the workspace:
exec wmiremote -a U
select-workspace+web
exec firefox &
Finally, log out by pressing [ALT + q] and log back on again to make sure that the configuration is working correctly.
Note: You can display a list of the currently defined shortcuts by typing
wmiremote -p | less
Admittedly, our current set of WMI controls is a bit unintuitive. So let's add a few shortcuts of our own to WMI.
Change to the WMI configuration directory below ~/.wmi. The actions.conf file in this folder is used for mapping shortcuts. The examples shown in Listing 2 are from my own collection.
Many of the commands are self-explanatory, but let's have a closer look. Line 1 maps CTRL + s to the command for toggling between workspaces. If you are in Workspace 3, pressing CTRL + s will take you to workspace 2. Lines three through eight contain shortcuts for explicitly switching between workspaces. ALT + 1 takes you to Workspace 1 (which is "IRC" in this case). In the same vein, ALT + 2 takes you to Workspace 2 and ALT + 3 to Workspace 3.
Of course, you can use shortcuts to run external commands. For example, Lines 10 and 11 tell WMI to launch Firefox when I press SHIFT+F9. More "advanced" shortcuts are also possible, for example, the shortcuts in lines 13-25 that control the xmms audio player.
| Listing 2: Die ~/.wmi/actions.conf |
|
01 intern.cycle-workspace-prev.keys=ctrl+s 02 03 chain.wsia.seq="select-workspace+irc" 04 chain.wsia.keys=alt+1 05 chain.wsis.seq="select-workspace+web" 06 chain.wsis.keys=alt+2 07 chain.wsio.seq="select-workspace+shell" 08 chain.wsio.keys=alt+3 09 10 extern.firefox.cmd=/usr/bin/firefox 11 extern.firefox.keys=shift+F9 12 13 # Rewind in XMMS 14 extern.xmmsr.cmd="xmms -r" 15 extern.xmmsr.keys=shift+F5 16 # Play or continue current track 18 extern.xmmst.cmd="xmms -t" 19 extern.xmmst.keys=shift+F6 20 # Stop current track 21 extern.xmmss.cmd="xmms -s" 22 extern.xmmss.keys=shift+F7 23 # Skip one song in the playlist 24 extern.xmms.cmd="xmms -f" 25 extern.xmms.keys=shift+F8 |
WMI is easily extensible and configurable using themes and scripts. You'll find a collection of themes at [6] that you can adapt to suit your own favorite colors. It is quite easy to install a theme: simply copy the theme.conf file for the new theme to ~/.wmi.
The Perl script wmi.pl [7] shows just how easy it is to script WMI extensions. For example, the script adds a status bar, which gives you details on the system load, the number of read and unread messages, and the time of day. To install the script, you need to run it before you launch WMI (e.g., via ~/.xinitrc). The top ~/.xinitrc box explains how to install the wmi.pl script. Of course, the Perl script has to reside in ~/.wmi, and it needs appropriate privileges to run correctly.
| INFO |
|
[1] Official project homepage: http://wmi.modprobe.de [2] larswm: http://home.earthlink.net/~lab1701/larswm/ [3] ION: http://modeemi.cs.tut.fi/~tuomov/ion/ [4] evilwm: http://evilwm.sourceforge.net/ [5] ratpoison: http://www.nongnu.org/ratpoison/ [6] WMI Themes: http://wmi.modprobe.de/index.php/WMI/Themes [7] sti.pl: http://www.dcs.gla.ac.uk/~lativyn/sti/ |