
By Marcel Hilzinger
The task of setting up wireless access is by no means trivial, even for users with major distributions. And even if you manage to attach to your own WLAN, the next problem is just around the corner. What do you do if your wireless settings change or if you need to access another wireless network with different settings? In today's world of airport hotspots and cyber cafes, wireless users need a quick and simple method for connecting to new networks.
In cases like these, the KDE Wlassistant tool can be a big help. Wlassistant searches the airwaves for wireless networks and gives you a list. You can point and click to select your preferred access point. Your wireless assistant can take care of establishing the connection, and off you go.
Wlassistant is a relatively new program that is not available with most major distributions, but never fear; if your distro doesn't include Wlassistant, you can surf to [1] to pick up the latest version on the Internet.
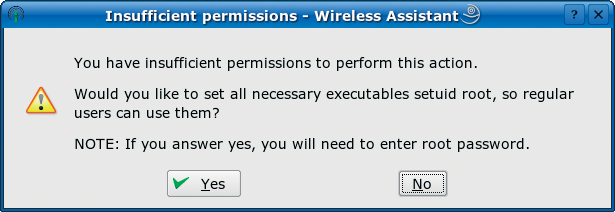
The first time you launch the tool, by pressing [Alt-F2] and entering wlassistant, a window pops up to tell you that normal users are not allowed to run the required programs (Figure 1). You can click Yes here to tell Wlassistant to prompt you for the root password and then automatically set up access privileges for you. The application then sets the setuid bit for the dhcpcd, ifconfig, iwconfig, and iwlist tools; the setuid bit allows normal users to run programs with root privileges.
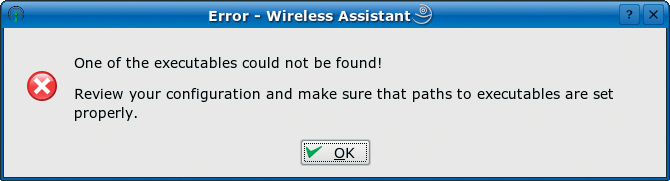
If you want to avoid granting these privileges, you can launch the program as root by giving the kdesu wlassistant command. Users with Suse Linux will see an error message stating that Wlassistant has not found all the required programs (Figure 2). To resolve this issue, select Configure | Paths and enter the following paths for iwconfig and iwlist:
If you have Fedora Core 3 or Mandriva 10.2, you also need to modify the paths for the application files by selecting Configure | Paths if you need to launch the program as the root user. In this case, change the Dhcpcd command to /sbin/dhclient. The approach that Wlassistant suggests is a lot easier, however, so you might just prefer to let your wireless assistant take care of configuring the access privileges.
After completing the required settings, you can click Rescan to tell Wlassistant to show you the WLANs it has discovered (Figure 3). If the program discovers multiple networks, you should choose the network with the best signal quality. Wlassistant uses yellow stars to show you the signal quality. The more stars an entry has, the better the WLAN signal quality.
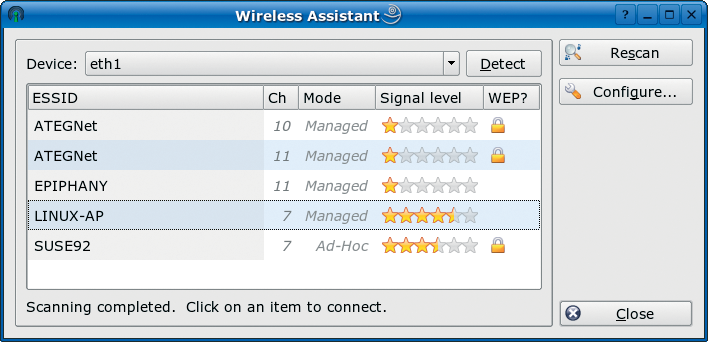
Encryption is another access point selection criterion. The KDE tool displays a lock icon in the WEP? column for encrypted connections. You need the right key to access these networks.
The Mode column tells you whether the network is Managed or Ad-Hoc. Managed networks support simultaneous access by multiple machines, whereas an ad-hoc connection involves just two machines.
To attach to an access point or another machine, just click an entry. Clicking an entry tells Wlassistant to open the connection. The program displays a message at the bottom of the window to give you the connection status. If the connection is working, the message at the bottom of the window will read Connection with "network" successfully established, where "network" is the ESSID name of the selected network.
Key management is one of Wlassistant's stronger points. Most public wireless entry points (so-called hotspots) use WEP keys to protect their networks against unauthorized access. If you select an encrypted connection in Wlassistant, a dialog pops up, prompting you to enter the WEP key for the connection. Simply enter the required key and click OK. If you tend to move around between encrypted networks, you might like to store the keys for the networks you visit. To store a key, click Configure | WEP Keys.
You have to assign a name to each key. The name of the WLAN network (that is the ESSID) is a good choice for the name setting. Wlassistant then automatically uses the key with the same name to access the network. Names and keys must be separated by two colons (Figure 4). Keys normally use a hexadecimal format (for example, HOTSPOT::3BFA1658F26F65BB1015022249 for a 128-bit key). If you need to enter an ASCII formated key, type s: before the key; for example, HOME::s:secret1234567.
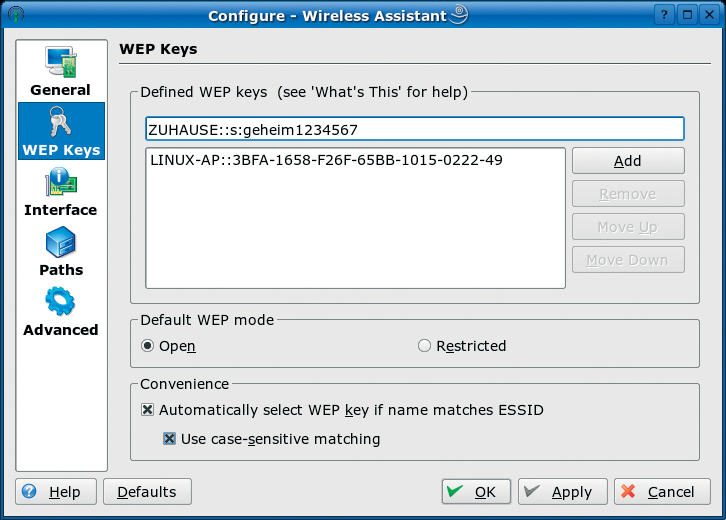
Wlassistant checks the syntax of your key entries. This syntax check theoretically makes it impossible to enter an incorrectly formated key. Use Default WEP mode to specify the authentication mode, which will typically be Open. If you select Restricted, your WLAN adapter will only accept encrypted and authenticated connections. As this method is easier to hack, it does not make sense to change the default Open setting.
In our tests, we had a few problems with WEP encryption, and Wlassistant refused to establish a connection. But after entering the following command once only as root
iwconfig eth0 enc key
to set up the encryption, the wireless assistant had no trouble establishing a connection. A detour via the command line also helped set up hexadecimal keys. If you need to run this command, replace eth0 with the entry that Wlassistant displays in the Device column of the main window, and type the correct WEP key instead of key, for example s:secret1234567 for an ASCII key.
Wlassistant launches a DHCP client when it establishes a connection. The DHCP client attempts to obtain an IP address from the other end of the connection. If you are simply setting up a connection to a friend's WLAN-enabled machine, you can't expect your friend to have a DHCP server.
In this case, you will also need to configure ad-hoc mode. Wlassistant does not display this type of connection by default.To tell Wlassistant to show you any ad-hoc networks, you need to select Configure | General and uncheck Do not list Ad-Hoc networks. Once you have configured this setting, you can go on to configure the IP address, network mask, and broadcast address in Configure | Interface.
Wlassistant also has trouble with WLAN cards that need the Linux Wlan tools [2]. This catagory includes most USB sticks. Because these cards cannot be controlled using the iwconfig commands, the KDE tool will not see them. On a brighter note, support for this kind of card is on the program author's to-do list.
| INFO |
|
[1] Project homepage: http://wlassistant.sourceforge.net
[2] Wlan Tools: http://www.linux-wlan.org |