
By Holger Reibold
Road warriors and remote staff often need to access their corporate networks from arbitrary locations. Virtual private networks (VPNs) support private remote access via the Internet. VPN solutions use cryptography to protect Internet traffic from tapping and manipulation. Many VPN tools, however, are hard to set up and require changes to firewalls.
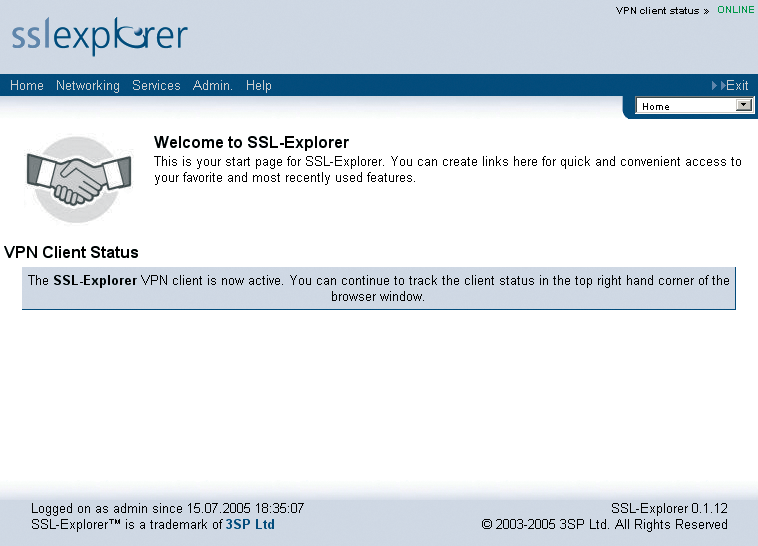
SSL-Explorer [1] provides an easy alternative. SSL-Explorer sets up a Web-based VPN and only requires a Java-capable browser as a client (Figure 1). A practical Web tool provides a configuration front-end. SSL_Explorer tunnels TCP-based network protocols such as SMTP, POP, and HTTP across an SSL-protected connection.
Java-based SSL-Explorer runs on Linux and Windows systems. Administrators can use remote tools such as SSH, SFTP, VNC, Citrix, and other terminal services to control the system remotely. Integrated profile management adds the ability to define different configurations for multiple points of access. The commercial Xtra extension by 3sp [2] adds authentication mechanisms (LDAP, PIN, SMS, Public Key), as well as technical support and other enhancements.
SSL-Explorer provides its own user database for authentication purposes and additionally supports central authentication based on Active Directory. SSL-Explorer interoperability features include support for Windows policies and Windows Web folders. Support for LDAP servers is available with the commercial Xtra add-on package.
SSL-Explorer needs at least a Pentium III (1 GHz) platform and 512 MBytes of RAM. The program occupies about 140MBytes of disk space. The Zip archive at [1] provides an RPM package that drops the program files into the /opt/sslexplorer directory. To launch the Web-based configuration tool, simply enter /opt/sslexplorer/setup-sslexplorer. The installation routine outputs a URL that takes you to the SSL-Explorer Web interface, which normally listens on port 28080.
You need to set up a number of critical parameters in configuration mode. The first page is titled Web Security. It lets you create or import SSL certificates. If you just want to test the software, you can create your own certificate, but you should have a CA (Certification Authority) key that all browsers will honor for production use.
After completing the configuration, users have three options for launching SSL-Explorer. The command on Red Hat Linux (which is the only officially supported distribution thus far) is service sslexplorer start. Enter /etc/init.d/sslexplorer console or possibly /opt/sslexplorer/sslexplorer_console for other distributions.
Use HTTPS on your local machine (https://localhost/) to access the GUI. The default password for the admin user is admin. After logging in, you should see four menus: Home, Networking, Services, and Admin. The first time you launch the program, the homepage additionally gives you the VPN client status. The client functionality is required for some SSL-Explorer functions. The Launch button launches the applet.
The Home menu lets you configure parameters such as user management settings. Home | My Account | Configuration takes you to an extensive form with user settings (Figure 2). Admins can configure their own accounts and create dedicated user profiles. The Admin menu lets you create new users.
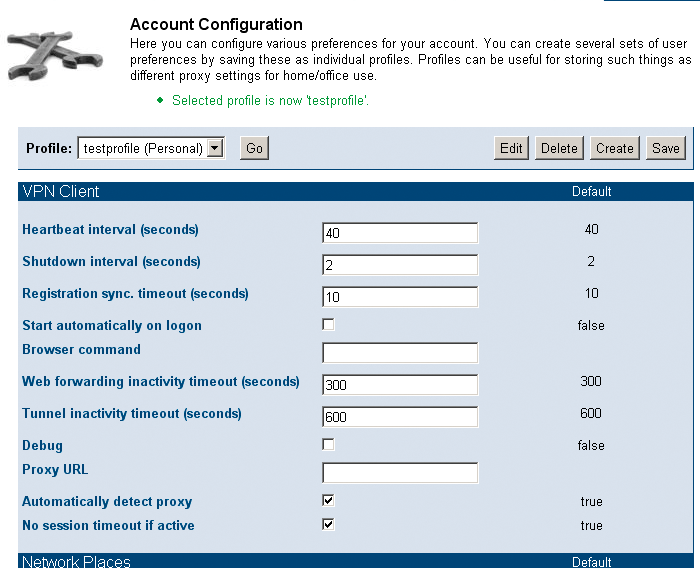
The default configuration provides two profiles, and you can add additional profiles if needed. Profiles allow you to store properties for various scenarios. SSL-Explorer uses a role-based access control system that lets administrators precisely control permissions. Instead of assigning individual rights to an individual user, an administrator can assign rights to a role and then associate the role with a user. For example, you can configure rights for users in the Marketing department that might be different from the rights you assign to users in Sales.
Manually defining a role is not difficult. Just type a name in the Create Role box, and click on Create. This adds a new role to the list. The role is highlighted in red to indicate its Revoked status, so you will need to enable it before you use it. Granular configuration tools help you edit the role's properties. If you are on an Active Directory network, you can import user group settings from from Active Directory.
The Admin | Access Control | Accounts menu item takes you to the account management feature. This is where administrators map users to roles. Regardless of whether you are creating a new account or modifying an existing account, you end up in the same dialog, which expects at least a user ID, the full name, and possibly an email address.
SSL-Explorer lets you restrict access to specific IP addresses. The form for specifying the IP address is available via the Admin | Access Control | IP-Restrictions menu item. The administrator can allow or deny access to an address. To do so, type an IP address in IP Address. To apply the settings to a complete subnet, use an entry such as 192.168.1.* . After adding the address, the form displays a new Current Rules pane, which lists the restrictions and permissions for IP addresses.
Admin | Access Control takes you to the Security Options page (Figure 3). The form allows you to create and modify the VPN Client and general security settings. The general security settings include the choice of database, which is either SSL-Explorer's internal format or Active Directory.
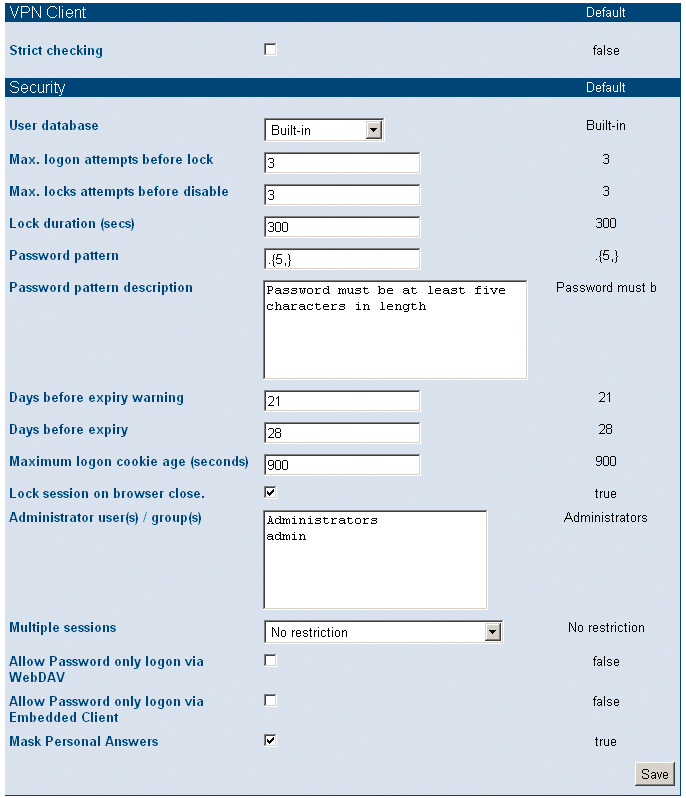
You can also specify the number of invalid login attempts before an account is disabled, set the password complexity, assign administrative privileges to users and groups, and allow or deny multi-session connections. The Strict checking VPN client option is also an interesting feature. This option controls access to the client computer's underlying Java and operating system settings.
The SSL-Explorer provides comprehensive but simple tunnel functionality. You can use SSL-Explorer to protect any TCP service or configure POP3-based mail access. To use the security feature, the Web-based client must be running client-side. Users point their browsers to the SSL-Explorer website for their VPN access point, and depending on the browser, assign additional privileges to the Java applet.
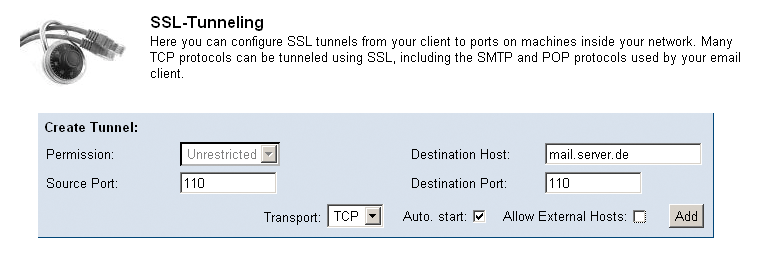
To secure POP3 traffic between the client and the server, administrators need to access the tunnel settings via Networking | SSL Tunnels, and then enter the mail server port (this is typically port 110), the hostname, and the target port (again typically 110) in the Create Tunnel form.
Clicking on Add sets up the first tunnel. Now users just need to modify their client-side mail server settings to match the VPN configuration. This means replacing the POP3 setting with localhost. The locally installed VPN client and the VPN server secure the connection. The procedure for SMTP settings and other services follows the same pattern.
The Network | Network Places menu allows users to access the Windows network environment. This menu lets you map network shares for road warriors who access the company network via the Internet. Other interesting features include access to WebDAV-based repositories and XML-based extensions.
SSL-Explorer provides Web-based control for VPN connectivity. Professional administrators may miss the granular configuration options offered by Openswan and other tools, but for more simple tasks, SSL-Explorer is more than up to the job.
| INFO |
|
[1] SSL-Explorer: http://sourceforge.net/projects/sslexplorer
[2] Commercial extensions: http://www.sshtools.com/showSslExplorerXtra.do |