
By Kristian Kißling
A popular theory states that, the more senses you engage while learning, the more likely you are to remember the material. Software developers have put this principle to work with a new generation of multimedia user guides. Vnc2swf [1] is an Open Source screen recording tool that lets you capture screen activity and store the results in a movie. You can even add an audio component to your demo. When you are finished, you can publish the new tutorial on your website.
Vnc2swf creates a Flash movie from a VNC session. To view the movie, you need a Flash Player plugin for your browser. (See "Flash Player Plugin.")
To record a VNC session, launch a VNC Server to display the screen contents in a separate window. Then use Vnc2swf to record the contents of the window. The program creates an SWF file, which it then embeds in a HTML file that you can view with a browser.
| Flash Player Plugin |
|
In October 2006 Flashplayer 9 was finally released for Linux; both a stand alone version and a plugin variant are available. You can download the beta version of the tool from the Adobe download page at [2]. If the older Flashplayer 7 is installed on your system, either change directory to ~/.mozilla/plugins, or to /usr/lib/firefox/plugins, and delete the Flash files stored in the directory - libflashplayer.so, for example. If you use a different browser, you will need to locate the plugin directory for this. Then unpack the browser plugin at the command line by giving the tar xvzf FP9_plugin_beta_101806.tar.gz command. The number at the end of the file may vary, depending on the publication date. Change to the directory created by this step, and copy the libflashplayer.so file to one of your browser's plugin directories as mentioned earlier. You may need root privileges for this. |
Vnc2swf requires Python 2.3 or 2.4 and a matching Pygame package titled python2.3-pygame or python2.4-pygame.
Vnc2swf comes in two versions: a C version and a Python variant. The developers have stopped work on the C version, so make sure you download the Python version when you surf to the website at [1]. Type tar xvzf pyvnc2swf-0.8.2.tar.gz to unpack the file, then change to the new directory.
Now all you need is a VNC server. You can either enter the krfb command to launch a local session - you will need to provide a password - or you can install X11vnc using your package manager.
Time for trial a run. Launch X11vnc on the command line (or krfb if you prefer). To do so, enter x11vnc --display :0. Then launch Vnc2swf by changing to the directory you unpacked and typing:
./vnc2swf.py -o nosound.swf localhost:0
The -o nosound.swf option sets the name for the output file. I chose nosound because Vnc2swf does not record sound. The localhost:0 option refers to the VNC window on the local desktop. After typing the command, you should see a dialog box that looks like Figure 1.
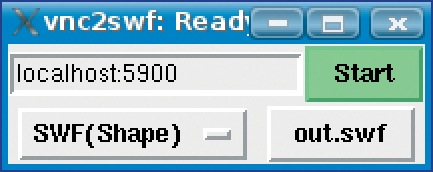
The settings in the dialog box should be fine. Now click Start, move the mouse around, type a sentence in your favorite editor, and then press Stop. All done: your first movie is in the can. You can view the movie by launching your browser and pointing to the nosound.html file in the same directory as the vnc2swf.py program. The results should be something similar to Figure 2.
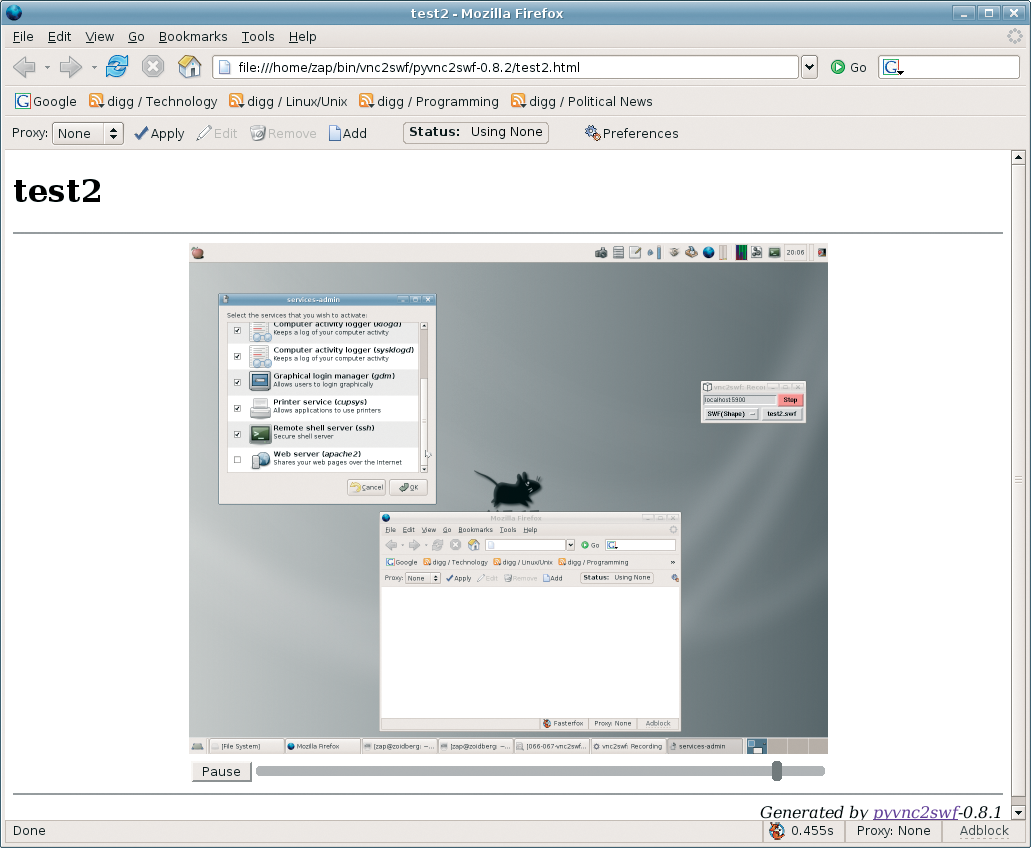
You may notice that the movie you are viewing is wider than your browser window. In this case, you can scale down the recording by launching the VNC server with the -scale option: x11vnc -scale 0.5 --display :0 launches the VNC server with a screen of half the size, but remember that this process will require more CPU power.
As an alternative, you can change the command line parameters to tell the program to record a single window. Another Python program in the same directory as vnc2swf.py handles this. While you are in the directory, type ./recordwin.sh ohnesnd.swf: the cursor changes shape to become a cross. After launching X11vnc, click in the window you want to record. You will need to press [Ctrl]+[C] to stop, as recordwin.sh does not have a GUI.
To add your own commentary to the recording, play the SWF file, and use a microphone to record your own voice at the same time. You will need Sox [3] and Lame [4] for this stage.
Plug the microphone into the microphone socket on your sound card, and increase the recording volume. To do this on KDE, for example, run kmix, click the Mixer button, drag up the microphone slide control below Inputs, and enable the red and green LED buttons. The recording command looks like this:
rec -c 2 -r 44100 -t wav - | lame - recording.mp3
The input signal is first converted to a WAV file and then piped into an MP3 file, which I have called recording.mp3. You can record the movie and commentary at the same time. If this is too much trouble, record the movie first, rerun the movie, and dub the commentary.
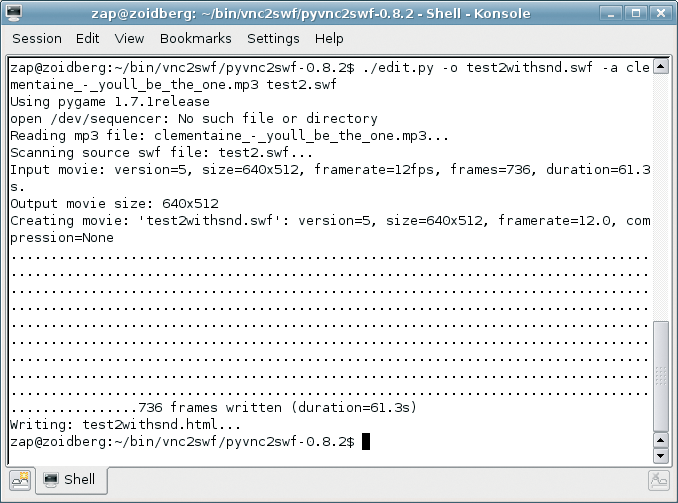
Another Python tool helps you combine the sound file with the movie: edit.py (Figure 3). Again, the tool is located in the same directory as vnc2swf.py. The following command links the soundtrack with the SWF file:
./edit.py -o withsnd.swf -a recording.mp3 nosound.swf
The command creates a new file titled withsnd.swf that contains both the movie and the soundtrack. If you dub a file, you may notice that the sound cuts in slightly later than the images. Of course, you can only comment on what you see after you have seen it - and that automatically generates a lag. To sync images and sound again, cut a couple of seconds off the start of the soundtrack by specifying the -S option when mixing. The following command chops off the first five seconds of the soundtrack:
./edit.py -S 5.0s -o withsnd.swf -a recording.mp3 nosound.swf
| TIP |
|
If you use XGL/Compiz, type :1 as the display number instead of :0. The Vnc2swf dialog box will then incorrectly suggest port 5901, but you can change this back to 5900. |
Although Vnc2swf works as the developers intended, it isn't an ideal screen recording solution. Linux users will have to wait for a convenient, GUI-based tool that records the image and sound at the same time. But until then, Vnc2swf provides an acceptable workaround.
| INFO |
|
[1] Vnc2swf: http://www.unixuser.org/~euske/vnc2swf/
[2] Flashplayer 9: http://labs.adobe.com/downloads/flashplayer9.html [3] Sox: http://sox.sourceforge.net/ [4] Lame: http://lame.sourceforge.net |