
By Dmitri Popov
Although the digital signature features in OpenOffice.org and Thunderbird are easy to use, a digital signature requires a digital certificate, and the task of obtaining one is not always so easy. Digital certificates are normally issued by what are known as certificate authorities, and many of these authorities charge serious money. Moreover, the whole process of getting a digital certificate and installing it on your computer can be quite convoluted. But despair not: this Workspace installment shows you how to get free and self-signed certificates and then use them to sign your personal emails and OpenOffice.org documents. Before you obtain and install a certificate, make sure you have the latest version of the Mozilla Firefox browser on your machine. Firefox acts as a tool for storing and managing certificates.
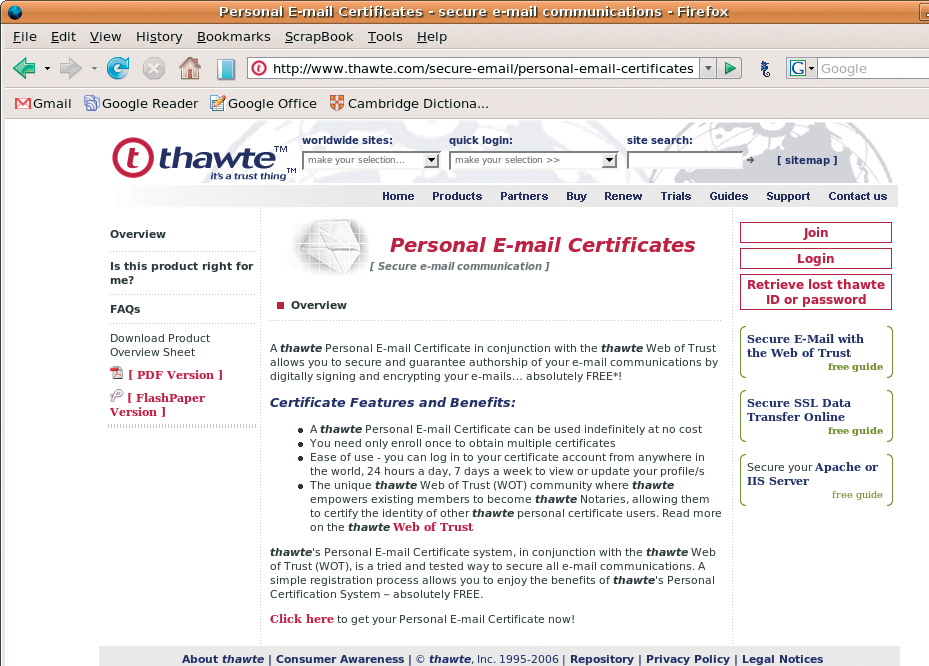
Thawte is one of the most well-known certificate authorities, partly because of its founder, Mark Shuttleworth, is the man behind the Ubuntu Linux project. As you might expect, Thawte offers a wide range of certificate-related services, including free email certificates. To obtain your own free certificate, point your browser to Thawte's website [1] and press the Join button to create an account.
A wizard guides you through the enrollment process, and once you've completed it, you can log into Thawte. To request a new certificate, go to Certificates | Request a certificate. Press the Request button next to the X.509 Format Certificates item and follow the instructions. There are a couple of things you should keep in mind when requesting a certificate. First of all, you must select Mozilla Thunderbird/Firefox from the list of software. In the Configure X.509v3 certificate extensions screen, you should press the Accept button next to the Accept Default Extensions section, and you should also select the highest encryption strength supported by your browser (2048-bit for Firefox). Once the certificate is created, you'll receive an email from Thawte containing a direct link to the certificate. Click the link to install the certificate in Firefox. Note that you must use the same browser, on the same machine, logged in as the same user, as you were when you made the request.
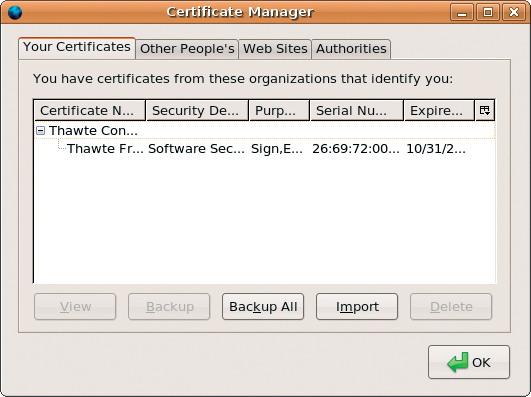
Obviously, to use the installed certificate to sign emails, you must install it into Thunderbird. To do this, choose Edit | Preferences | Advanced | Encryption in Firefox and press the View Certificates button. Select the Thawte certificate and press Backup. Specify the required password, and save the certificate. In Thunderbird, choose Edit | Preferences | Privacy | Security, and press the View Certificates button. Press the Import button, and import the saved certificate using the specified password.
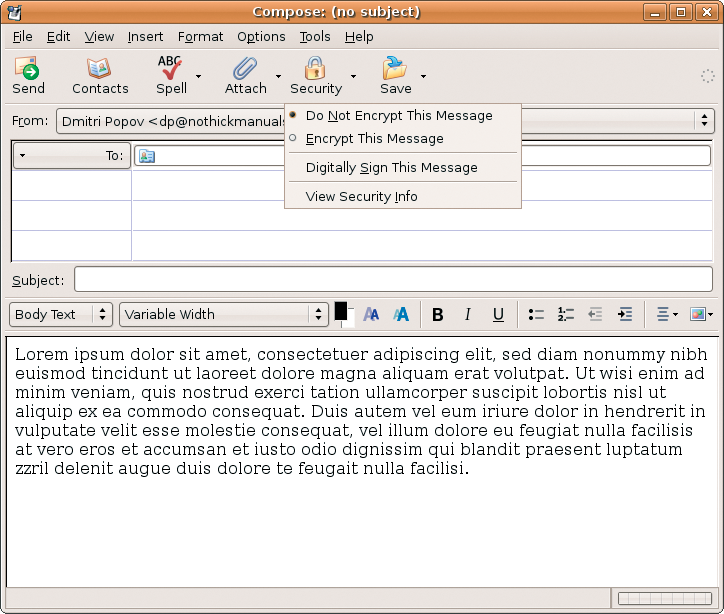
To digitally sign an email message, open it for editing and choose Digitally Sign This Message from the Security menu. When prompted to set up a personal certificate, press Yes. Select the Thawte certificate using the Select button next to the field labeled Use this certificate to digitally sign messages you send. If you want all your messages to be digitally signed by default, tick the Digitally sign messages check box. Press OK, and a tiny pen icon appears in the bottom-right corner of the window, indicating that the email has been digitally signed. When you send the email, the recipient can check your digital signature and view the certificate's details by pressing on the Pen icon.
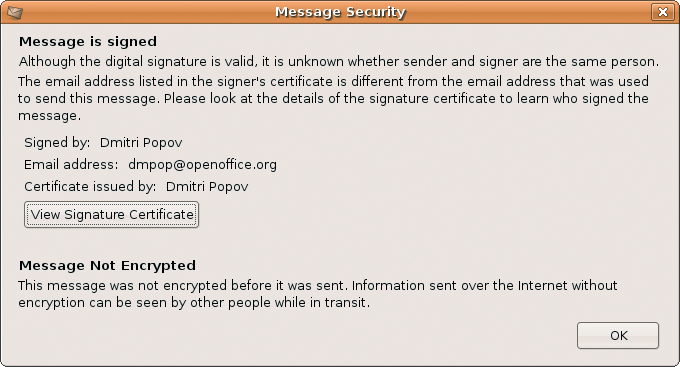
The free email certificate provided by Thawte has one serious drawback, though: unless you complete the process that verifies your identity (known as Web Of Trust [2]), your certificate displays the generic "Thawte Freemail Member" name. This is not particularly useful for people viewing your certificate. You can, however, create a personal self-signed certificate that contains your personal information such as name, address, company, etc. To create a self-signed certificate, you need to have the openssl package installed on your machine. Most major Linux distributions comes with openssl preinstalled, or you can use your package manager to quickly install it on your system.
The process of creating a personal self-signed certificate is straightforward. First, you have to create your own random key:
openssl genrsa -des3 1024 > dmpop-key.cert
Replace dmpop-key with whatever name you like, and enter a desired password at the prompt. Next, you have to create the certificate itself using the following command:
openssl req -new -key ./dmpop-key.cert -x509 -days 365 -out dmpop-cert.pem
This creates an X509 certificate that is valid for 365 days. Replace dmpop-cert with your own name, enter the specified earlier password, and provide the required information. Finally, create a PKCS12 compatible certificate containing both the certificate and the private key:
openssl pkcs12 -export -out personalcert.p12 -name "My Personal Certificate" -inkey dmpop-key.cert -in dmpop-cert.pem
This creates the personalcert.p12 file, which you should install in Firefox. Choose Edit | Preferences | Advanced | Encryption, and press the View Certificates button. Press the Import button, and import the certificate using the specified password. If you plan to use the certificate to digitally sign emails, import it into Thunderbird as described previously.
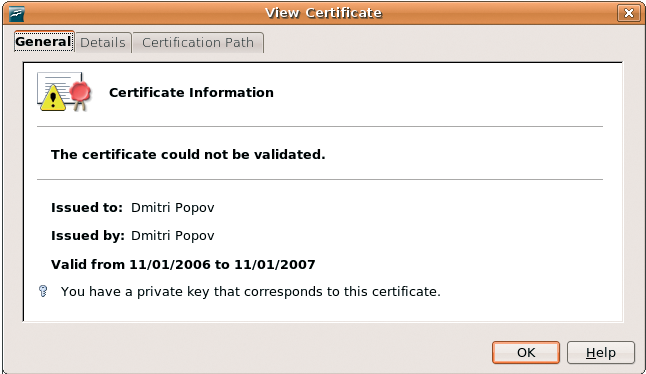
To sign an OpenOffice.org document using the certificate, choose File | Digital Signatures, press the Add button, select your certificate, and press OK to close the dialogs and sign the document. A tiny Seal icon appears in the Status bar, indicating that the document has been digitally signed. The digital signature ensures the authenticity of the document, among other things. In other words, the Seal icon indicates that the document has not been altered in any way. Other users can view the certificate by double-clicking the Seal icon and pressing the View Certificate button. Keep in mind that modifying the signed document on your machine automatically removes the digital signature, and you must sign the document again once you're done editing it.
There are also other indicators that show the security status of the document. A red seal and a small yellow triangle with an exclamation mark indicate that the document signature is in order, and that the document hasn't been modified, but the certificate used for signing could not be validated. A yellow triangle with a black exclamation mark indicates that the document signature is broken. This signals that the document has been altered and can't be trusted.
While you can easily obtain a free digital certificate or create your own, keep in mind that they are better suited for personal communication or document exchange with people you know and trust. Why? Because these certificates are suitable for ensuring that the document or email hasn't been altered in any way, but they are less useful when it comes to validating your identity. In this case, you should at the very least validate your identity via Web of Trust.
| INFO |
|
[1] Thawte: http://www.thawte.com/secure-email/personal-email-certificates/index.html
[2] Web of Trust: http://www.thawte.com/secure-email/web-of-trust-wot/index.html |