Question:
I just finished the Hotplug article in the October issue, and I want to try some hotplug experiments. The file /proc/sys/kernel/hotplug comes up empty on both Drake and FC5 systems. Do you have to compile the kernel to get the hotplug features? If you do, how does Ubuntu do the auto-mount of USB memory sticks?
Answer:
If you use a recent distro, /proc/sys/kernel/hotplug is just empty because it's not used anymore. Most distros now use udev(d) to autodetect changes in the hardware configuration, load modules, and start services as soon as something is "hotplugged." Linux Magazine issue 71 from October 2006 covered this topic.
udev, with HAL (hardware abstraction layer), notifies your desktop of any newly plugged-in device via the dbus system bus, and your desktop will (if it is configured to do so) present options about what to do with the device: mount as a hard disk or access it with a helper program (for video disks or digicams).
In any case, if you have /proc/sys/kernel/hotplug, the kernel is already compiled with hotplug support, which is also needed for udev, just not via a single script entered into /proc/sys/kernel/hotplug anymore.
The hotplug-specific configurations and scripts are in /etc/udev/*. The config file responsible for your desktop displaying or removing disk icons, or starting associated programs is /etc/udev/hal.rules, which calls the desktop-specific actions via a socket your desktop listens on. Knoppix also uses this feature to add entries in /etc/fstab, and to create its own KDE desktop icons, but this kind of adaptation is distribution-specific.
Question:
I'm new to Linux, and am using PClinuxOS on my desktop. How do I set the size of my web browser page? When I change to another desktop and press "konqueror", the web page reverts back to its original size.
Answer:
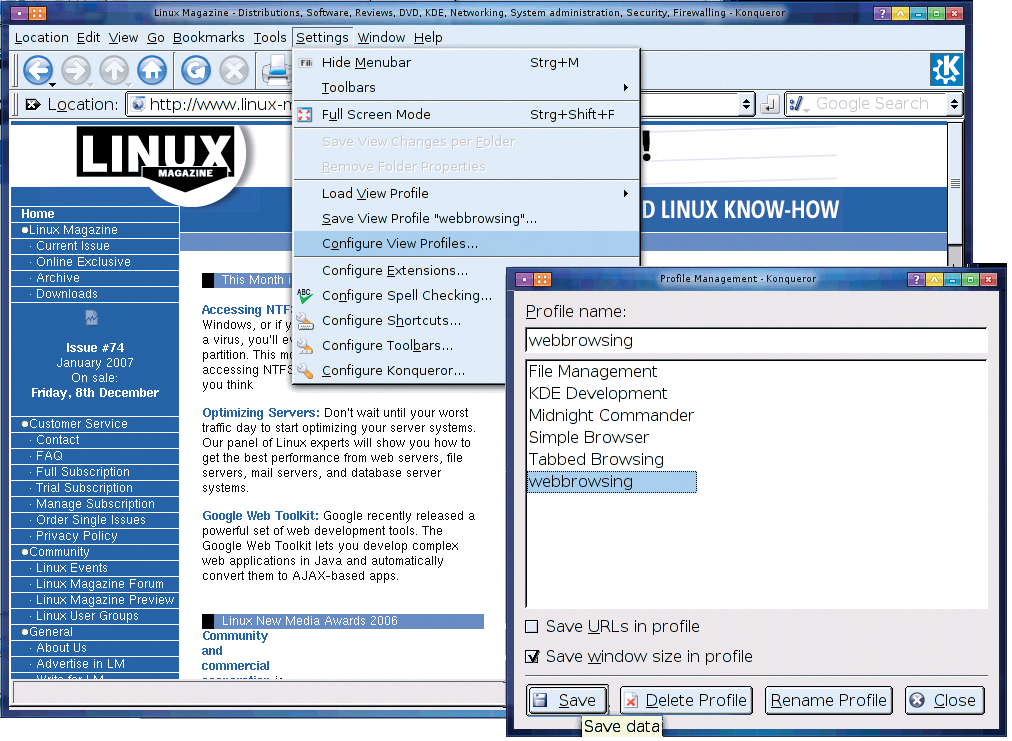
There is a setting for the browser profile at startup. After resizing Konqueror to the desired geometry, go to the Settings menu and choose Configure View Profiles.... In the dialog (Figure 1), check Save window size in profile and save this profile as webbrowsing, which is the default profile if Konqueror starts in web browser mode.
Note there is also a bug in Konqueror (at least I think it's a bug). When started with a fixed size, for example with:
konqueror --geometry 850x600+85+70 http://www.debian.org/
as it is done by some scripts, Konqueror seems to "remember" this initial geometry and sets it automatically on each page load, which can be very annoying.
Question:
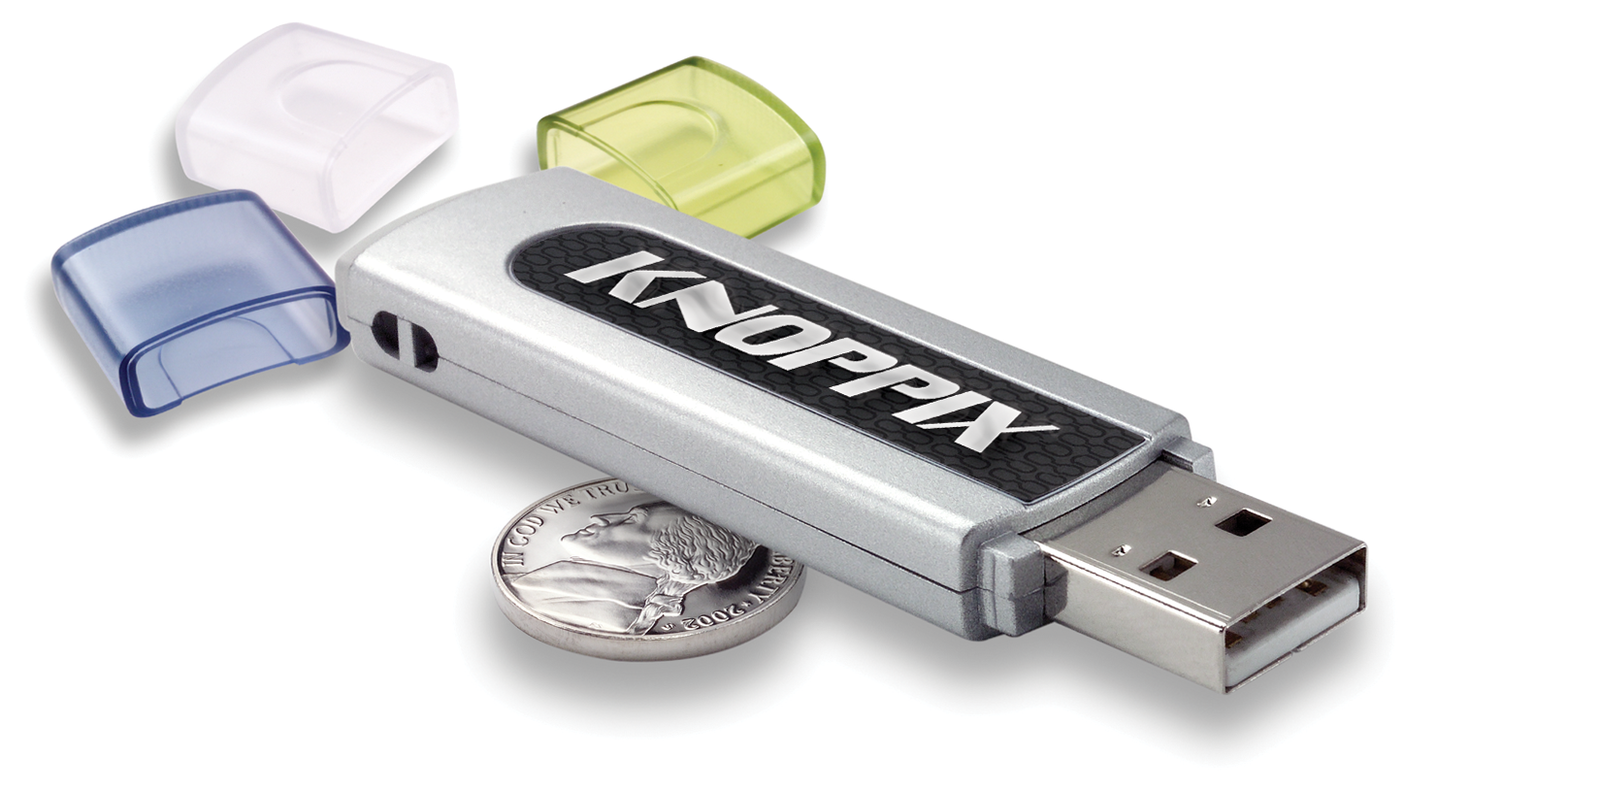
I am new to Linux and want to create a bootable USB key. Any good sites that could walk me through this step by step?
Answer:
Creating a bootable USB key is (technically) easy. I should start with a brief introduction to the topic of booting from USB.
Not all boards are capable of booting from USB. Furthermore, some combinations of USB sticks and boards won't boot together, even though they may boot separately. And then, some keyboard combinations only boot in a certain way, depending on how the USB key was prepared and what's set in the BIOS.
To make matters even worse, some keys pretend to start loading the operating system but then fail BIOS built-in checksum procedures after transferring only a few kilobytes of data. I have also seen cases when success depends on which USB port you use and whether you used a cable between the key and computer.
This may not sound very promising; however, for a majority of (USB boot-capable) board and key combinations, it works. A USB boot key is a really nice way of booting Knoppix, since you can store your persistent image (or virtual writable disk) right on the same key.
Keep in mind that there are some obstacles to handle in the boot process. At the time when the bootloader should read the Linux kernel and initrd from the key, there is no operating system running, and the computer's BIOS must do all the work of detecting partitions and loading data from the drive without having any other "drivers" available other than those in the BIOS firmware of the board. On the other hand, as soon as the Linux kernel is loaded, the USB key has "gone away." In other words, it is not visible anymore and has to get re-detected by the kernel using the modules from the initial ramdisk that contain the USB drivers and the filesystem used in the partitions containing the main data for Knoppix (i.e., the cloop compressed filesystems).
There are still many things that can go wrong when booting from USB, even if you follow the steps correctly. It's probably not your fault if doesn't work.
For all examples, we use /dev/sda as the device name for your USB key. This is most likely incorrect, especially if your computer hosts SATA disks. Please double check which device name the USB key gets assigned when it is plugged in each time - even when the USB key is plugged in again!
For most commands, you won't need root permissions if the key's device files in /dev are writable for the normal user account and mountable via corresponding entries in /etc/fstab. If they are not, use sudo or your root shell and be twice as careful.
Some USB sticks will only boot when they are partitioned in a certain way, and some BIOSes apparently look for a certain partition and filesystem header or refuse to boot. We had some cases where a board only wanted to boot from an unpartitioned USB key, and others cases where both a DOS master boot record and the "bootable" partition flag were required.
First try booting with a more or less unmodified default partition table and filesystem. Most new USB keys have a (kind of) valid partition table in which only the first primary partition is formated as FAT16 or FAT32. Make sure that the partition in this case is bootable.
For a USB key partition that appears as /dev/sda1, the command to just set the "bootable" partition flag would be:
sfdisk -A1 /dev/sda
For repartitioning the USB drive, you can use the same tools you use for a regular hard disk (i.e., qtparted or (my favorite) fdisk or sfdisk).
The partition type for a DOS/FAT filesystem (the least problematic for USB boot) would be "6" for FAT16 and "b" for FAT32. Use FAT16 for partitions smaller than 2 GB and FAT32 for partitions larger than that. See above for the sfdisk command to set the "Bootable" (or "active") partition flag, which is independent from the partitions filesystem or content.
The mkdosfs command for formatting a FAT16 partition /dev/sda1 is:
mkdosfs -F16 /dev/sda1
Whereas for FAT32, it would be
mkdosfs -F32 /dev/sda1
Needless to say that, at this point, you lose all the data on that partition. But if you repartition and reformat a USB key, you should back up all the data on it (and possibly all the data on any partition or disk that you could accidentally confuse with the USB drive).
Many USB keys won't recognize or display the new partition table immediately, so it's a good idea to unplug and replug the USB key or hard disk after each of the aforementioned steps. Recheck the new partition table with:
cat /proc/partitions
after it has been plugged in again for a few (dozens of) seconds. (Some drives are slow in partition table detection.) If the drive now appears with a new device name (i.e., sdb insead of sda), you probably forgot to umount a filesystem from it before unplugging. You can do it now. It most likely no longer exists, though, after you repartition the drive.
For USB keys without partition (if the partitioned boot method fails), skip the partitioning step and enter the mkdosfs command on the entire USB key.
That was the hardest part, though no installation was involved yet. The rest is really easy.
What isolinux does for CD or DVD, syslinux is doing for DOS-formatted partitions or disks.
For partitioned drives:
syslinux /dev/sda1
For unpartitioned drives:
syslinux /dev/sda
(Make sure you are using the correct device name for your system.)
If you use a partitioned USB key, you can also set (or reset) the master boot record properly. It's not always necessary to do this, however. You may want to see if booting works without changing the MBR first.
Install a syslinux master boot record for partitioned drives:
ms-sys -s devicename
Use /dev/sda if /dev/sda1 is the USB key's FAT16/FAT32 partition; watch out for the correct device name.
You need to mount the USB key (or partition, when using partitioned mode) case-sensitive for this step:
mkdir -p /media/usbkey
mount -t vfat -o rw,umask=000,shortname=winnt /dev/sda1 /media/usbkey
Next, you should change /dev/sda1 to the partition in question, and then skip the partition number in case of using the entire key.
Now copy the boot files from the Knoppix CD or DVD. Let's assume the CD is mounted under /cdrom in a live Knoppix session, though you can very well do all these steps with any Linux distribution.
cp /cdrom/boot/isolinux/* /media/usbkey
While isolinux searches all bootfiles in /boot/isolinux, syslinux searches them in the / directory on a FAT filesystem.
But wait... syslinux has a different name for its config file!
mv /media/usbkey/isolinux.cfg /media/usbkey/syslinux.cfg
You can safely delete the iso/eltorito-specific files, since we don't need them.
rm -f /media/usbkey/isolinux.bin /media/usbkey/boot.cat
Now, the key is already bootable, containing both the kernel and initrd, and we can start copying the cloop file(s), which reside in the Knippix directory on the CD.
rsync -Hav --progress /cdrom/KNOPPIX /media/usbkey/KNOPPIX
After this is done, you have to umount the device in order to sync the pending buffer data to disk and close the session. Don't be surprised if this command takes a long time; there may be a lot of unwritten data in memory due to the fabulous Linux dynamic block buffer cache that makes disk writes appear way faster than they really are.
umount /media/usbkey
A board capable of booting from USB usually has at least two modes of USB booting:
which should really read "boot from a partitioned USB drive" or "boot from an unpartitioned USB drive."
For the "default" new USB key, USB hard disk would be correct, but it really depends on what you have already done in Step #1.
If your USB key doesn't work the first time, your problem might be:
knoppix acpi=off noapic pnpbios=off pci=bios irqpoll ...
Knoppix 5.1.0 features a script called mkbootdev, written by Martin Öhler and me, that will do all the steps above with a few mouse clicks. If you start mkbootdev from the shell in a running Knoppix CD or DVD while your USB pen is plugged in and no partitions from it are mounted, it will guide you through Steps 1 through 3.