
By Dmitri Popov
Shooting a video is easy. Almost all modern mobile phones and digital cameras allow you to record video clips. Although websites like YouTube provide ready-made tools for sharing your creations with the world, you may want to publish your videos on your own website. In that case, you might want to consider converting your videos into the Flash-based FLV format.
FLV is probably the most popular format for video streaming on the Web. The format is designed with streaming in mind, and FLV-encoded movies are extremely compact. It is no surprise that video sharing services like YouTube, MySpace, and Google Video use the FLV format for their video content. Although FLV is a proprietary format, several tools for creating, converting, and playing FLV files are available at no cost.
To publish videos on your website in the FLV format, you need a tool to convert videos to FLV format and software on your site to embed and play FLV files. When converting videos, you can either use an online conversion service or install the necessary encoding software on your computer.
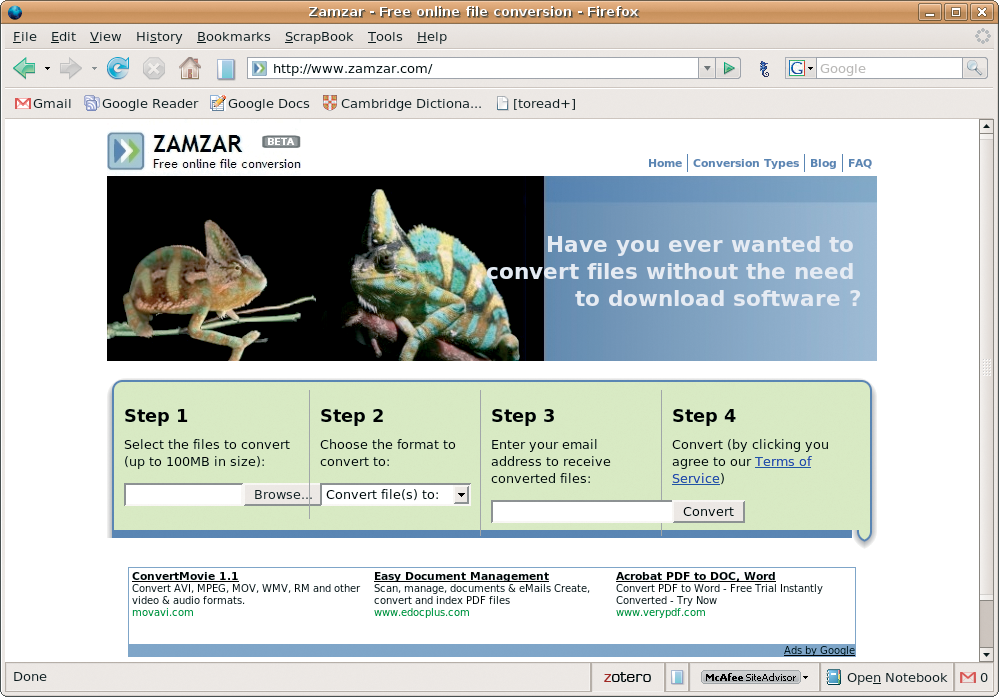
Several Internet-based services convert videos to FLV format. Zamzar [1] is probably the best known. Zamzar is easy to use, supports a wide range of video formats, and offers fast turn-around. To convert a video into FLV format using Zamzar, go to Zamzar's website, choose the file you want to convert, select FLV from the Convert drop-down list, enter your email address, and press Convert. Zamzar then uploads the selected file to its server and sends you an email notification when the conversion is done.
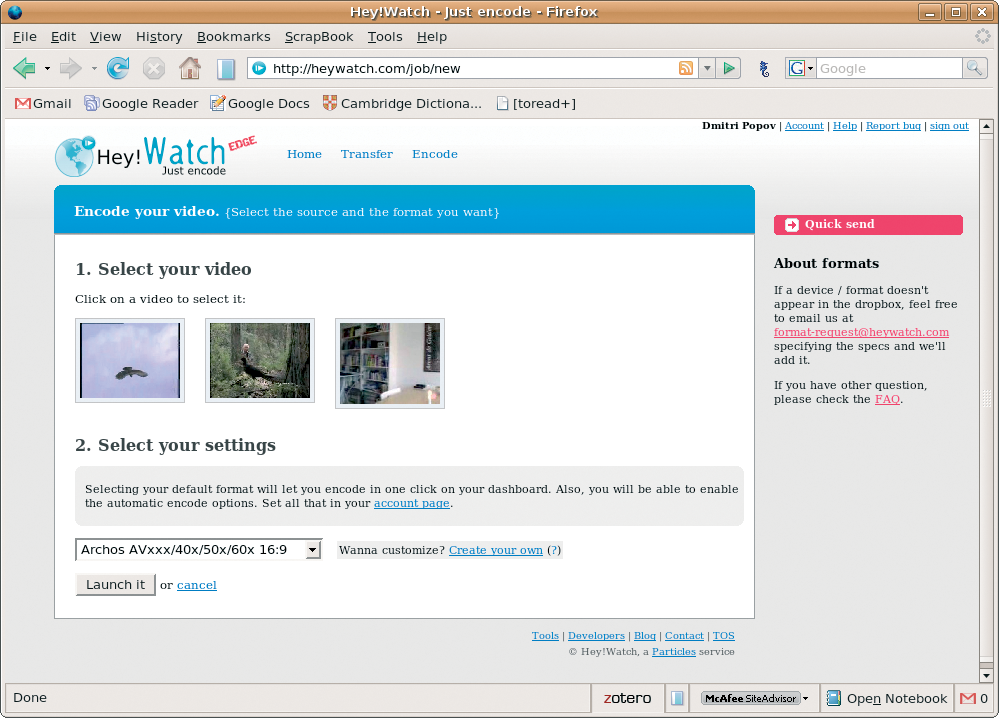
Another rather promising video conversion service is the French-based Hey!Watch [2]. Although Hey!Watch is still in beta, it does offer a few handy conversion features. Unlike Zamzar, Hey!Watch allows you to use your account to store and manage uploaded videos. Hey!Watch supports quite a few video formats, and it allows you to create a conversion template with predefined settings. You can use the template to quickly convert videos without fiddling with different settings each time. To create your own conversion template in Hey!Watch, go to the Encode section, click the Wanna customize link, and select the desired options from the provided drop-down lists.
While these Internet-based services are good for converting videos every now and then, they are not very practical to use if you need to convert large files or if you plan to publish videos without uploading them to a third-party service. In this case, a better solution is to use a dedicated conversion tool on your own computer. To convert videos into FLV format on your Linux desktop, you can install the ffmpeg tool [3].
Most major Linux distributions include packaged versions of ffmpeg in their repositories, so you can install the tool on your computer using your distro's package manager. To convert a video file, open the terminal and run the following command:
ffmpeg -i INPUT_FILE.avi OUTPUT_FILE.flv
INPUT_FILE refers to the original video file in either the AVI or MPEG format, while OUTPUT_FILE refers to the resulting FLV file. As you might expect, ffmpeg accepts a wide range of options, which allows you to fine-tune the conversion process. For example, the following command produces a 320x240 FLV file with the 44100 Hz audio sampling rate:
ffmpeg -i INPUT_FILE.avi -s 320x240 -ar 44100 OUTPUT_FILE.flv
To view a full list of available options, use the ffmpeg -h command.
ffmpeg produces a bare-bones FLV file that lacks any metadata, and if you want to insert some additional information into the file, for example, duration time, you can use flvtool2 [4]. To install flvtool2, make sure Ruby on Rails is installed on your machine, download the latest release of the software, and unpack the downloaded archive. Launch a terminal, switch to the directory containing the unpacked files, and run the following commands:
ruby setup.rb config
ruby setup.rb setup
sudo ruby setup.rb install
To insert the metadata into the previously converted FLV file, simply use flvtool2 as follows:
cat OUTPUT_FILE.flv | flvtool2 -U stdin <C>
OUTPUT_FILE.flv
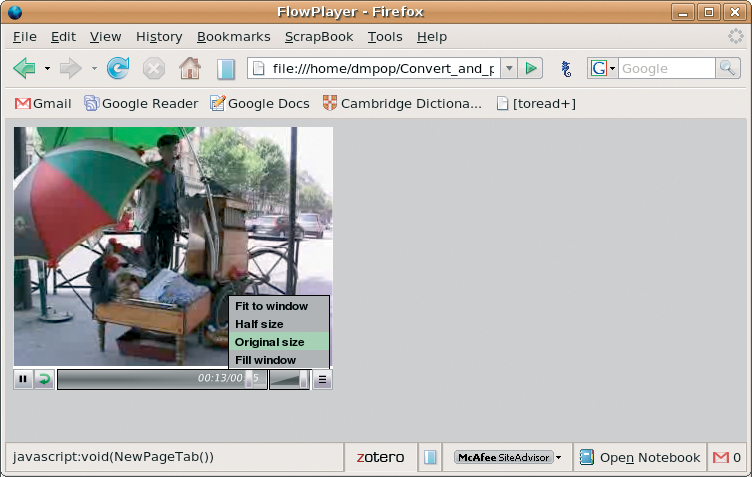
Once you've converted the video into FLV format, you are ready to publish it on your website. To do this, you need a tool capable of playing FLV files. The best one for the job is FlowPlayer [5], a customizable open-source player that is extremely easy to embed into any web page. Since FlowPlayer is written in Flash, you embed it as any other Flash applet. The only difference is that an embedded player accepts a wide range of parameters that control its behavior. FlowPlayer is available in three versions: Standard edition (best suited for playing a single clip), Long play edition (designed for playing long videos), and Skinnable edition (allows you to use custom skins).
The fastest and easiest way to add the converted video to a web page is to put the file in the same folder with the standard edition of FlowPlayer and add the code shown in Listing 1.
| Listing 1: Publishing Videos with FlowPlayer |
01 <object type="application/x-shockwave-flash" data="FlowPlayer.swf" width="320" height="263" id="FlowPlayer">
02 <param name="allowScriptAccess" value="sameDomain" />
03 <param name="movie" value="FlowPlayer.swf" />
04 <param name="quality" value="high" />
05 <param name="scale" value="noScale" />
06 <param name="wmode" value="transparent" />
07 <param name="flashvars" value="config={videoFile: 'OUTPUT_FILE.flv'}" />
08 </object>
|
Parameters used in the code block specify the playback quality, scaling options, player version, and, of course, the video file. There are many other parameters at your disposal. For example, if you want the player to start playing the video as soon as the page is loaded, you can use the following parameter:
<param name="flashvars" value="videoFile=OUTPUT_FILE.flv&autoPlay=true"/>
While you can specify parameters directly in the embedded code, FlowPlayer can also read them from an external configuration file. To create a configuration file, enter the desired parameters in a plain text file, and save it with the .js extension (e. g., FlowPlayerConfig.js). Then point the player to it using the following parameter in the embedded code:
<param name="flashvars" value="config={configFileName:'FlowPlayerConfig.js'}" />
An external configuration file can come in handy if you want to embed FlowPlayer in several pages on your website. In this case, instead of specifying parameters for each and every player instance, you can simply point them to the same configuration file.
If you want to publish a long video on your website, you should use the Long play edition of FlowPlayer, which allows you to attach thumbnails to the video. The thumbnails act as bookmarks, allowing the user to quickly jump to different parts of the video. Listing 2 shows some example code for specifying thumbnails (the time for each thumbnail is specified in seconds).
| Listing 2: Specifying Thumbnails |
01 thumbNailInfo: {
02 location: 'http://path_to/thumbnails',
03 thumbs: [
04 { thumbNail:  'Thumbnail_1.jpg', time: 15},
05 { thumbNail:  'Thumbnail_2.jpg', time: 51},
06 { thumbNail:  'Thumbnail_3.jpg', time: 97}
07 ]
08 }
|
FlowPlayer is also capable of handling playlists, which can be useful when you want to add multiple videos. Better yet, the video files don't need to be in the same folder with FlowPlayer or even on the same server; you can specify links to the videos inside the playlist, as shown in Listing 3.
| Listing 3: Specifying Links Inside a Playlist |
01 playList: [
02 {url: 'http://path_to/intro_image.jpg'},
03 {name: 'Amazing holidays', url: 'http://www.server_1.org/Amazing_holidays.flv'},
04 {name: 'Beautiful clouds', url: ''http://www.server_2.org/Beautiful_clouds.flv'},
05 {name: 'Vintage tractors', url: ''http://www.server_3.org/Vintage_tractors.flv'}
06 ]
|
The next time you need to publish a video on your website, try using FLV format with FlowPlayer. FLV provides an excellent means for compressing and streaming video clips, and FlowPlayer offers a powerful tool for delivering the videos to end users.
| INFO |
|
[1] Zamzar: http://www.zamzar.com
[2] Hey! Watch: http://heywatch.com [3] ffmpeg: http://ffmpeg.mplayerhq.hu/ [4] flvtool2: http://www.inlet-media.de/flvtool2 [5] FlowPlayer: http://flowplayer.sourceforge.net/ |
| THE AUTHOR |
|
Dmitri Popov holds a degree in Russian language and computer linguistics. He has been working as a technical translator and freelancer contributor for several years. He has published over 500 articles covering productivity software, mobile computing, web applications, and other computer-related topics. His articles have appeared in Danish, British, US, and Russian magazines and websites. |