By Dmitri Popov
Mindquarry is an appealing proposition for users who need an easy to install and use collaboration solution [1]. Mindquarry is written in Java, which means that you have to install Java Runtime Environment on the machine that will act as a Mindquarry server. Once you've done that, download the binary installer of the Mindquarry software for your platform (Figure 1). (On Linux, you can choose between the 32-bit and 64-bit versions.)
Next, you open the terminal and run the installer as root. The installer checks to see whether all the required packages are present, and you will be prompted to install any that are missing. During the installation, you will be asked to provide a few configuration settings, like an installation directory, a name for your Mindquarry server, etc.
Pay particular attention to the Server Domain option - the server domain is often the same as the IP address (or domain name) of the machine running Mindquarry. For example, if you plan to use Mindquarry on your local network on the machine with IP address 192.168.1.2, then this is the address to use as the server domain. Mindquarry is also available as a pre-configured VMware-based virtual machine. Simply run it using VMware Player [2], and you can try all Mindquarry's features.
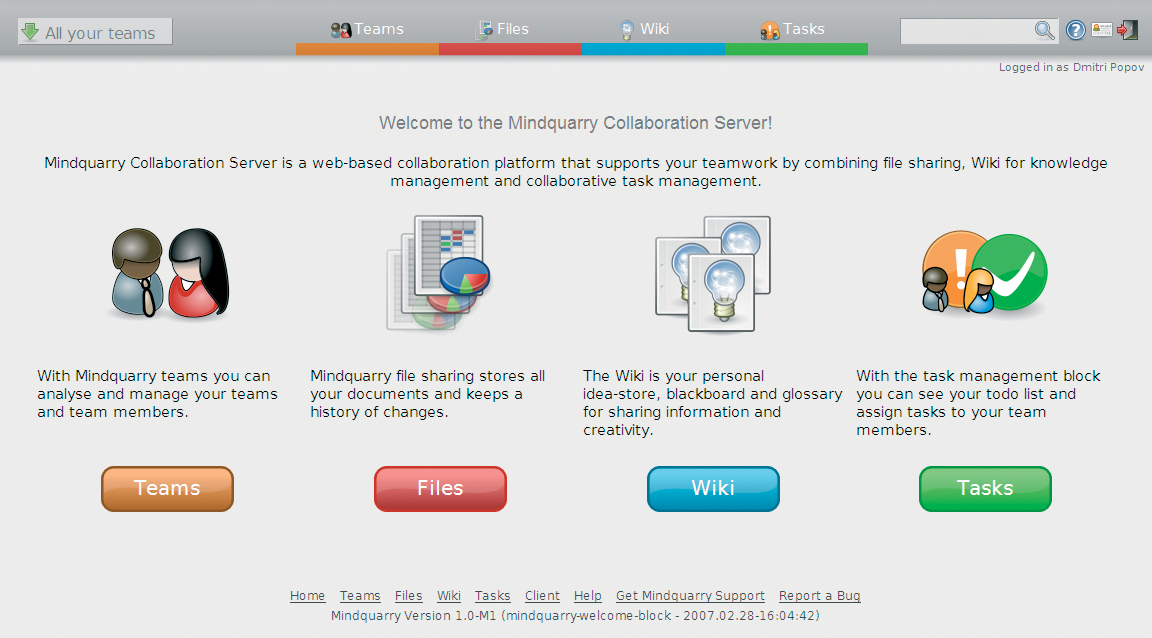
Once Mindquarry is installed, start it with the /opt/mindquarry/bin/mindquarry start command. Point your browser to your Mindquarry installation and log in using the default user name and password (admin/admin). To change the default password and secure your Mindquarry, click on the Edit User Profile icon in the upper-right corner and change the default data.
The next step is to populate Mindquarry with users and teams. To create a new team, click on the Teams tab and press the New Team button. In the dialog window, enter the Teamspace ID (e.g., "tinyteam") and Teamspace Name (e.g., "Tiny Team") in the appropriate fields, then press OK. In a similar manner, you can create users with the New User button and add them to the team with the Team Members button in the team section. You can create as many users and teams as you like. In fact, you might want to create a separate team for each project and add the relevant users to it.
Mindquarry offers three modules essential for effective collaboration: Files, Wiki, and Tasks. (A chat module that enables real-time communication between team members is in the works.) Each team has its own set of these tools, and each user in the team has full access to them. In other words, Mindquarry doesn't allow you to define different sets of privileges for different users. Considering Mindquarry's target group, this is actually a good thing. In small workgroups, all users are usually trusted and thus have equal rights. This assumption allows you to significantly simplify the overall architecture of the system and make the process of adding and managing users more straightforward.
The Files module allows team members to publish, edit, and keep track of changes in documents (Figure 2). To do this, Mindquarry relies on proven and powerful revision control software called Subversion.

From an end-user point of view, this offers one major advantage - you can work with your documents locally and synchronize them with the Mindquarry server when needed. Every time you perform synchronization, the server creates a new version of the document, and you can view the document history in the Files section by clicking on the Recent changes button. Mindquarry also offers an RSS feed (the Feed of changes link), so you can keep track of changes with an RSS reader.
To synchronize documents between your computer and the Mindquarry server, you have to install the Mindquarry Desktop Client, a small Java-based utility that acts as a link between your machine and the server. To install the client, go to the Files section, and press the Synchronize now button. This installs the client, and during the first run prompts you to configure a profile and its connection settings (Figure 3).
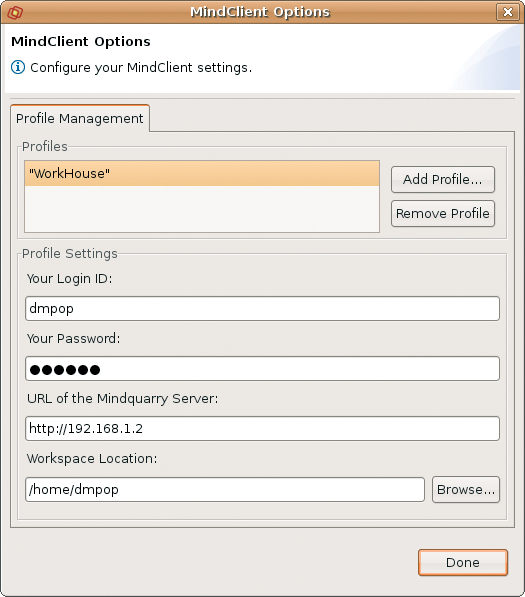
Note that you can create separate profiles for different teams that can be located on different Mindquarry servers. Once you've configured the profile, perform synchronization by pressing the Synchronize now button. This creates a team folder in the specified location containing the documents that have already been published on the Mindquarry server. Now you can add, delete, and edit documents in the folder in the usual manner. The only difference is that you have to perform synchronization to keep the documents in sync.
Besides the Desktop Client, Mindquarry supports two other ways of working with documents. Because Mindquarry is based on Subversion, you can use any Subversion client - like kdesvn - to work with files. Better yet, Mindquarry fully supports WebDAV [3], which means that you can simply mount the team document folder and work with documents as if they were on your local machine.
The Wiki module allows users to maintain a team wiki and offers all the basic tools necessary for creating wiki pages (Figure 4). Unlike traditional wiki systems, the Wiki module in Mindquarry doesn't use any special markup. Instead, it provides WYSIWYG editing tools, which users can use to create pages with ease. Another nifty feature is the ability to export any page as PDF (the PDF for print button). However, you can't modify any export settings.
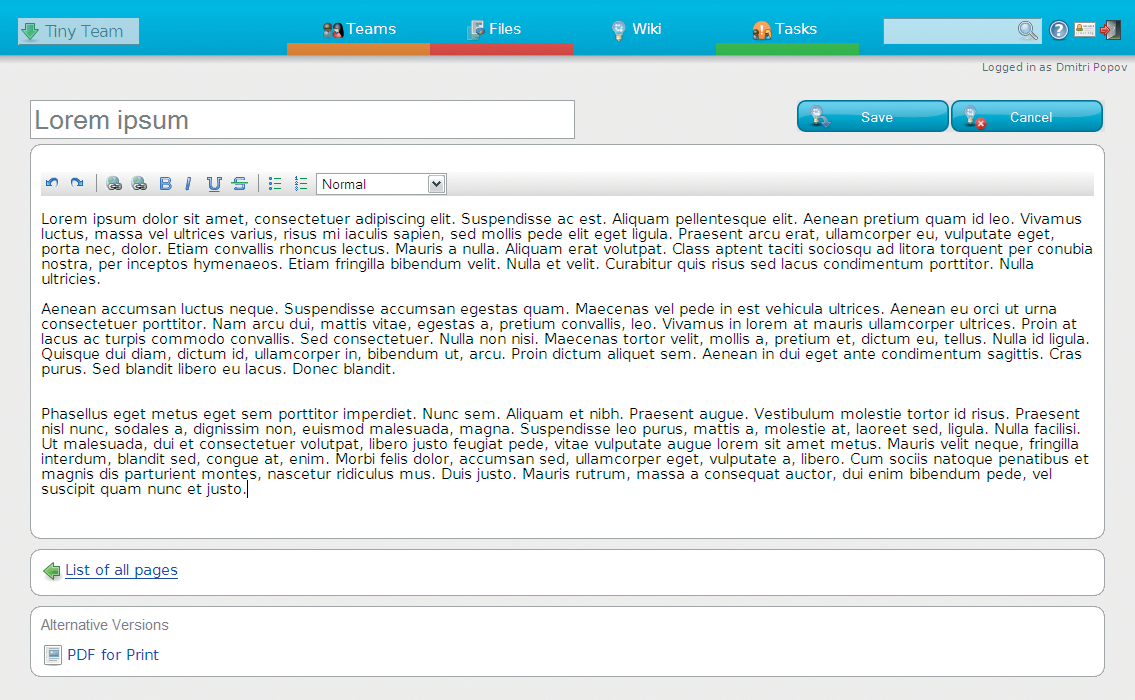
The ability to track changes is the one thing that the Wiki module currently lacks. According to the developers, Mindquarry does have a mechanism for tracking changes in wiki pages, and the only thing actually missing is a visual interface to it.
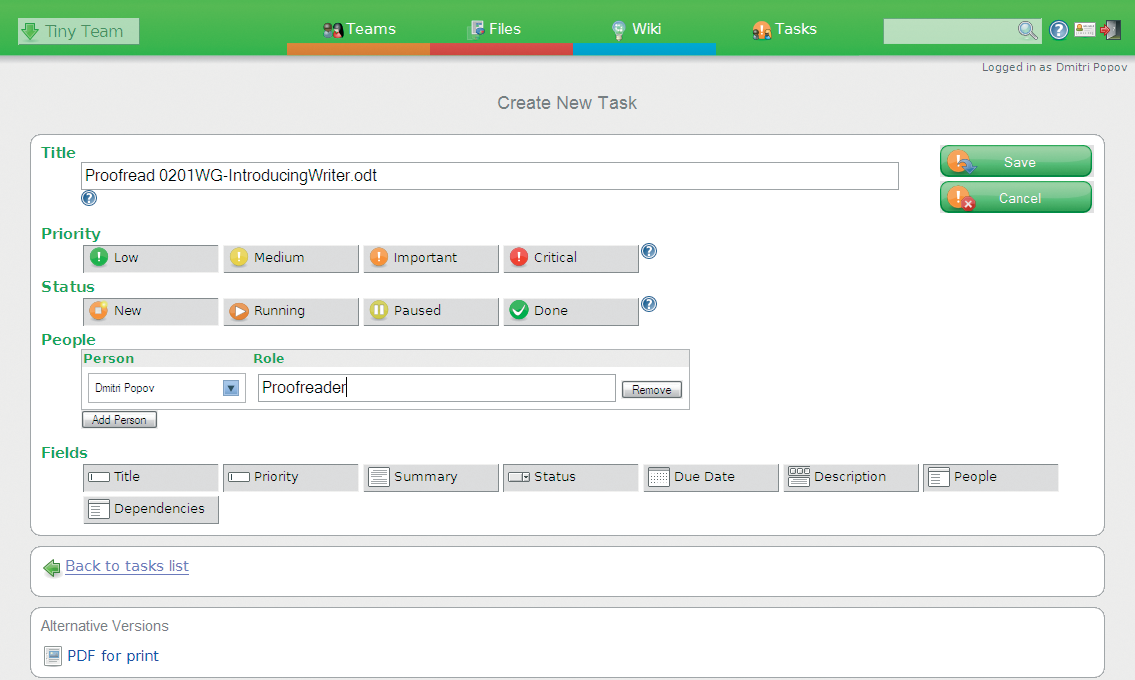
Finally, Mindquarry features a rather impressive Tasks module. For starters, the module is heavily AJAXified, which makes it more like a desktop application than a web-based task manager. More importantly, however, is the ingenious way you can manage tasks. When you create a new task in a traditional task manager, you have to fill out a number of mandatory and optional fields. In Mindquarry, you can choose what fields to use.
When you create a new task, you have an option to insert additional fields or remove the existing ones by pressing the appropriate Fields buttons (Figure 5). For example, if you want to add a detailed description of the task, press the Description field button, and the Description field is added to the task form (including a WYSIWYG tool bar for rich formatting). Need to assign the task to a particular user? The People button lets you select a user from the drop-down list. To remove a field from the task form, press the appropriate button. By adding and removing fields from the task form, you can customize each task so it contains only relevant information.
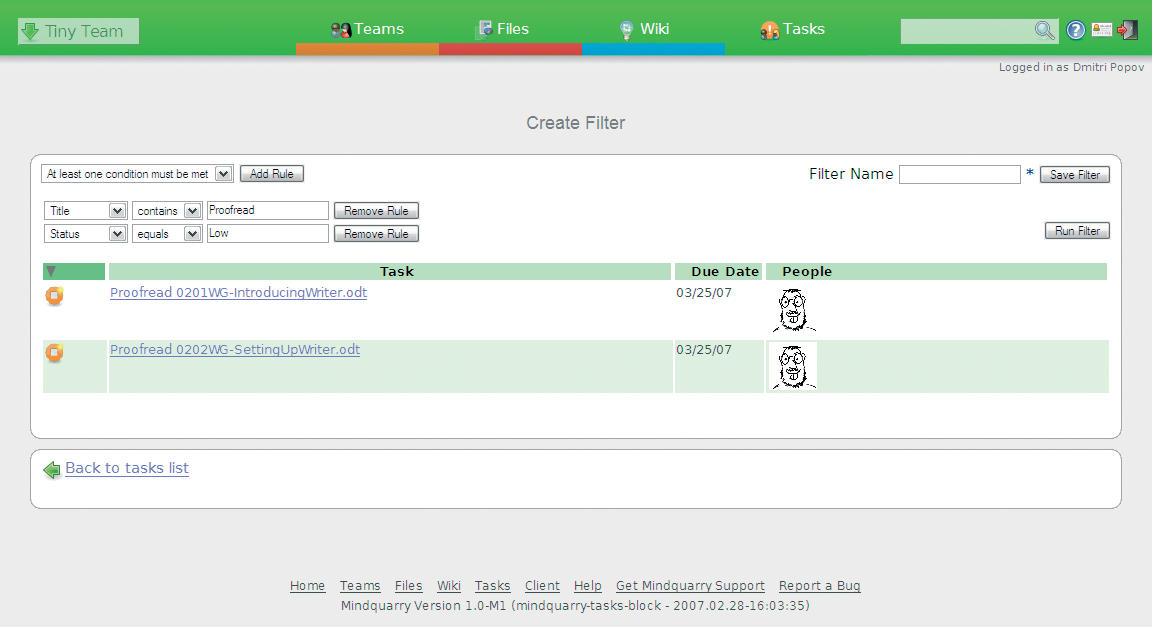
The Tasks module includes yet another useful feature. If you have hundreds of tasks in your system, keeping track of them can be a bit of a challenge. To solve this problem, the Tasks module allows you to create a filter that displays only tasks that meet the specified rules (Figure 6). Better yet, you can save the filter for later use. For example, you can create a filter that displays only low-priority tasks assigned to you and save it as "Things I have to do some time." Because you can add as many rules as you need, you can create rather advanced filters. The Tasks module also provides RSS feeds so you can track the tasks with your favorite RSS reader. You can also export the tasks as a .ical file ready to be imported into a calendar application that supports this format. Finally, you can export the tasks into a PDF file.
Although Mindquarry is still in the early stage of development, it's a tool that can really make a difference for small workgroups. Mindquarry's developers got all the basics right, but they also succeeded in creating an application that is easy to use without sacrificing functionality.
| INFO |
|
[1] Mindquarry: http://www.mindquarry.com/
[2] VMware Player: http://www.vmware.com/products/player/ [3] WebDAV: http://www.webdav.org/ |
| THE AUTHOR |
|
Dmitri Popov holds a degree in Russian language and computer linguistics. He has been working as a technical translator and freelancer contributor for several years. He has published over 500 articles in Danish, British, US, and Russian magazines and websites. |