
By Tim Schürmann
The PC emulator Bochs first saw the light of day in 1994. Bochs' inventor, Kevin Lawton, distributed the emulator under a commercial license before selling to French Linux vendor Mandriva (which was then known as MandrakeSoft). Mandriva freed the emulator from its commercial chains, releasing Bochs under the LGPL license.
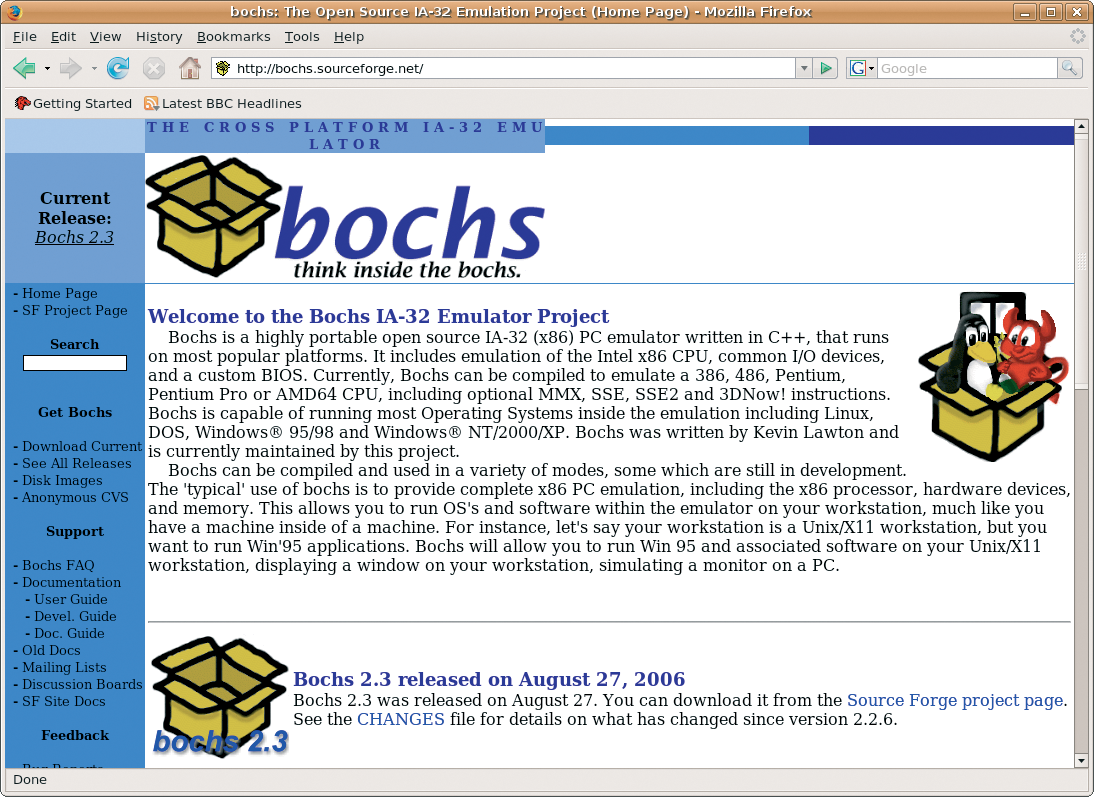
Bochs has now found a new home at SourceForge.net [1] (Figure 1). You can download a free RPM package from the site. The RPM should run on any recent distribution. To install the package at the command line, become root and then type rpm -Uhv bochs-2.3-1.i586.rpm. If you use a Debian-based distribution, try your favorite repository first. Ubuntu "Edgy Eft" users will find packages for the 2.2.6 version in the Universe repository; you will additionally need to install the Bximage program. (Bximage is already part of the Bochs RPM for openSUSE.) If worst comes to worst, you can always build your own Bochs from the source code (see the "Building Bochs" box). This also applies if you want to run Bochs on a pre-Pentium CPU, such as a 486.
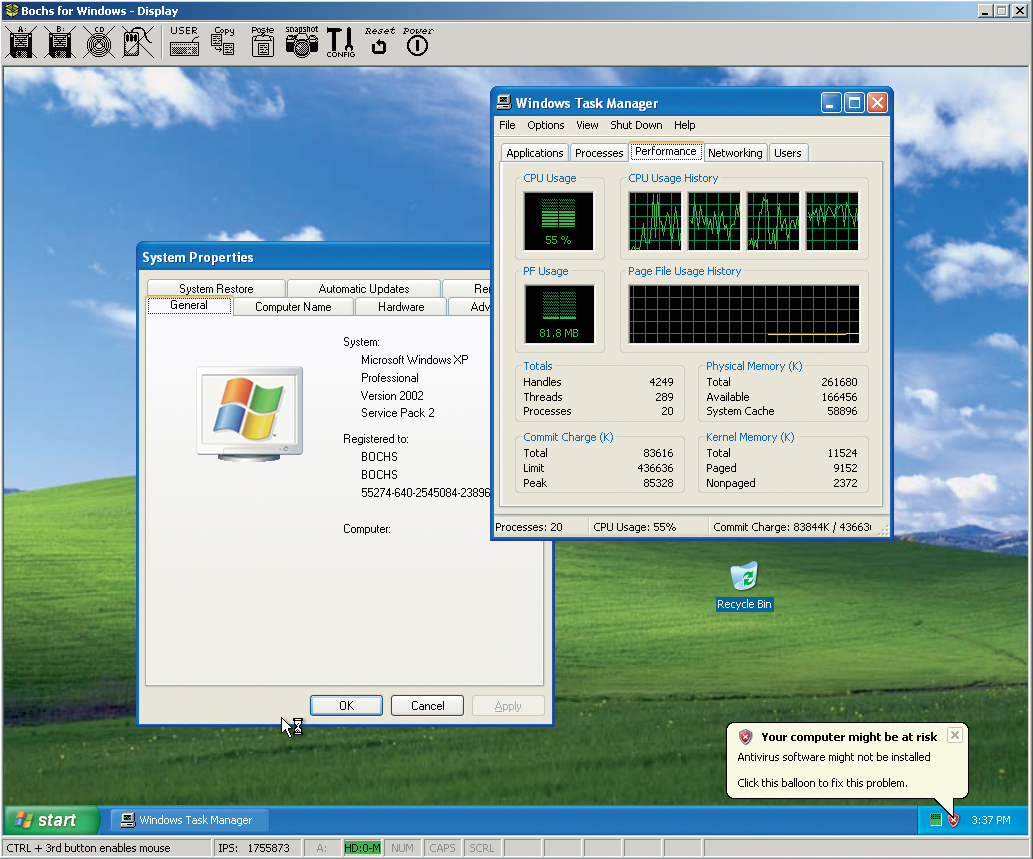
After installation, the program will simulate a complete PC, including CPU, graphics, sound card, and network interface. The virtual PC in a PC works so well that complete operating systems will run under Bochs (Figure 2), including Linux, any version of Windows apart from Vista, and many other more exotic operating systems.
Bochs is not only useful for reviving legacy software, but also for giving a new operating system a trial run, or trying out critical system settings. In contrast to Qemu, which uses a similar approach, Bochs does not offer an acceleration module, and this makes the old-timer much slower than its competitor.
| Building Bochs |
|
If you prefer to build your own Bochs, or if you have no alternative, you will first need to install the C++ compiler and developer packages for the X11 system. After unpacking the source code archive [1], type ./configure; make to configure and compile, and then go on to install by becoming root and entering make install. Note that this only gives you a minimal environment. To enable support for a network adapter on your virtual PC, you need to pass in an additional --enable-ne2000 parameter to configure. The extremely long list of parameters in the user manual [2] gives you a list of available options. The Bochs RPM package supports these hardware components by default. If you want to use another CPU, you have no alternative but to build Bochs from the source code. The --enable-cpu-level=4 switch enables Bochs for the legacy 486 CPU, for example. |
In contrast to Qemu, your first run with Bochs is likely to be a bumpy ride, and there is a fair amount of preparation to complete before you can set off. First of all, you need the installation medium for the operating system you will be running on your virtual PC.
Supported media include physical CDs/DVDs or ISO images, that is, files with an exact image of the CD/DVD. ISO images of most Linux distributions are available on the Internet; if you don't have an image, use a burning tool such as K3b to read the medium bit by bit.
Bochs uses the same approach to emulating hard disks: instead of using a physical disk, the emulator just grows an image. Although the data is just dumped into the image file at a physical level, the guest operating system on the virtual PC thinks it has access to a physical hard disk. The Bximage program helps you create a completely empty virtual disk of the size you need.
Just a couple of steps give you an empty virtual disk. Figure 3 shows a typical session; after starting Bximage in a terminal window, the program asks you whether you want to create an empty hard disk or a floppy. Just accept the default by pressing Enter. The next step is the file format: Instead of accepting the default, opt for growing. This allows the image file to grow with the data you store on it later. The flat file format would reserve the full capacity of the virtual disk on your physical hard disk.
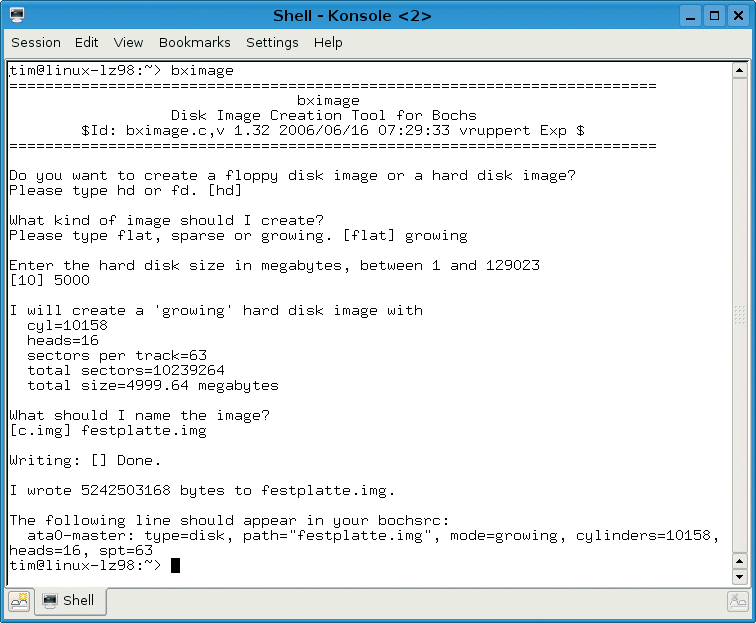
The next step is to specify the size of the disk. You will need at least 5GB for Windows XP; thus, 5000 is the value you need to type. Bximage gives you an overview of key data for the virtual disk and prompts you to enter a filename.
I used hardisk.img for the example in Figure 3. This completes the data entries for the disk, and Bximage will now go on to create a matching image, before finally outputting a fairly cryptic message. Make a note of the message, as it plays an important role in configuring Bochs later on.
Bochs expects you to pass in the structure and settings for the virtual PC in a configuration file. The sample file, bochsrc-sample.txt in the /usr/share/doc/bochs directory is a good place to start. Ubuntu adds an examples subfolder with an archive file titled bochsrc.gz.
Copy the file to your home directory, unpack by typing gunzip bochsrc.gz, chown the files to become the owner, and then hide the file by typing mv bochsrc .bochsrc.
You can keep most of the basic settings in the .bochsrc configuration file, but it makes sense to change a few. Load the file with your favorite editor. The lines that start with pound signs are comments that Bochs will just ignore. Each setting comprises a label, a colon, and one or multiple values.
I'll start by locating the line megs: 32. This setting specifies the amount of RAM in megabytes that you will be assigning to the virtual PC. For a recent operating system, 32MB RAM is nothing like enough for a recent operating system, so you will want to set this value to at least 256MB. Note that Bochs will take this off your physical memory.
Because the host Linux system also needs some memory, you should not assign more than half of your available physical memory. Also note that Bochs can't handle more than 2GB of RAM.
Now move to the line that starts with ata0-master:: You will notice a couple of other entries such as ata1-master, ata0-slave, and ata1-slave, some of which are commented out.
Each of these entries represents a hard disk connection. ata0-master is normally your first physical hard disk. You need to add the values output by Bximage after creating the virtual disk. In this example, the line looks like this after editing:
ata0-master: type=disk,path="harddisk.img",mode=growing,cylinders=306,heads=4, spt=17,translation=none
Now for the virtual CD ROM drive. Because you will not need any additional hard disks, you can attach the CD-ROM to ata1-master:
ata1-master: type=cdrom,path="/dev/cdrom",status=inserted
This line says that you have a CD-ROM drive (type=cdrom) attached to the first connector (master) on the second hard disk controller (ata1).
A CD is in the drive (status=inserted), and the path to the physical drive in your PC is /dev/cdrom.
To use an ISO image instead, just replace /dev/cdrom with the name and path to the ISO file. You now have a virtual PC with a hard disk and a CD-ROM drive. You can do without the other connectors, ata0-slave, ata1-slave, and so on, for the time being. Make sure there is a pound sign at the start of the corresponding lines.
You can then go on to specify from which of the two devices the virtual PC boots. Locate the line that starts with boot:. The device following the colon is the device on which Bochs will expect to have an operating system.
You can use multiple, comma-separated entries; thus boot: cdrom, floppy, disk would try to boot from the CD first, followed by the floppy, and finally the hard disk.
If you want to add a sound card to your virtual PC, look for the line starting with sb16: and remove the pound sign. This tells Bochs to emulate a Soundblaster 16-compatible model, for which most operating systems should have driver support.
The cryptic settings to the right of the colon say where to send the music addressed to your virtual sound card. The default settings are usually fine. This completes the configuration.
| Practical Toolbox |
|
Virtual disks are very practical. To clone a system, all you need to do is copy the image file. On the downside, it is fairly difficult to access the content on a virtual disk, which is particularly annoying when you need to transfer files between the physical and virtual PCs. Bochs Tools [3] helps you really get a grip on the virtual disk; for example, bxtmount hda.img:1 /mnt will mount the first partition on a virtual disk, called hda.img, in your /mnt directory. You can then use the directory to exchange files between the virtual and real worlds. But don't forget to unmount the image before you relaunch Bochs. |
Save the customized configuration and then launch Bochs in a terminal window by typing bochs. The talkative emulator will now output a couple of status messages. If Bochs is unhappy with your configuration, it will output an error message and quit. Otherwise, you should see the text-based menu shown in Figure 4 after a short while.
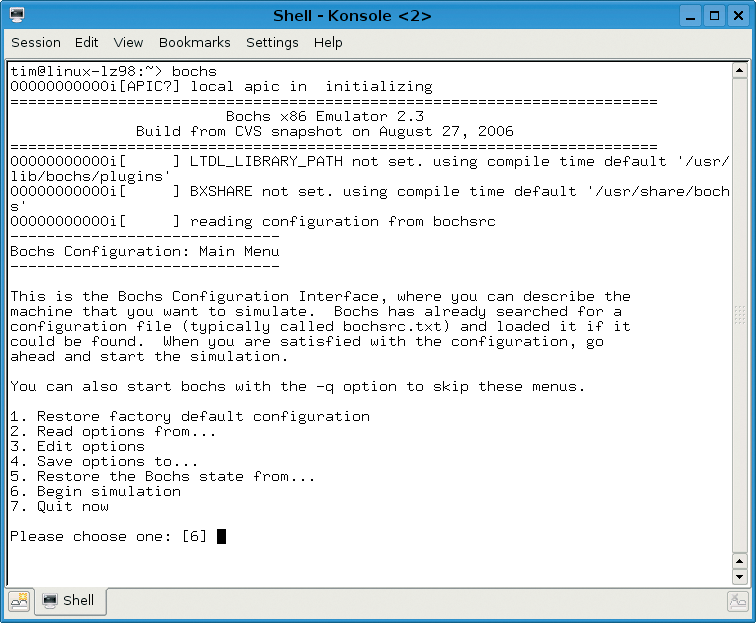
You can press 3 if you need to work on the current configuration. Any items you select will overwrite the defaults in the configuration file. If you have already modified the configuration, you can just press 6 to launch the emulation. In fact, this is the default, so you can just press Enter in the main menu.
Bochs now opens a window with the screen messages from the virtual PC. A status bar provides details of the current media activity at the bottom of the window. For example, if a program needs to access the virtual disk, the disk icon will light up green while this happens.
At the top of the screen is a button bar divided into two panels. You can eject or insert a medium on the left. Pressing the mouse icon tells Bochs to grab the mouse cursor.
You can use your mouse to navigate the software running on the virtual PC. To send the cursor back to the Linux host system, press the left Ctrl key and the third mouse button.
A couple of useful tools appear on the right of the button bar. The Keyboard button lets you define your own keyboard shortcuts; you can easily exchange selected text between the guest and host systems using copy and paste.
This said, the first of these commands will only work while the virtual PC is in text-only mode. Once you launch a GUI, such as the one that Windows enables after a short wait, the function stops working. Clicking Paste tells Bochs to feed the virtual PC with the text from the clipboard. The emulator simulates key presses to do this.
| Caught on the Net |
|
The line starting with ne2k: configures the settings for the virtual network interface in the configuration file. The sample configuration has a whole bunch of disabled entries. Just enable the line ne2k: ioaddr=0x300,irq=9, mac=b0:c4:20:00:00:00,ethmod=linux, ethdev=eth0 by removing the pound sign. Your mac and ioaddr values may differ from the ones in this article. The other lines are examples for other host systems, so there is no need to enable them. The line you enabled gives the virtual PC an NE2000-compatible network adapter that uses the eth0 network device on the physical machine. To allow this to happen, you must launch Bochs with root privileges; failure to do so will give you an error message and very little else. Experts can configure TUN/TAP for network access. The Bochs documentation [2] explains how to set this up. |
Clicking the Config button stops the emulator and displays a menu in the terminal window at the same time. You can use the menu to change a few things, such as replacing the image you are currently using in your virtual CD drive. More far-reaching settings are not available here, so don't even think about tearing the virtual sound card out of your virtual PC.
As in the first menu, to navigate, just type the number of the setting you want to change and then press Enter.
To return to the emulator, press Continue simulation.
Pressing the last of the buttons quits Bochs. You can also quit Bochs by pressing Quit in the button bar. Reset on the left restarts the virtual PC.
After navigating the fairly cryptic configuration and coming to terms with the fairly quirky controls, you will find that Bochs is a handy tool that lets you try out new distros and run Windows programs on Linux.
Because Bochs emulates the CPU, it will run on non-Intel computers such as PowerPCs. This support for other architectures lets users of older Apple machines run PC-only programs.
| INFO |
|
[1] Bochs PC Emulator: http://bochs.sourceforge.net/
[2] User manual: http://bochs.sourceforge.net/doc/docbook/user/index.html [3] Bochs Tools: http://www.bablokb.de/bochs-tools/ |
| THE AUTHOR |
|
Tim Schürmann has a Master's degree in computer science and works as a freelance author and IT journalist in Germany. Schürmann is the author of books and numerous articles that have been published online and in magazines around the world. |