
By Tim Schürmann
Video cassettes are becoming a thing of the past as movie buffs move to DVDs or hard disk recorders. Even these recent technologies pose space and convenience issues, so a do-it-yourself video server offers a handy alternative. Using the MythTV media center software, a TV card, and a decommissioned PC, you can quickly build a video server that serves up digital video in your home.
Figure 1 shows you how this setup works. The system is based on a standard Linux PC, which will become a digital video recorder under the aegis of MythTV. The software uses the internal TV card to scan TV channels and store them on the internal hard disk. In contrast to hard disk recorders, the hard disk capacity is almost unlimited; if you start running out of space, you can add a disk or replace an existing one with a bigger model.

Simply plug your server into your home network and move it somewhere out of the way - your attic, for example - where it will serve video and TV material to a tiny media center PC in your living room.
The mini-PC runs the MythTV front end, which has a connection to your server that lets you search your video archive or access the electronic program guide to decide which shows your server should record.
Before starting, I'll look at the hardware requirements.
| Check Local Statutes |
|
Before taping TV broadcasts, check the laws in your country. |
If you have access to digital TV, the reception device simply needs to grab the TV stream and dump it onto disk, keeping the video server hardware requirements so low that typically a three-year-old computer will be fine. To receive the TV program, you need a TV card that matches your connection. Currently, aerial (DVB-T), cable (DVB-C), and satellite (DVB-S) are your options.
Before heading to your nearest electronics store, check out the Linux TV [1] website. The DVB wiki gives you a database of TV cards with Linux support. Launching the Kaffeine media player (or an equivalent tool on your Linux system) to find out whether your card really works is a good idea. If you don't see a picture, or if your version's menu lacks a Digital TV option, check your dmesg output. Many TV cards ask you for a firmware file, which you will need to download off the Internet and copy to the correct directory (typically /lib/firmware). If you need help, try the wiki at Linuxtv.org.
In Europe, data transmissions use the DVB (Digital Video Broadcast) standard; that is, videos are streamed over the air in the same format that DVDs use. This means that TV cards will produce a high-bandwidth, continuous data stream, which stresses the CPU and means you need disks capable of writing the data quickly. Currently, North America is transitioning from the NTSC format to the newer ATSC standard. In any case, make sure your disk can keep up with the throughput.
After you start recording digital video, the volume of data on your disk will rapidly expand. Storing videos on a second hard disk that you can easily replace with a larger model is a good idea. You need enough free space and a file system that will accept the burden without complaining. According to Microsoft, FAT32 will quit at about 4GB, and this also applies to versions 3 and 4 of ReiserFS. Thus, the MythTV document recommends you choose XFS or JFS, although an ext3 disk also will work.
After your video server hardware is working, you can install the media center software. Although installation takes some effort, the list of steps is reasonable, and any major distribution includes MythTV or lets you download it from a repository.
On openSUSE 10.3, you will need to enable the Packman repository in YaST below Software | Community Repositories. Then change to Software management and install version 0.20.2 of the mythtv-backend, mythtv-setup, and mythtv-frontend packages. Adding an external repository isn't necessary on Ubuntu 7.10 "Gutsy Gibbon." To add version 0.20.2 of the packages, just run Synaptic or Adept.
If you must build the software, grab the MythTV source code from the project website [2]. If you think the installation is too complicated, try one of the special Live distributions, such as KnoppMyth [3] or Mythbuntu [4].
| Building |
|
To compile MythTV, you will need the following libraries and tools: g++ and make, Qt (including developer packages and tools; openSUSE calls this package qt3-devel), FreeType 2, the Lame MP3 encoder, and the complete MySQL database. If your TV card ran out of the box without external drivers, you now need to install the Linux kernel sources; if not, you also need to unpack the archive with the external drivers. On openSUSE, you also need to add /usr/lib/qt3/bin to your $PATH environmental variable; export PATH=$PATH:/usr/lib/qt3/bin If you want to, you can then install XMLTV, a tool that gives you a full-fledged electronic program guide (EPG) that retrieves the necessary data from the Internet. To start the build, unpack the MythTV source code and issue the following commands: $ ./configure --enable-dvb --dvb-path=/usr/src/linux/include $ qmake mythtv.pro $ make $ sudo make install If you will be using an external driver for your TV card, search the driver source code for a frontend.h file. Now things start getting complicated and you need to change directories (frontend.h is stored in linux/dvb). Determine the absolute path from the root directory (/) to your current working directory and use this path in the previous commands instead of /usr/src/linux/include (i.e., you need the complete path to linux/dvb/frontend.h). If an error relating to the dca.h file occurs while building the program, you will need to install the libdca library (libdts) and matching developer libraries (-dev or -devel) [5]. After installing MythTV, Ubuntu users need to add a line for /usr/local/lib to their /etc/ld.so.conf files. |
MythTV is made up of two parts: The front end provides a graphical user interface and runs in your living room, and the back end does all the hard work and resides on the server. The back end stores information you pass to it - such as the time to start a recording - in a MySQL database. Before launching MythTV, you must have the database running in the background.
How to launch the database depends on your distribution. On openSUSE 10.3, become root and issue the rcmysql command; on Ubuntu, you can sudo /etc/init.d/mysql restart. Setting up MySQL on your server automatically to launch when you boot your computer makes sense. If your distribution does not already do this for you (Ubuntu does), use your distribution's system tools to change the settings.
Now MySQL is happily running in the background, but you don't have a database for MythTV. To create the database for the MythTV back end, type mysql -u root < mc.sql. The mc.sql file is located in the database subdirectory below the MythTV source code archive.
If you install the packetized version on Ubuntu, a wizard helps you set up the database. In the process, make note of the password you see for accessing the database on the back end; if you forget to write it down, you can find the password in the /etc/mythtv/mysql.txt file.
Launching mythtv-setup on the video server to prepare the back end for access by the MythTV front end is next. From the top, work your way down the configuration menu (Figure 2) and modify your settings. Pressing the Tab and arrow keys navigates between fields, and pressing Esc gets you back into the main menu. Pressing the left- and right-arrow keys changes the values in a list, and the space bar selects the highlighted button.

First, check in General to see whether the IP address for IP address for matches your server's address (Figure 3). The default 127.0.0.1 refers to the client itself, an option for running the MythTV back end on the local machine.
Below this setting are a couple of TCP ports that the back end and front end use to communicate. If you use a firewall, you will need to open a couple of holes to match these settings.
Clicking Next moves you to a text box in which you can enter the directory where MythTV will store your recordings. Of course, this directory will be on the hard disk in your server machine. Then set the TV norm, video text norm, and transmission frequency settings for your region.
Next on the list are the TV cards. Start by setting up a (New capture card). In the next dialog, select DVB DTV TV Card (v3.x) below Card type (Figure 4). MythTV will show you the name of the chip set for the card below Frontend ID. You will need to check the DiSEqC settings for DVB-S cards.
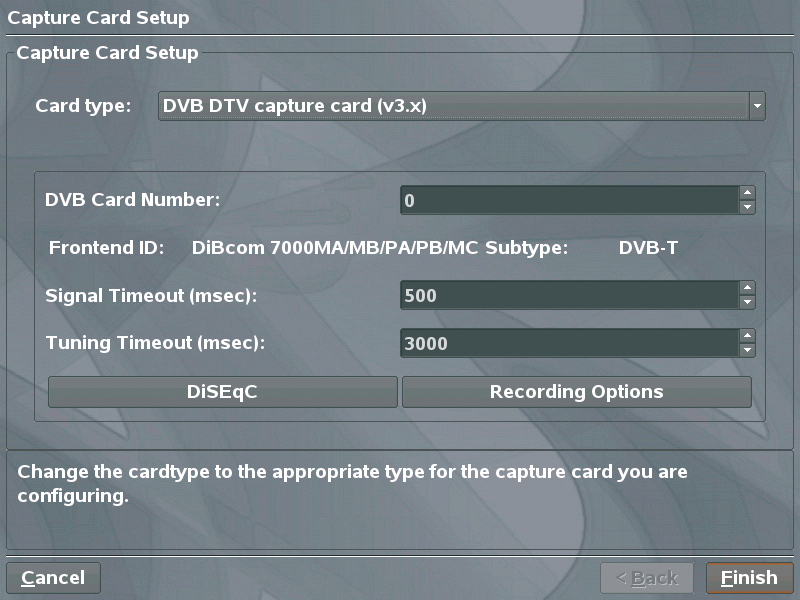
After pressing Finish, you are taken back to the list of TV cards where you can set up another card, if you have one; this is useful if you would like the option of watching one channel while recording another. With only a few exceptions, any TV card will give you one channel at a time, and you have virtually no alternative to this approach. Make sure that you use a different Card ID for the two receivers. Pressing Esc returns you to the main menu.
The next item, Video sources, is where you specify where MythTV will retrieve information for its electronic program guide. In the main menu, select the Video sources item and then select (New video source). Start by entering a Name, and then specify how MythTV will retrieve the information below Listings grabber (Figure 5).

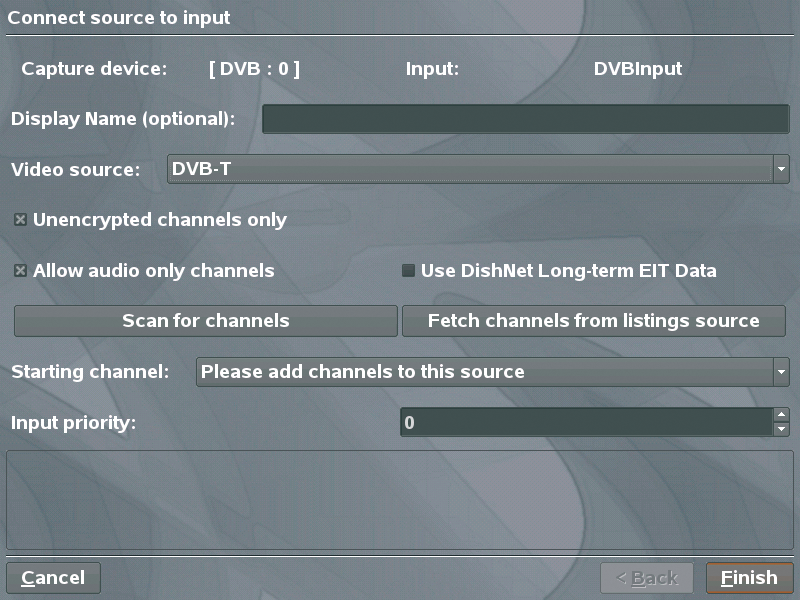
Transmitted guide only (EIT) gleans additional information from the data that every DVB variant transmits in addition to the TV stream. If you have installed XMLTV, you can specify this application as your source; to set this up, you will need to toggle to a terminal window by pressing Alt+Tab. This sets the data source for the electronic program guide, but MythTV still does not know to which TV card the information belongs. Selecting Input connections in the main menu takes you to a list of TV cards to choose from and map to the new entry in the dialog below Video sources (Figure 6).
Next, start a Scan for channels. Keeping the defaults, click Next >. The channel scan will take a while, and MythTV will need to stop occasionally and process (Figure 7). The results are a complete list of channels for the TV card.

Pressing Finish twice and Esc once takes you back to the main menu where you can modify the list by clicking Channel Editor.
By pressing Esc, quit the setup program and open two terminal windows. In the first window, become root and launch the back end by typing mythbackend; you can't use the sudo /etc/init.d/mythbackend restart command for this on Ubuntu 7.10.
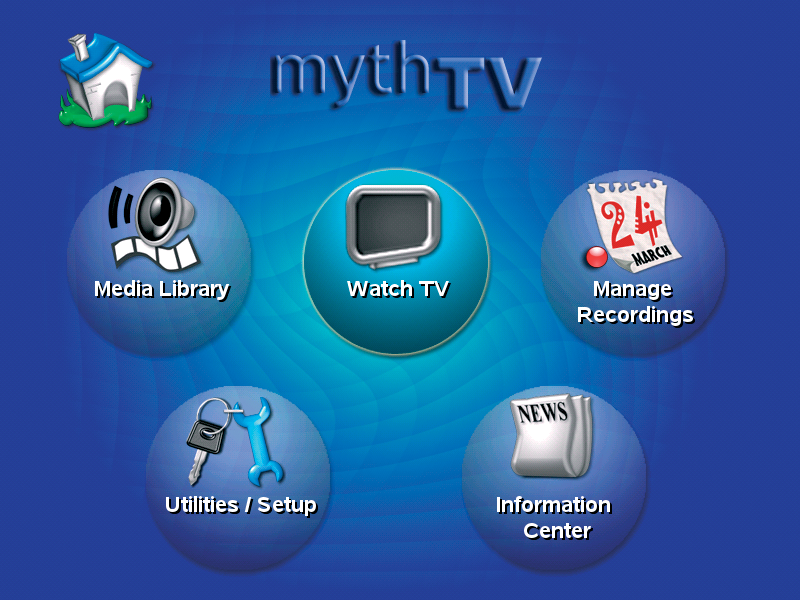
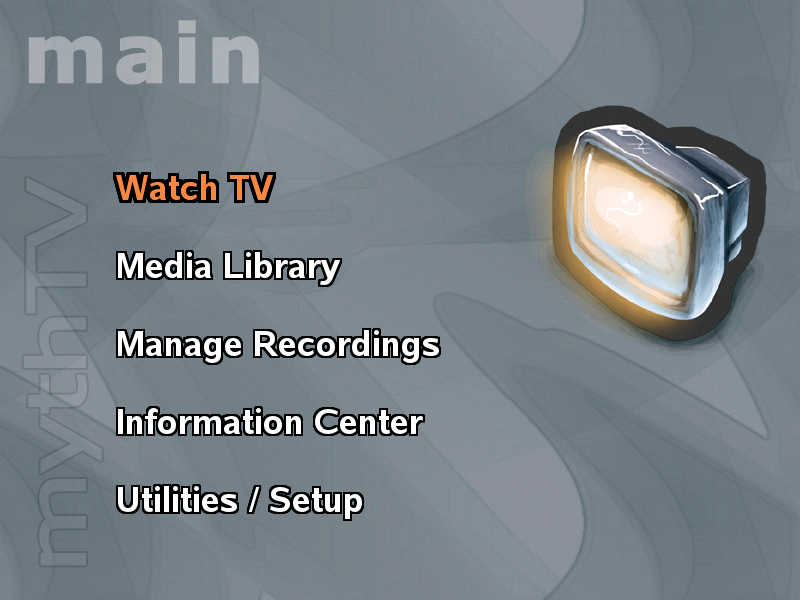
In the other window, launch the front end by entering mythfrontend. Later, this is the interface you will see on your living room PC (Figure 8). For test purposes, select Watch TV and then you should see a TV picture (Figure 9).
Pressing the arrow keys navigates channels and pressing Enter switches channels. After completing this functional test, quit the front end by pressing Esc twice and confirming when prompted. Now your server is working and you just need to make sure mythbackend will launch automatically at boot time. For the rest of the setup, you will not need the front end on the server.
If you intend to access your MythTV back end's resources from your living room, you will need a PC that is as quiet as possible. Unfortunately, a high-powered CPU needs a fair amount of cooling, which means having a fan to extract the hot air from the case. Small, quiet computers now on the market are ideal for home entertainment.
Whether you go for an off-the-rack machine or build one yourself, make sure the machine runs Linux and will play DVDs without stalling. High-definition television (HDTV) is currently the domain of high-performance CPUs. Booting a MythTV Live CD to test your media center candidate at the store makes sense [4][5].
Also, make sure that your PC has the right connectors for your television. If you have a legacy CTR TV, you will either need a TV port on the card (one that supports Linux, of course) or an external VGA-to-TV converter.
After installing your media center PC, you will need to set up MythTV again by following the same steps as for the server, but without running mythtv-setup. Instead, launch mythtvfrontend, change to Tools | Configuration, press Enter, and select General. For localhost, enter the hostname or IP address of your server; otherwise, you can keep the defaults. With the back end password from earlier, replace the password. Now keep pressing Next until you get to Finish.
The front end will try to contact the server, and, assuming this works out, you are taken back to the submenu. Selecting Appearance lets you modify the appearance of the interface (Figure 10).
| MPEG Issues |
|
Before the data streams transported by DVB can be displayed on your screen, they must be decoded. Decoding is handled by libraries that some distributions lack, but you should be able to install the missing libraries from a repository by looking for the multimedia keyword. OpenSUSE users must enable the Packman repository, as mentioned previously. When launched for the first time, Kaffeine lets you know which libraries you are missing and offers to help you download them. |
| Change IP Address |
|
If you change the IP address on the back end, you will need to modify the address in $HOME/.mythtv/mysql.txt on any machine with a back end or front end. Then relaunch mythtv-setup on your server and change the IP address. After doing so, communications will be restored. For a more permanent setup, make sure your server has a static IP address. |
Schedule a recording lets you use the front end in your living room to tell the back end in the attic to record a program. The easiest way to do this is with the Program guide, which gives you a list of programs for the next couple of hours. Pressing Enter selects a program and then you can set the parameters in the new dialog that appears. Pressing the left or right arrow keys changes the values, and the up and down arrow keys toggle the options. Pressing Save settings arms the server for the recording.
Manual recording gives you another option: You can set the start and stop times as on a legacy video recorder. Recording options takes you back to the familiar screen with more settings.
To avoid needing to launch the front end on your media center PC, auto-launching the program when you boot the machine is a good idea. Then you can replace the keyboard with a remote control. MythTV supports a remote as well as automatic boot and shutdown for the server machine. This way, the server will only be up when you are recording, which can help you to save power. If you ask it to do so, the back end will even cut the ads out of a recording.
Numerous extensions available from the MythTV page change the video server into a genuine media server. MythTV will play DVDs and manage your music collection. MythTV extension documentation is available on the website in the docs subdirectory below the source code archive directory.
| INFO |
|
[1] Linux TV: http://linuxtv.org
[2] MythTV: http://mythtv.org [3] KnoppMyth: http://mysettopbox.tv/knoppmyth.html [4] Mythbuntu: http://www.mythbuntu.org [5] Libdca library: http://www.videolan.org/developers/libdca.html |