
By Dmitri Popov
Designed as an all-around Linux distribution, Puppy Linux [1] comes with applications that cover pretty much every aspect of productive computing. Even if you decide not to switch to Puppy Linux entirely, this tiny distro still provides an excellent showcase of lightweight applications you might want to use with your favorite Linux distribution. Because it would be impossible to cover all the tools and applications that come with Puppy Linux, in this article, I'll focus only on a few interesting lightweight applications that deserve a place in your productivity arsenal.
The tour starts with Fotoxx - a surprisingly capable photo manager with a user-friendly interface and a slew of nifty features (Figure 1). For starters, you can use Fotoxx as a simple photo viewer. When you open a photo with the Open button, Fotoxx automatically sets the folder in which the photo is stored as the working directory, and the Previous and Next buttons let you browse other photos in it. In addition, you can use the Index button to view your photo collection as thumbnails. The Edit Image menu provides access to all of Fotoxx's image editing features: the Tune tool for adjusting brightness, contrast, and color; Crop for cropping photos; Red Eye for removing the red eye effect from portraits; Sharpen and Reduce noise for improving image quality; and Rotate for rotating photos. Also, the handy Unbend tool can be useful for adjusting perspective - a problem that often occurs on pictures of tall buildings.
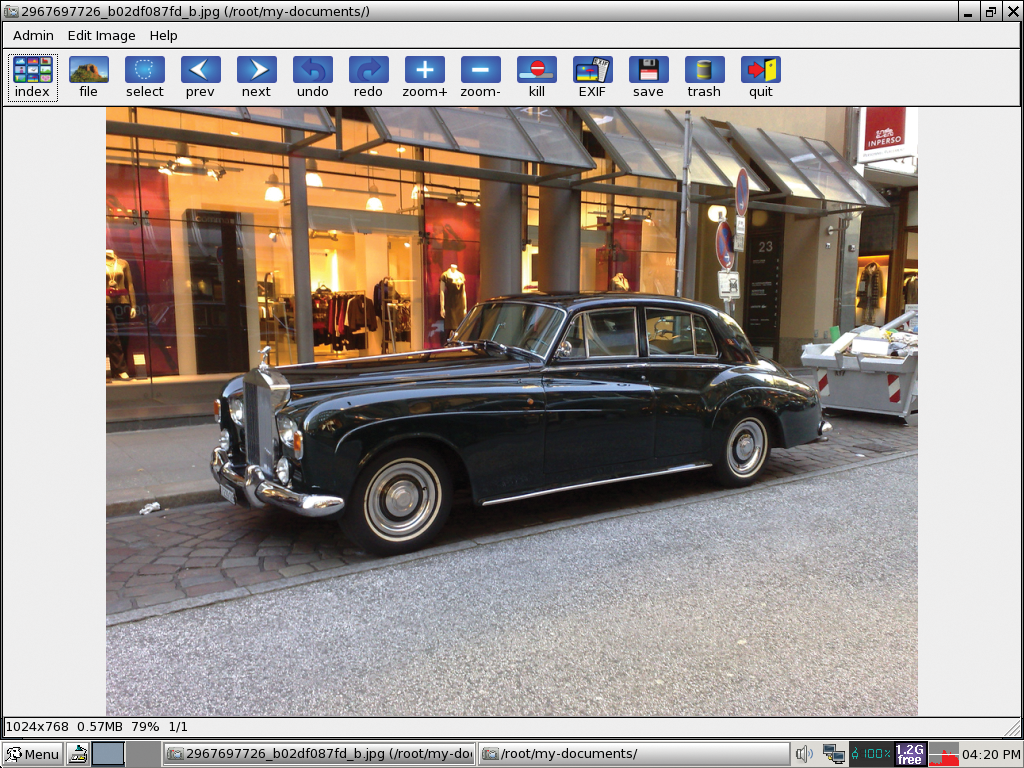
Besides these useful and uncomplicated tools, Fotoxx offers two rather nifty features: HDR and Panorama. The HDR tool allows you to combine two photos with different exposures (usually an underexposed and an overexposed photo) into a single image to achieve a wider range of tonal detail. Creating an HDR image in Fotoxx is easy: Just select the directory containing the source photos, and the application does the rest. Then you can tweak the final result by adjusting the brightness settings.
As the name suggests, the Panorama tool can be used to create panoramas by stitching multiple images together, but to make this tool useful, you have to configure the lens_mm (focal length) and lens_bow (barrel or pincushion distortion) parameters first. The Fotoxx manual provides a detailed description of how this is done. To create a panorama, select the two photos you want to stitch together and use the mouse to align them. Now press the Proceed button, and Fotoxx takes care of the rest. To continue, add other images and repeat the procedure.
Although Fotoxx won't replace a full-blown photo manager like digiKam, it turns Puppy Linux into a great pocket dark room. Fotoxx's easy-to-use tools make it an ideal application for quick-and-dirty photo tweaking, especially when you are out and about.
Keeping track of your finances can be a real chore, but Puppy Linux comes with two applications that make this task a bit more tolerable. The first is HomeBank, a full-featured and easy-to-use personal finance manager. Before you can start using HomeBank, you have to create a wallet and populate it with accounts, payees, and categories. Choose File | New to create a new wallet. To add an account, choose Edit | Accounts and press the Add button. Give the account a name, then enter the account number and the name of the bank in the appropriate fields.
If you want to include the account in the budget analysis, tick the Include in the budget checkbox then specify the current account balance in the Initial field. If the account is authorized to be overdrawn, specify the overdraw threshold in the Overdrawn field. To save the account settings, press OK. The next step is to add payees, or people and companies on the sending or receiving end of a transaction. First choose Edit | Payees and use the Add button to add payees. Finally, you have to specify categories, or keywords, that can help you classify and describe each transaction. To do this, choose Edit | Categories and add the desired categories. When creating categories for your income, remember to tick the Income checkbox.
Now you can start adding transactions by selecting the account you want in the Account summary pane and pressing the Add Transaction button in the main toolbar. Besides the standard fields, the transaction window contains two checkboxes: Validate and Remind. To mark the transaction as confirmed, you can use the Validate checkbox after you've checked it against your bank statement (account reconciliation). The Reminder checkbox can be used when you are adding a transaction for lending money. When you tick the checkbox, the transaction acts as a reminder and it's not included in the balances.
To view a list of all transactions for a given account, choose Transactions | Show. Using the Range, Month, and Year drop-down lists, you can narrow the list of transactions to a specific period. With the Filter feature (Tools | Filter), you can create rather sophisticated filters to display the transactions that match the specified criteria.
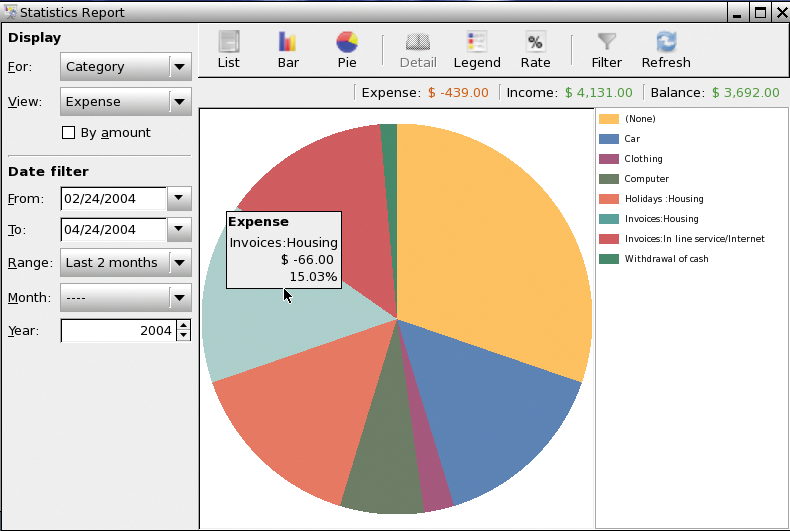
HomeBank sports powerful reporting and charting capabilities that make it easy for you to analyze your financial data (Figure 2). HomeBank can generate three types of reports: Statistics, Budget, and Overdrawn. The Statistics report allows you to view transactions by category and type, filter transactions by specific criteria, and view your data as a bar or pie chart. The Budget report helps you get an overview of your running budget and present it as a bar chart, whereas the Overdrawn report gives an analysis of your balance during a period of time.
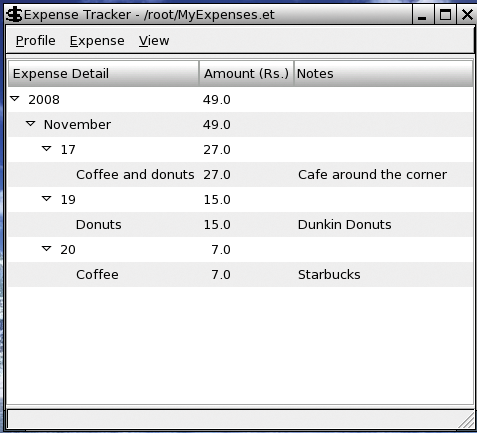
HomeBank is an excellent personal finance manager, but it's overkill if you only want to keep track of your expenses. For that, Puppy Linux has a bare-bones utility called Expense Tracker (Figure 3). The use of this utility is as easy as it gets. First, create a new profile with Profile | New, then start adding expenses with Expense | Add. By default, Expense Tracker groups all expenses by date, so you can locate expenses quickly for a specific year or month. Alternatively, you can switch to the Tag view by choosing View | By Tag. In this way, you can view your spending by item.
The AbiWord word processor, which comes with Puppy Linux, doesn't cut it as a note-taking application. Fortunately, Puppy Linux includes a flexible note-taking tool called NoteCase. This application was covered in issue 95, so I will discuss just a few feature highlights here. NoteCase manages notes as a hierarchical tree consisting of nodes and sub-nodes. Each NoteCase notebook can contain an unlimited number of nodes and sub-nodes that you add by choosing either the Insert Node or Insert Child Node command from the Tree menu. To rearrange the nodes and sub-nodes, either drag them around or use the available commands in Tree | Move Nodes. Also, you edit node properties from the Node Properties context menu, which you access by right-clicking on the node. In the Node Properties window, you can assign an icon and add one or several tags to the node. With File | Import, you can import notes into NoteCase that were created in other applications. NoteCase supports files created with the Gjots2 and StickNotes tools. Better yet, the application can handle mind maps in MM format, so you can import maps created with the FreeMind mind-mapping tool as a NoteCase notebook.
When it comes to text editing, NoteCase supports bold, italic, underline, and strikethrough text styles, and you can apply custom color to both text and background. NoteCase also allows you to insert images and links in notes. As well as linking to external Web sites and files, you can link to existing nodes. To attach a document or file to a node, use the Node Attachments button. The Find feature allows you to search for text in nodes or for nodes that contain specific tags, whereas the Edit | Replace command can be useful when you need to search and replace a text string in existing nodes. NoteCase saves notebooks as HTML-based .ncd files, so you can view any NoteCase notebook in a browser. And if the notebook contains confidential information, you can save it as an encrypted .nce file.
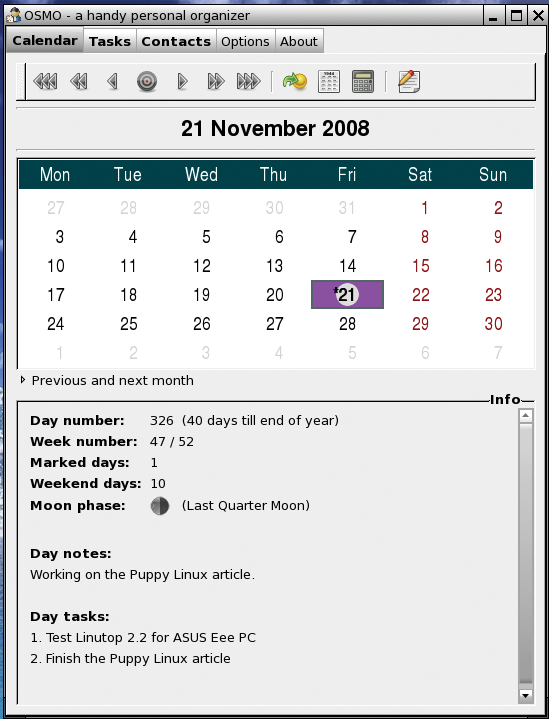
When it comes to managing your personal information, Osmo is your best friend. It is a capable PIM utility that has a few clever tricks up its sleeve. For starters, each module in Osmo - Calendar, Tasks, Contacts, and Notes - is only a tab away, so you can access important information with a single mouse click. Osmo's Calendar screen consists of two panels: Calendar and Info (Figure 4). The latter provides all kinds of useful information such as the current day's number, the week number, the number of weekend days in the current month, and even the moon phase. The main toolbar contains navigation buttons that let you quickly go to a specific day and month. As the name suggests, the Full-year calendar button displays a calendar for the entire year. But Osmo adds a little twist to this feature: If you add an iCal file in the Options | Calendar section, you can use the year calendar to view the events in the file. Date calculator is another interesting feature which allows you to perform date-related calculations. This can come in handy in many situations - for example, when you need to figure out how much time you have to a deadline. In the Options | Calendar section, you can specify calendar categories such as Work, Travel, and Personal and assign color codes to them. To add a category to a specific day in the calendar, press the Toggle date note panel button in the main toolbar, enter text, and use the Select day color button to choose the color code you want. With the Insert timeline button, you can specify a time period and insert a list of hour slots in the note. This can be useful when you need to plan your day hour by hour.
The Tasks module lets you add tasks with due dates, priorities, and categories (they must be defined beforehand in the Options | Tasks section). The buttons on the main toolbar allow you to manage tasks easily, and you can use the Category Filter drop-down list to locate tasks quickly that belong to a specific category.
If you add a due date to the task, it appears in the Info panel of the Calendar module, so you can keep tabs on your to-dos with the calendar, too. Osmo also uses color code to mark overdue tasks and tasks due today and the next seven days, making it even easier to keep tabs on deadlines. In the Options | Tasks section, you can change the default color codes.
The Contacts module is designed to help you to keep tabs on your contacts. Besides the usual set of buttons for creating, editing, and deleting contacts, the main toolbar sports the Show birthdays button, which allows you to view a list of people with approaching birthdays. This list also shows each person's age, which can help you to avoid potentially embarrassing situations. The Import contacts and Export contacts buttons can be used to exchange contact data with other applications. Osmo can import contact data from a comma-separated value file and export contacts to CSV or XHTML files.
Besides the applications described so far, Puppy sports a few other gems that can make your daily computing more efficient. Like any Linux distro worth its salt, Puppy Linux comes with the excellent rsync command-line backup utility. But if dealing with the command line is not your cup of tea, you will be pleased to learn that Puppy Linux comes with the Gadmin-Rsync graphical interface to rsync (Figure 5). Not only can you create local and remote backup profiles with this utility, but you can schedule them through cron.

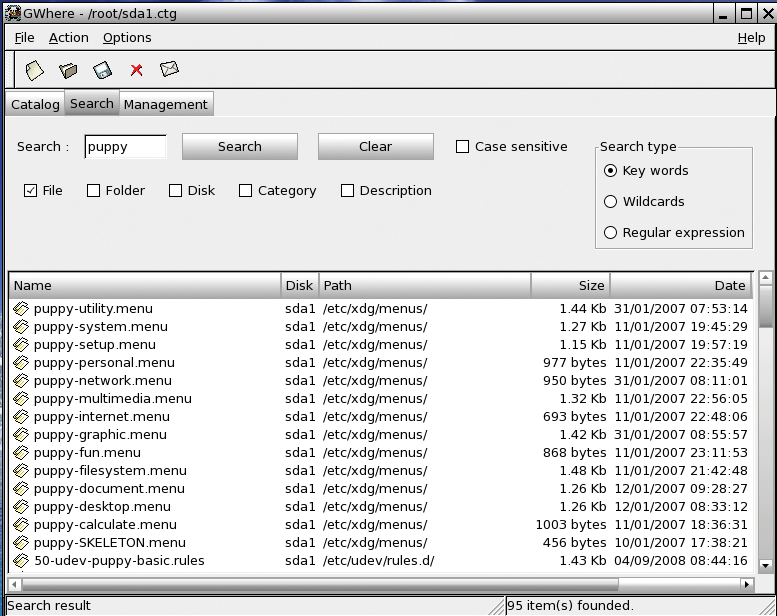
GWhere is designed for cataloging and searching external media like CD-ROMs, DVDs, and USB storage devices (Figure 6). With the use of GWhere, you can create multiple catalogs and add as many storage devices as you need. For example, you can create a catalog called "Backup" and add all your backup media to it. When you add a new disc to the catalog, GWhere indexes it, which makes searches lightning fast.
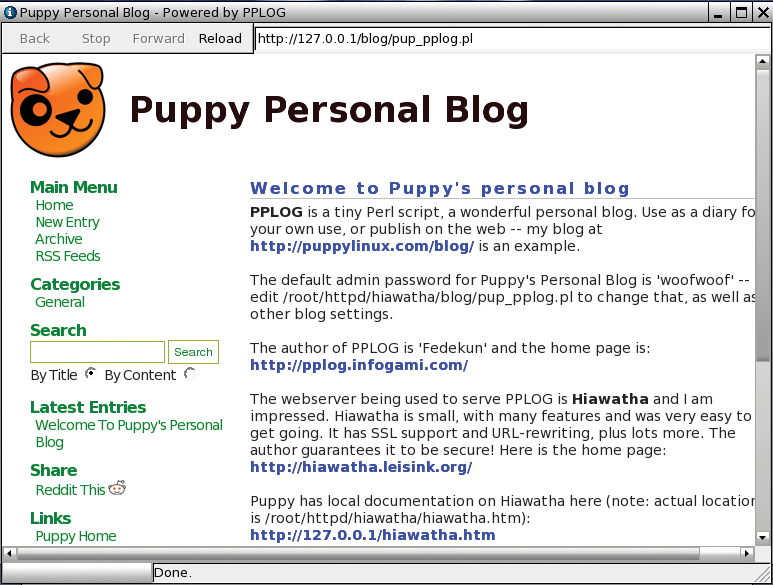
Finally, Puppy Linux bundles the PPLOG blogging engine, so you can turn your machine into a personal blogging platform (Figure 7). Despite its simplicity, PPLOG supports categories, tags, comments, IP ban, email notifications, RSS feeds, and other features you would expect from a decent blogging engine.
Puppy Linux can help you be productive with a hand-picked selection of high-quality lightweight tools and applications. Whether you want to view and tweak your photos, manage your finances, or keep tabs on your appointments, Puppy Linux has you covered. Moreover, you can use Puppy Linux to take these applications for a spin without going through the rigmarole of installing and configuring each and every one of them.
| INFO |
|
[1] Puppy Linux homepage: http://www.puppylinux.com
|