
By Thomas Leichtenstern
A standard feature of company networks since the early days is finally making inroads into private homes: centralized data storage. On today networks, file storage often depends upon a network-attached storage (NAS) device. Many of these devices are actually hardware appliances from vendors such as Qnap or Netgear that offer NAS products for a couple of hundred dollars.
A freer and more cost-effective alternative is to convert an old PC into a NAS device. Although it is possible to install a full-purpose Linux operating system on this dedicated storage system, all the unnecessary tools and services just add confusion, slow down the system, and provide opportunities for intruders. A safer, easier, and more efficient alternative is to install a distribution that is specially designed to serve as a network storage system. One of the most popular alternatives within this genre is the FreeBSD-based [1] FreeNAS [2] distribution. FreeNAS is designed exclusively for data sharing; You can run it as a Live distro or install it on a variety of media. The FreeNAS system comes with an intuitive, web-based configuration interface and supports the SMB/CIFS, FTP, SFTP, SSH, iSCSI, Rsync, Bittorrent, UPnP, and HTTP protocols.
The hardware require for your FreeNAS system could depend on several factors. If you have a small network with little traffic and just one storage disk, an original Pentium CPU running at 133MHz with 128MB of RAM will be fine. If you intend to use multiple disks in a software RAID, you should have at least a Pentium 3 CPU and 256MB of RAM.
Because most NAS systems run 24/7, it definitely makes sense to set up a RAID array to reduce the risk of data loss. If you are using an older machine, always make sure your PC actually supports the disks you intend to use before you buy them. External controllers for SATA, for example, will help if all else fails.
Whatever else you do, make sure you use identical disks for your RAID system; Failure to do so will mean losing capacity. Because hard disks tend to wear out, avoid used disks that might have seen many years of service. The machine will need a network interface, which could be a WLAN or a LAN card. A list of hardware components supported by FreeBSD is available online [3].
Unless you are running FreeNAS on a USB stick, you will need a CD drive, a display, and a keyboard for the installation; You can remove all of these components after setting up the system.
To use the Live CD, burn the ISO image available at the website [4] onto a new CD, then pop the CD into your computer and boot from it. After loading, FreeNAS presents a menu in which you can perform the initial configuration steps. If you insert a floppy disk or plug a USB stick into your machine, FreeNAS will store the config.xml configuration file automatically in the /conf directory of the medium and parse the file when rebooted.
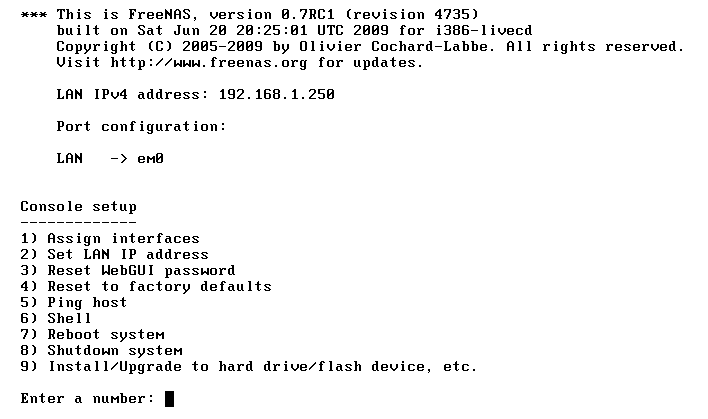
To access the system over the wire, select 2) Set LAN IP Address (Figure 1). Next, you are prompted to decide whether or not the system will use a DHCP server to set the address. If you have a DHCP server on your network and confirm the prompt, the network configuration is completed. But you should only use the default for a test environment. If you are using FreeNAS in a production environment, the server will need a static IP address; otherwise, it will be unreachable if the DHCP server is assigned a new address.
You can load the FreeNAS installer in the start menu by selecting 9) Install/Upgrade to hard drive/flash device, etc.). This step takes you to another menu, where you can decide how and where you want to install the system (Figure 2).
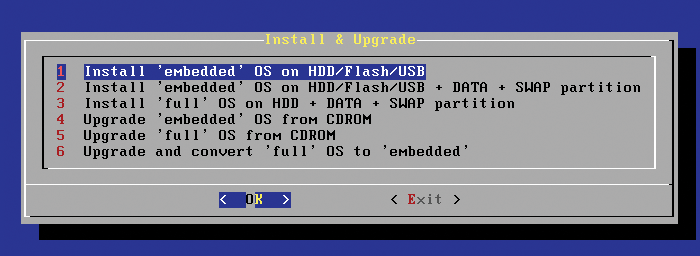
If you select Install `embedded'[...] (Items 1 and 2), the system will copy a compressed image to disk. On booting, FreeNAS unpacks this image into a RAM disk of about 120MB that is specially created for this purpose. If you select full (Item 3), FreeNAS will set up a normal system on disk. In both cases, the installer will format the disk. The distribution also supports USB sticks and Flash cards as installation media.
As I mentioned earlier, FreeNAS provides a graphical web interface for configuring the server (Figure 3); just point any browser to http://server_IP_address. When the login window appears, type your username, admin, and the password, freenas.
Basic settings such as Language or System time are accessible in the System section. The System section is also where you change the login password. If you happen to forget the password, select Item 3 Reset WebGUI password at the FreeNAS console to reset the password to freenas. Network takes you to the detailed LAN card configuration. You can switch from a dynamic to a static IP address and configure a firewall module that lets you control access to the NAS (Figure 4).

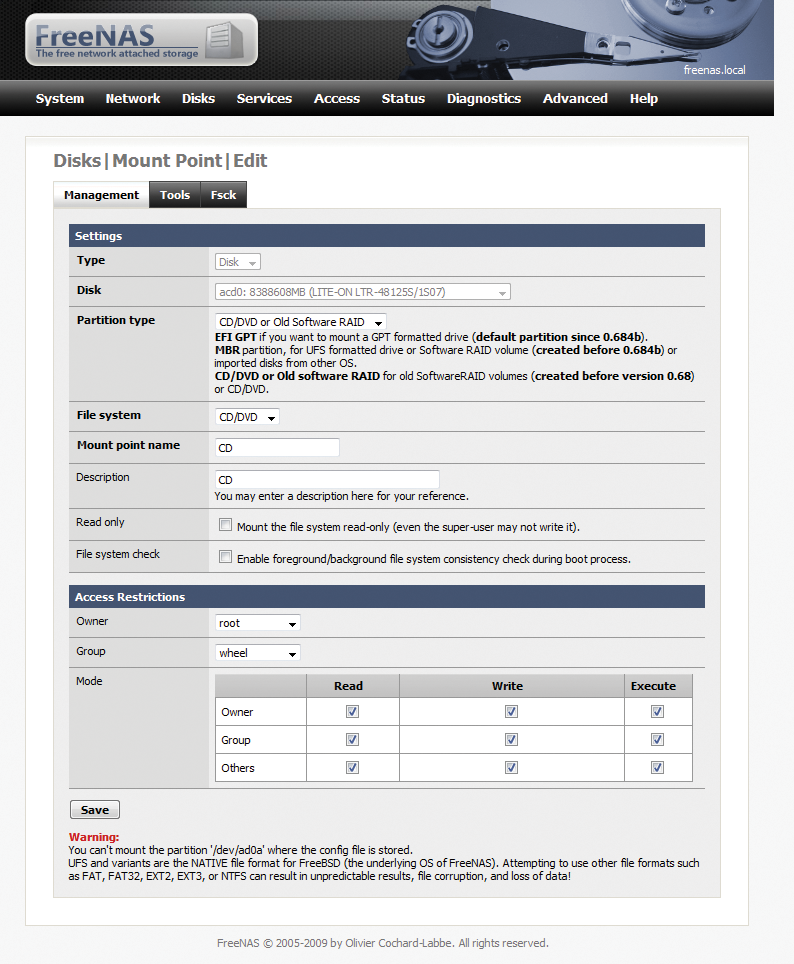
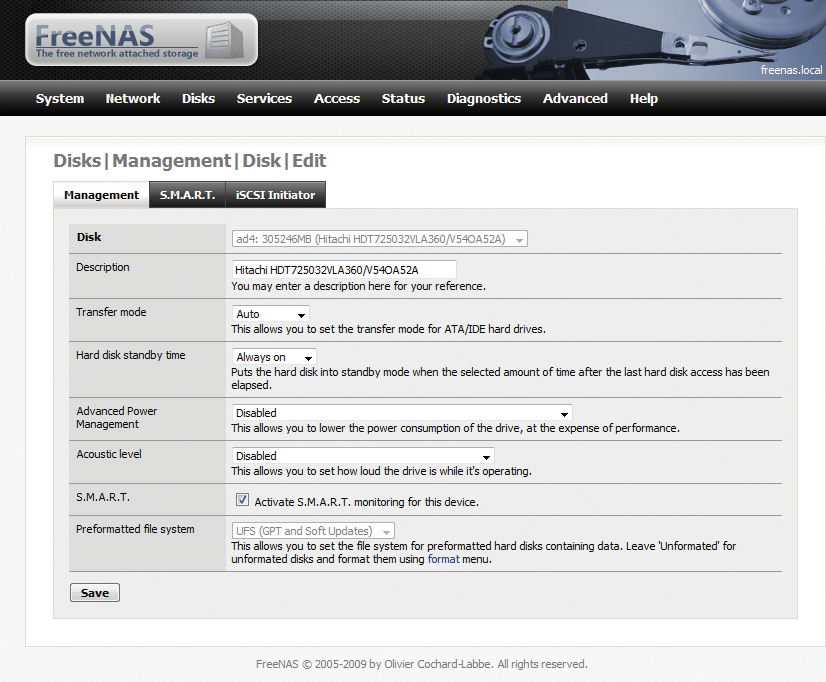
Before you can use a storage medium on FreeNAS, you need to work through a number of steps. To start, add the disk to the system in Disks | Management. Clicking the plus icon opens the configuration interface (Figure 5), where you can then select the storage medium.
If the disk contains data that you want to continue using, select the filesystem in Preformatted file system. Note that a storage medium can only contain one partition if you want to manage it with FreeNAS. If you are using a new disk, go to Disks | Format to format the disk. If you will be using the medium exclusively with FreeNAS, select the native UFS filesystem.
After initializing and formatting a medium, go to Disks | Mount Point to mount the medium on your filesystem. The internal file manager lets you check to see whether this mount is successful: To launch the file manager, go to Advanced | File manager. The login credentials you are prompted for are the same as for the web GUI. The file manager lets you view files and directories; you can also delete existing objects and create new ones.
Setting up a software RAID is slightly more complicated. To start, add the disks to the system (as described earlier in this article), and then select Software RAID for Format below Filesystem. In the Disks tab, change to the Software RAID section. To select the kind of RAID you want to set up, use the tabs at the top. Mirroring (RAID 1) is typically fine for a small home network. Clicking the plus icon takes you to an input dialog where you can type a name for the array and select the disks you will be adding to the array.
If this is a new array, check the Initialize box and confirm your entries by clicking Add. In the new dialog that then appears, press Apply changes. Before you can work with the array, you need to format it with the UFS filesystem. Then mount the array as described above. Besides mounting storage media, FreeNAS also gives you the option of mounting ISO images and sharing them on the network.
For more security-conscious users, FreeNAS has an encryption mechanism in Disks | Encryption; this option allows users to encrypt individual disks or complete RAID arrays with a few mouse clicks. Note that FreeNAS will not mount encrypted discs on rebooting until you enter the password.
| NAS - Pro and Con |
|
Before you decide to use NAS, you should consider whether centralized data storage is worthwhile for your network and, if so, whether FreeNAS is the right solution. The main advantage of centralized data storage is that many users can access a shared data pool. Of course, this is the main disadvantage, too, because it often means your NAS system has to run 24/7, which can be expensive in terms of power consumption. A hardware appliance for private use typically will not consume more than 20 watts, but a normal PC can use more than 100 watts. Before you start converting, check your candidate's power consumption; you might even consider installing a more efficient power supply and downgrading the CPU to something that does not need active cooling. One big advantage of NAS is that its multiple-protocol capabilities avoid compatibility issues when you need to exchange data between computers with different operating systems. On top of this, most NAS servers have native RAID support, which gives you an additional fail-safe. Centralized data storage also makes it far easier to create regular backups. Some NAS systems - including FreeNAS - can act as backup servers running Rsync or Unison. |
Before configuring the services, you first need to set up the users who are permitted to access the system. Access takes you to the configuration interface. If you will be giving your users FTP access to the system, make sure you add them to the FTP group.
To set up a home directory for a user, specify the path in the Home Directory section. If the directory does not exist, FreeNAS will create it. This is important if you will be giving users FTP access to the machine and want to restrict access to a chroot environment. If the user does not have a home directory, FreeNAS will use /mnt/ and give the user access to all the subdirectories below it. To grant new users SSH access to the machine, you need to check the Command line access box.
In the service configuration section, you can use the separate interface for each service to configure the settings for that service. Data exchanges on networks with one or multiple Windows computers often use CIFS/SMB.
To enable the configuration settings, which are grayed by default, start by checking the Shares box. Depending on whether you will be restricting access to authorized or logged on users, you can choose either Anonymous or Local user for Authorization. Note that you can't grant write or edit privileges to anonymous users.
Shares lets you define your shares. FreeNAS does not give you granular access controls that let you say which users are allowed to access which shares. However, it has a basic option for controlling access via Allowed Hosts and Blocked hosts by using the IP addresses of the computers to which you want to grant or deny access to your shares.
The settings for the popular FTP protocol are accessed via the FTP tab. As with SMB, a rudimentary configuration will be fine for operating the service. However, your FreeNAS machine needs a static IP address to run the FTP service.
To restrict users to accessing the home directories when they log in, enable the Standard root checkbox. FreeNAS gives you a variety of filters for restricting access to the server in the Module section. For example, the MaxLoginAttempts module specifies the number of invalid login attempts a user is allowed before the user account is blocked for a specific time.
BitTorrent is becoming increasingly important as a means for transporting larger files (such as ISO images of distributions); FreeNAS comes with a BitTorrent server. The BitTorrent item takes you to the dialog with basic settings, such as the download directory and maximum bandwidth, but you need to surf to http://server_IP_address:9091 in your browser to access the upload/download management interface.
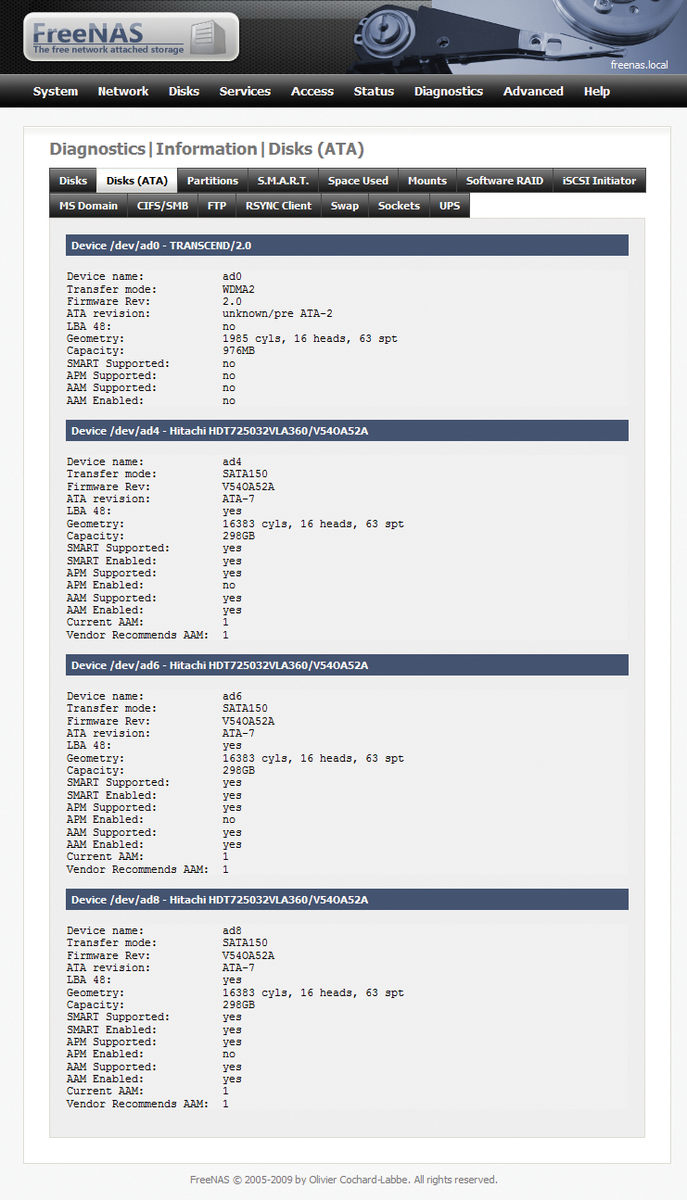
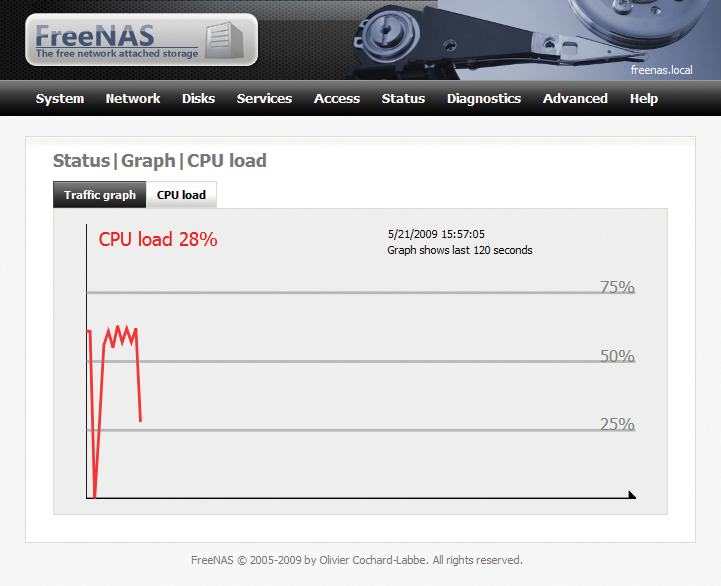
Along with its easy interface for disk management and networking, FreeNAS provides tools for troubleshooting (Figure 6) as well as optimization (Figure 7). The flexibility and feature scope of FreeNAS easily outshines most hardware appliances. On top of this, the developers have managed to design the controls in a way that gives newcomers a fair chance of navigating the installation and setup. The storage configuration does seem fairly complex until you grasp the underlying logic.
All told, FreeNAS is a solid piece of software that has a couple of pitfalls, but it performed without fail in our lab.
| INFO |
|
[1] FreeBSD: http://www.freebsd.org
[2] FreeNAS: http://www.freenas.org [3] FreeNAS hardware notes: http://www.freebsd.org/releases/7.0R/hardware.html [4] FreeNAS download: http://www.freenas.org/index.php?option=com_versions&Itemid=51 |