
By Dmitri Popov
Whether you are a photographer, designer, decorator, or writer, an online portfolio of your work can help you demonstrate your skills and showcase your previous work to prospective customers. Even if you have a blog or a website, setting up a dedicated portfolio makes a lot of sense, and Stacey [1] can help you to do that with consummate ease. In many respects, Stacey is not your typical web-based application. It doesn't require a database back end, which makes it significantly easier to install and maintain. The content in Stacey is managed by adding directories and editing plain text files on your server. This means, among other things, that there is no need for a complicated mechanism to configure access privileges.
Although installing Stacey is rather straightforward, you have to make sure that your server meets the requirements. To run Stacey, you need a machine running the Apache server and PHP5. Most Apache installations have mod_rewrite enabled by default, but if that's not the case, you need to enable the module manually.
The way to do this depends on the Linux distribution you are using. On Ubuntu, you can enable it with the sudo a2enmod rewrite command. Once you have done that, run
sudo gedit /etc/apache2/sites-enabled/000-default
and change the AllowOverride None string to AllowOverride All. Then restart the Apache server with
sudo /etc/init.d/apache2 force-reload
and you are done.
To install Stacey on your local or hosted server, grab the latest .zip file from the project's website and unpack the archive into a directory (e.g., stacey). In the resulting directory, locate the htaccess file and rename it .htaccess. Then set the permissions of the /app/cache directory to 777 with chmod 777 -R cache. Stacey is ready to go when you move the entire stacey folder to the document root of your server.
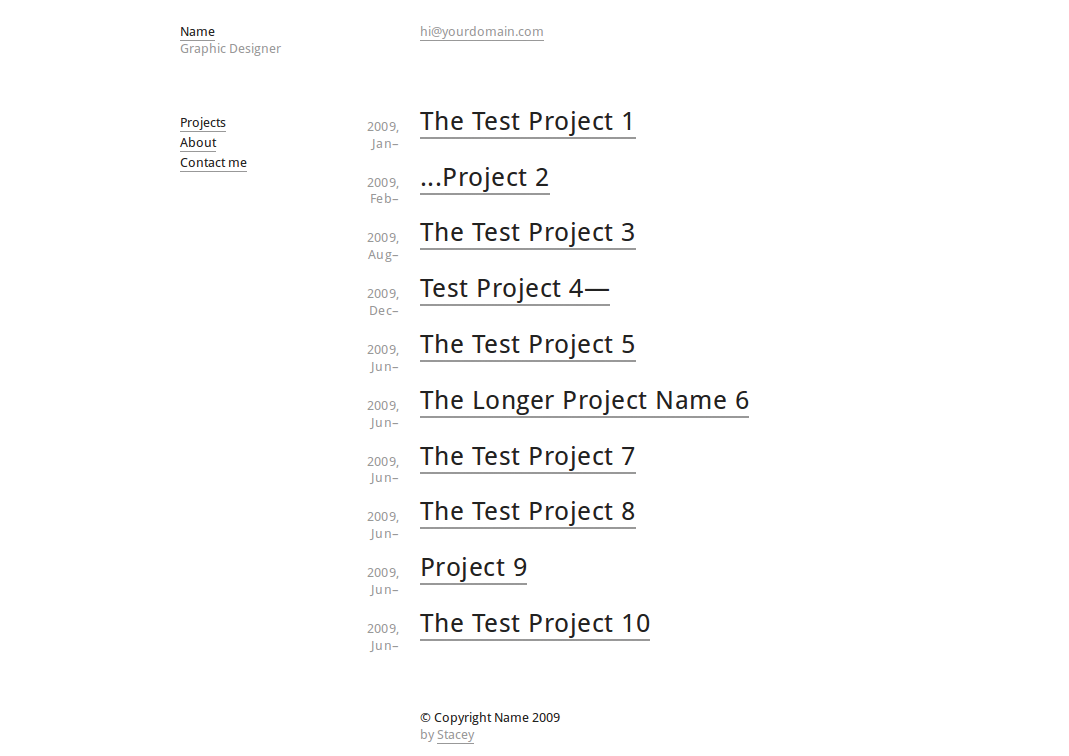
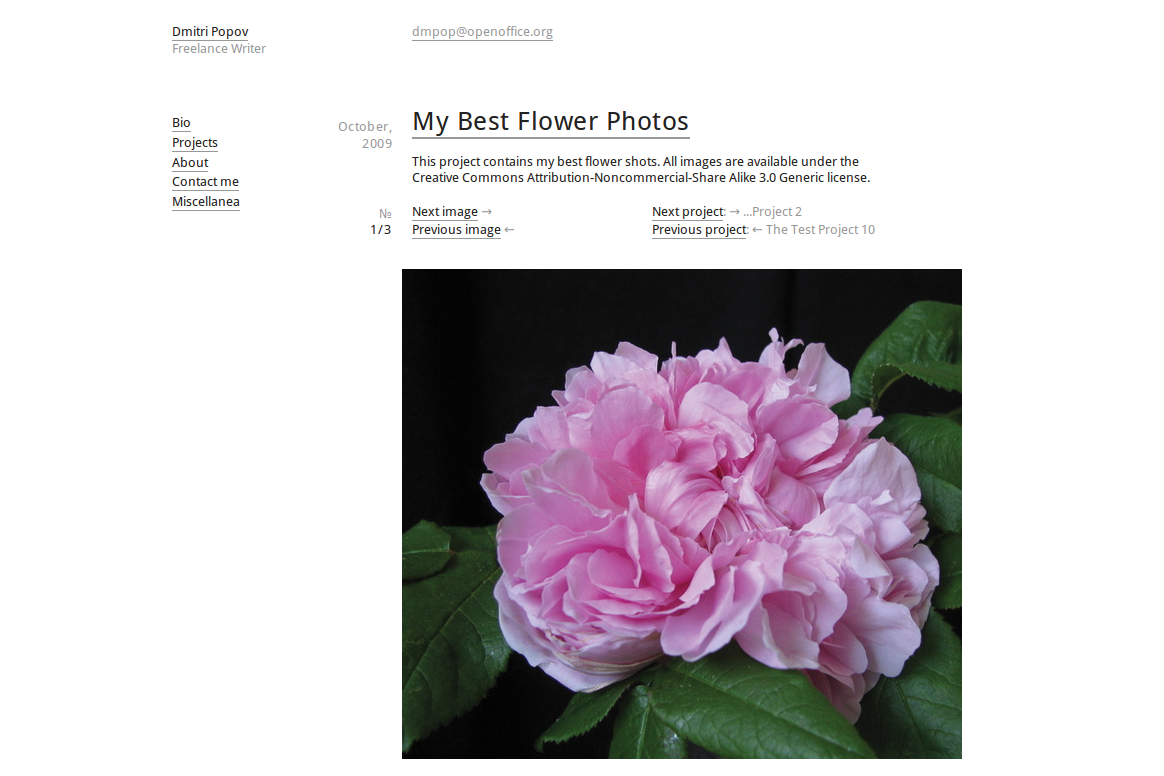
When you point your browser to http://yourserver/stacey, you see the default page containing a few sample projects (Figure 1). The next step is to populate your portfolio with content (Figure 2), and the first thing you should do is replace the default information, such as your name, occupation, and email. To do this, open the content/_shared.txt file in a text editor and replace the default content with your information, for example:
name: Dmitri Popov
profession: Freelance Writer
email: dmpop@openoffice.org
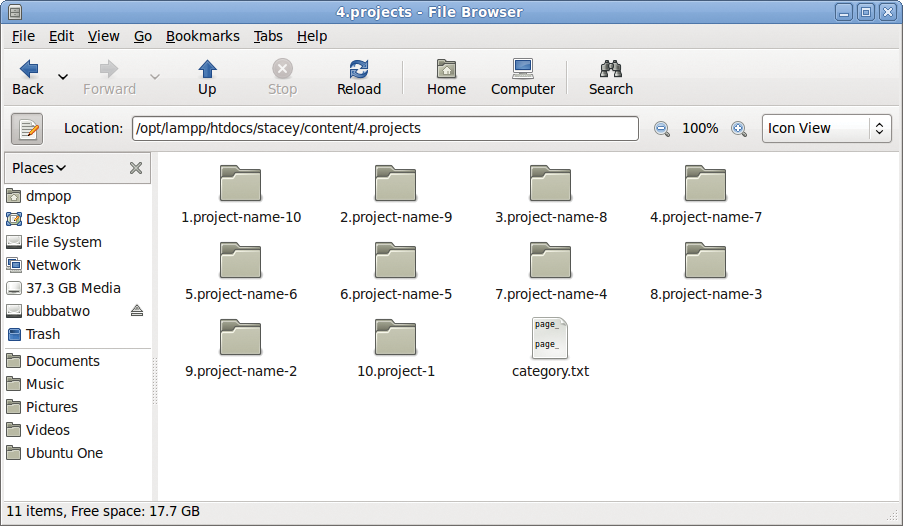
All projects in Stacey are organized in folders stored in the 4.projects directory (Figure 3) as numbered project folders: 1.project-name -10, 2.project-name-9, 3.project-name-8, and so on. Stacey uses the numbered prefixes in the folder names to sort the folders in reverse order. When naming a project folder, use hyphens rather than underscores to separate words and avoid using dots (except after the numbered prefix) or spaces. Each project folder contains a project.txt plaintext file, several .jpg image files, and a thumb.jpg file. The project.txt file contains information about the particular project, including page title and description, project title, description, and date, as well as the content. The project.txt file might look like Listing 1.
| Listing 1: The Project File |
01 page_title: Flower Photos 02 03 page_description: Some Beautiful Flower Photos 04 05 title: My Best Flower Photos 06 07 date: October, 2009 08 09 content: This project contains my best flower shots. All images are available under the Creative Commons Attribution-Noncommercial-Share Alike 3.0 Generic license. |
Note that each value must have a blank line after it. If you want to leave any of the available values empty, simply add a blank space after the colon - for example, date: . To add text formatting to the content block, you can use HTML markup. Because Stacey recognizes and renders links and email addresses automatically, you don't have to mark up them up. If the text consists of more than one paragraph, start the text on a new line after the content: value, then write each following paragraph on a new line:
content:
Paragraph 1
Paragraph 2
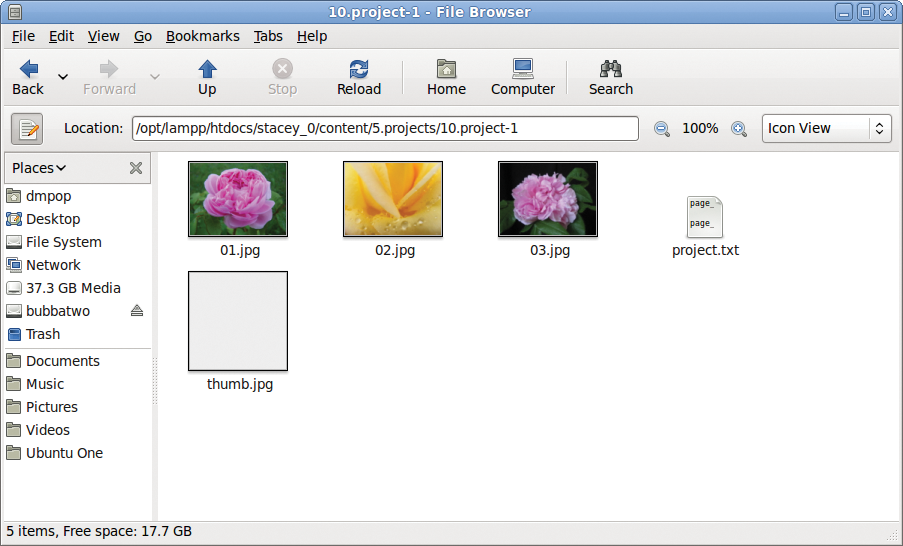
To add images to the project, drop them into the project folder and change their names to numbers as follows: 01.jpg, 02.jpg, 03.jpg, and so on (Figure 4). Stacey then automatically inserts the images into the project page. Like projects, the images are displayed in reverse order, so the 03.jpg image appears before 02.jpg.
Stacey doesn't scale images, so you should resize large graphics files before you add them to the project. The default template can use images with a maximum width of 560 pixels. To resize multiple images quickly, you can use the mogrify tool, which is part of the ImageMagick package. For example, if you want to reduce the size of the images by half, open the terminal, switch to the folder containing the images, and use the following command:
mogrify -resize 50% *.jpg
The thumb.jpg file is used to display a thumbnail image next to the project's title in the main page. This feature is disabled by default, but you can easily enable it by modifying the screen.css stylesheet stored in the /public/docs/css directory. Open the file in a text editor and modify the last line, so it looks like this:
img.project-thumb { padding: 0px 10px 5px 0px; float: left; display: inline; }
Don't forget to replace the default thumb.jpg image in the project's folder with your own 50x50-pixel image.
Besides the 4.projects folder, the content directory contains a few default folders that represent pages in your portfolio. As you might have noticed, these folders also have numbered prefixes that define the positions of the respective pages in Stacey. The same reverse sort order applies here, too, so that the page in the 3.about folder appears before the page in the 2.contact-me folder. Of course, you can change the sort order by modifying the numbered prefixes. Page folders can contain the same elements as the project folders. The only difference is that the content file is a page folder called content.txt.
| Alternatives |
|
Although open source portfolio management applications are rather thin on the ground, there is at least one alternative to Stacey called Mahara [2]. In fact, Mahara is more than just a mere portfolio management application: It's a platform for managing your web presence. Mahara includes a powerful blog component, a file repository for storing relevant documents, and social networking capabilities that you can use to network with other users. Another tool in Mahara can help you to create a résumé by filling out appropriate fields. Additionally, Mahara can be easily integrated with Moodle, a popular open source e-learning platform. |
To render pages, Stacey uses templates stored in the templates directory (Figure 5). Stacey uses the name of the .txt file within the page's folder to pick the correct template. For example, if the text file in the content/1.miscellanea folder is named miscellanea.txt, Stacey will look for a template called miscellanea.html. A template consists of standard HTML markup and simple dynamic variables. To better understand how Stacey's template system works, take a look the simple template in Listing 2.

| Listing 2: A Stacey Template |
01 <html> 02 <head> 03 <meta http-equiv="Content-type" content="text/html; charset=utf-8"> 04 <title>@page_title</title> 05 <meta name="description" content="@page_description"> 06 <link rel="stylesheet" href="./docs/css/screen.css" type="text/css" media="screen"> 07 </head> 08 <body> 09 <div id="main"> 10 <h1>@title</h1> 11 <p>@content</p> 12 </div> 13 </body> 14 </html> |
As you can see, this is pretty standard HTML markup, except for one thing: Instead of specifying the actual page title and description, the template uses the @page_title and @page_description variables. The same goes for the body of the page: The @title and @content variables are used for the heading and the page content, respectively.
Designing a Stacey template requires a working knowledge of HTML and CSS, but you can learn a few useful guidelines by studying the existing templates found in the templates directory. If you want to give one of the sample templates a try, save one of them as sample.html in the templates directory. Next, create the content/5.sample folder and create the sample.txt file in it, then open the file in a text editor, add variables used in the template, and assign values to them. To finish, save the file. When you load Stacey in your browser, you should see the sample entry in the navigation menu on the main page.
If you want to make a good impression on your potential customers, or if you just want to share your work with others, Stacey can help you. Despite its simplicity, this application is infinitely customizable, so you can create a rather impressive portfolio, even if you are not a skilled web designer.
| INFO |
|
[1] Stacey: http://staceyapp.com/
[2] Mahara: http://mahara.org |