
By Joe "Zonker" Brockmeier
Screenshot programs abound for Linux. Gnome users need only hit Alt+Printscreen, for example, for a shot of a single window, or just Printscreen to get a shot of the entire desktop. But what if you need a bit more control over your screenshots? And what about editing? Surely there's a program that can do everything in one package.
The tagline for Shutter is "featureful screenshot tool." Of all the applications I've tried on Linux, no other screengrab app holds a candle to Shutter. It not only grabs any shot you'd want - from the easy desktop and window shots all the way to tooltip shots - but also provides handy tools for editing and annotating screenshots. It's a must-have for doing documentation and the like, putting together product pages, or any scenario in which you'd want an all-in-one tool for working with screenshots.
Shutter is a relatively new project and the "official" packages aren't in every distribution just yet. If you're using Debian testing or unstable, Gentoo, or recent versions of Fedora, Linux Mint, or Ubuntu, you should be able to find official packages. openSUSE users can find unofficial packages in the openSUSE Build Service [1] for openSUSE 11.2 and openSUSE Factory using the 1-Click Install.
Shutter is hosted in Canonical's Launchpad. If you're using Ubuntu or an Ubuntu derivative, you should be able to find packages of more recent releases than those shipped with Ubuntu via the Private Package Archives (PPAs).
For more information on getting Shutter packages or on compiling from source, go to the Shutter website [2]. For the purposes of this review, I'm working with the latest stable Shutter release (version 0.85.1).
Shutter is an advanced screenshot tool, but that doesn't mean it isn't suitable for basic use as well. If you don't need the extra features, they don't get in the way. If you just want a quick shot of the entire desktop, Shutter is happy to oblige. Just click the Full Screen button on the toolbar, and Shutter will zap a shot of the full screen after minimizing itself. Figure 1 shows a simple desktop screenshot.
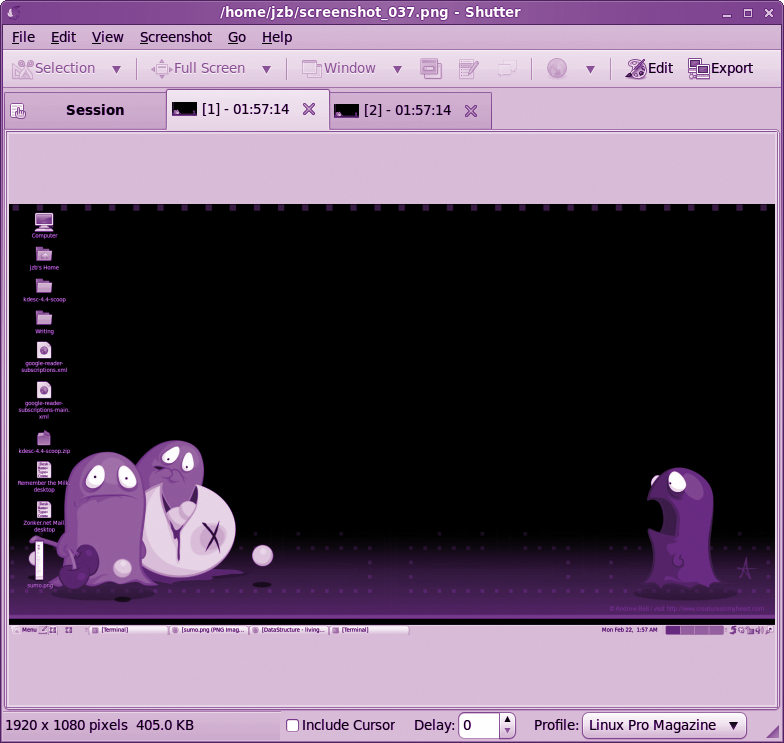
As you can see in the figure, Shutter has a tabbed interface. Each shot is saved in a tab, thereby making it very easy to work with a large collection of screenshots. The first tab includes the entire session, and you'll see all of the shots you've taken while working with Shutter. You don't have to do anything to save shots, they're saved automatically. Shutter also saves your session information, so if you exit Shutter and then restart it, you can pick back up right where you left off.
Because many Linux users work with multiple workspaces, Shutter also allows you to specify which workspace you'd like a shot of. So, if you have Shutter in your first workspace but want a shot of workspace 3, just click the drop-down arrow next to Full Screen in the Shutter toolbar and select the workspace you want a shot of.
Some desktop environments will handle basic screenshots on their own. For instance, in Gnome, you can take a shot of the entire screen using the PrintScreen key (if you have one) and a shot of a single window using the Alt+PrintScreen combo. If you want Shutter to take over the screenshots, go to Edit | Preferences | Behavior and check the Gnome-Keybinding boxes.
Additionally, you can set the hotkeys here, so if you'd like to use Gnome's native screenshot functionality alongside Shutter, it's possible to configure both. As much as I like Shutter, I recommend using the native desktop environment's functions and setting different hotkeys for Shutter. So instead of using PrintScreen, I use Shift+PrintScreen for a full-screen capture with Shutter.
Whether you need a shot of a single window, a portion of a window, or just a menu, Shutter is the tool for you. Other screengrab tools are decent but not quite as fine-grained as Shutter. Using GIMP, for example, you can crop selections of the desktop or windows, but Shutter allows you to drill down all the way to tooltips for applications without grabbing any additional artifacts.
The Selection tool has two modes: Advanced and Simple. If you select Simple, Shutter will display a set of crosshairs and allow you to grab a rough selection of the desktop or window. This can be useful for quick and dirty screenshots, but Shutter can do much more. Selecting Advanced allows you to tweak the selection "just so" before capturing the screenshot. The simple mode takes a screenshot as soon as the mouse button is released. In advanced mode, Shutter waits until you hit Enter and then grabs the shot.
Shutter also allows you to zoom in or out on the selection to make very sure you have just the bits you want in the screenshot. The zoom function works by holding Ctrl and using the mouse scroll wheel to zoom in or out.
The actual resolution of the screenshot remains the same, but Shutter lets you zoom the display to better see the area you're selecting. This can be useful if you want to crop a screenshot very tight.
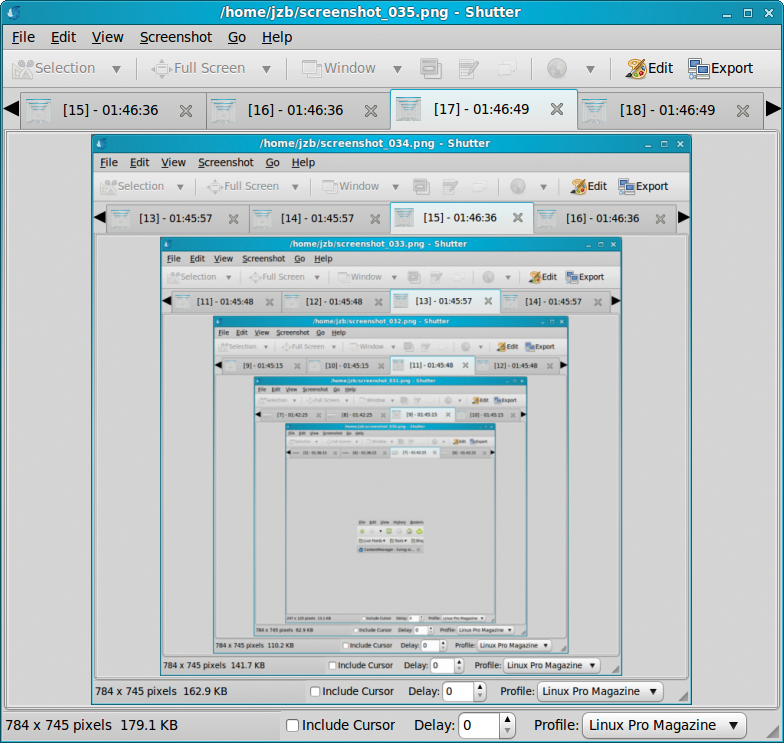
If you want to grab an entire Window, Shutter has a particularly nice feature. Rather than having you select a window by mousing around, Shutter shows a list of available windows from which to grab a screenshot. Just click the window you want and Shutter automatically takes a shot of that. By the way, this is, the easiest way to get a shot of Shutter itself.
For extra fun, grab a few screenshots of Shutter grabbing screenshots of Shutter grabbing screenshots of Shutter, and so on. Figure 2 shows how crazy this can get.
To grab just a menu, click the menu button on the toolbar and Shutter will give you a countdown to activate the menu that you want to capture. Just choose the window that has the menu you want to grab and click on it. When the timer gets to 0, Shutter takes a screenshot of only that menu, without any toolbar artifacts or other bits. Note that you can configure this in Shutter's preferences, so you can dial up or down the amount of time that Shutter waits before taking a screenshot.
Need a tooltip screenshot? No problem. Shutter has a button that can capture a tooltip from any program. Again, it will give you a countdown and then grab only the active tooltip.
Shutter is very flexible and can be configured to create screenshots for many different types of projects. If you're using Shutter to work on multiple projects, you can create multiple profiles, so that you don't need to constantly revise your preferences when switching between different sets of options.
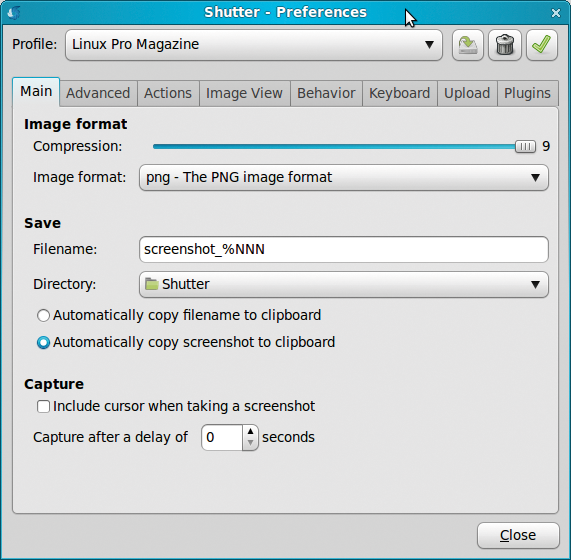
To configure Shutter, go to Edit | Preferences to open the Preferences dialog. Once you have a set of preferences that suits the way you work, click the hard drive icon at the top of the Preferences dialog. You'll be able to save your set of preferences to a profile and select that profile or switch between profiles at will.
In Figure 3, you can see that Shutter has several tabs for various preferences. In the Main tab, you can tell Shutter which file format to use (the options are PNG, Bitmap, and JPEG), where to save files, and the default delay for taking screenshots.
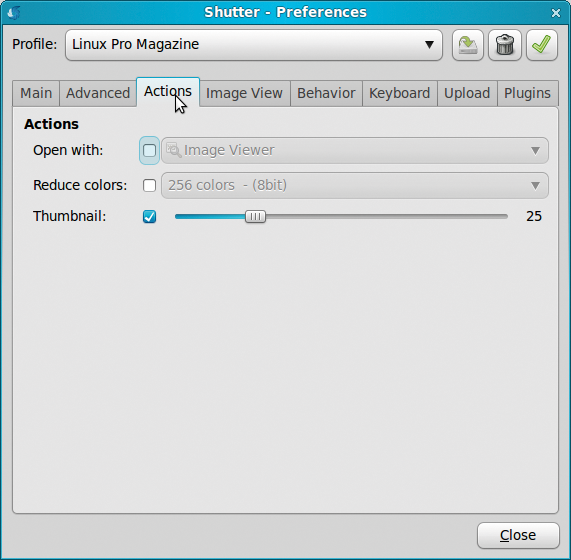
Most of Shutter's preferences are fairly self-explanatory, but I do want to point out a couple. If you need thumbnails of your screenshots, you can save a few steps by configuring Shutter to automatically create thumbnails. In the Actions tab, click the Thumbnail radio button. The slider dictates the size of the Thumbnail relative to the actual screenshot, as shown in Figure 4.
By default, Shutter is a bit camera-shy. If you want to include Shutter in screenshots, go to the Behavior tab in the Preferences dialog and uncheck Autohide main window when taking a screenshot, or you'll miss getting Shutter grouped in with all your other applications for screenshots. The Keyboard tab will let you assign Shutter as the default screengrab application for Gnome. I don't recommend doing this, however, because in some cases, Shutter doesn't seem to like taking shots of itself. However, if you want to use Shutter for all screencaps in Gnome, you can set that in the Keyboard tab.
Another of Shutter's advanced features is that it will take a screenshot of a website without the need to pull up a browser and grab the shot. Why is this desirable? If you have a long web page that you can't capture in a static shot of a window, Shutter can pull a shot of the entire page by using the Website Screenshot feature.
Shutter actually uses gnome-web-photo behind the scenes to grab the web pages. On the Shutter toolbar, just click the Web icon and enter the URL you want to grab. That's it. Depending on the size of the page, speed of the connection, and so on, it might take a bit longer to grab the shot than a standard screenshot.
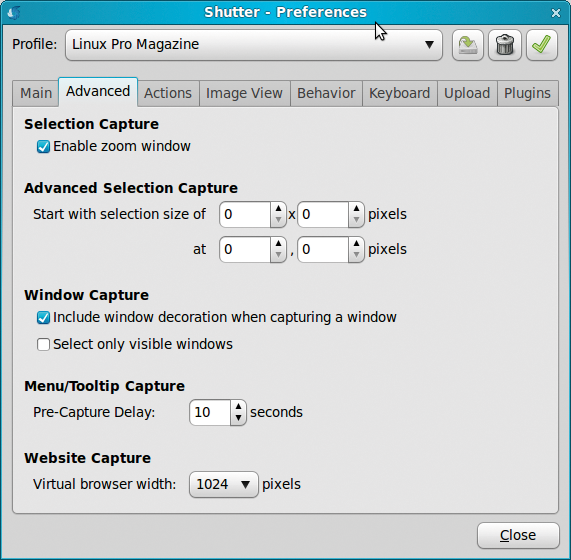
The length of the web shot equals the actual length of the web page, but you can tell Shutter what width to use by going to Edit | Preferences | Advanced and setting the Website Capture pixels from the drop-down dialog, as shown in Figure 5.
Note that I tested Shutter on Linux Mint and found that the website screenshot feature was just hanging without any result. I ran gnome-web-photo to verify that it was working (it was) but wasn't able to launch its GUI. I could take screenshots from the command line, but I got an error about libxul.so. After installing libxul-common, everything was right as rain. Apparently the libxul-common package is not installed by default, so you might need to install it manually if you want to get web shots.
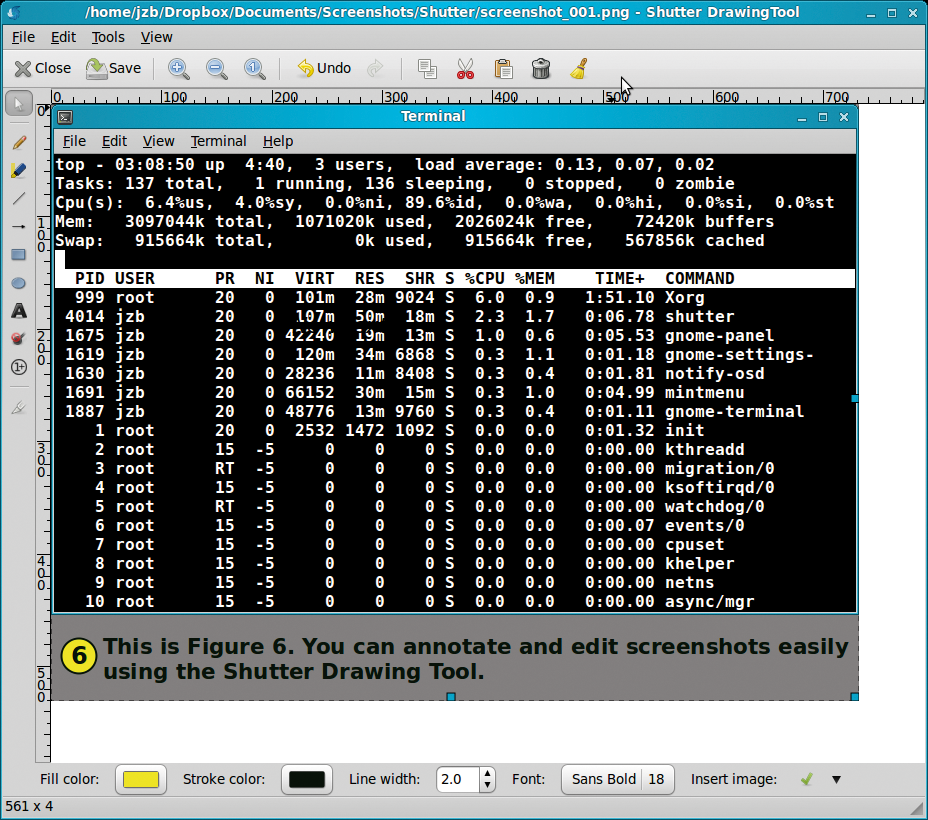
After you've taken the screenshots you want, you can work with them in the Shutter Drawing Tool to add text, annotations, numbers, and arrows; blur out sensitive information; and generally tweak screenshots almost any way you'd like. Figure 6 shows an example of working with a screenshot with the Drawing Tool.
The Shutter Drawing Tool is very full-featured but slightly clunky. Some of the tools, particularly the text tools, are not entirely intuitive. If you want to add a text box, select the Text icon and then click in the image where you'd like to add the text.
However, if you click again, as you normally would in other programs to add text, Shutter just gives you another text box. In Shutter, once you've placed the text box, you need to switch to the Selection tool and then edit the text. The same is true for the auto-increment shape - otherwise known as the numbering tool. One nice touch is that when you add numbers to the screenshot, Shutter goes ahead and auto-increments them - so it's quick and easy to add several number shapes in order to a screenshot (1, 2, 3, etc.). You can also specify the number and look and feel of the number shapes by double-clicking on them. So, if you're doing a series of shots, you can start at later numbers with new screenshots.
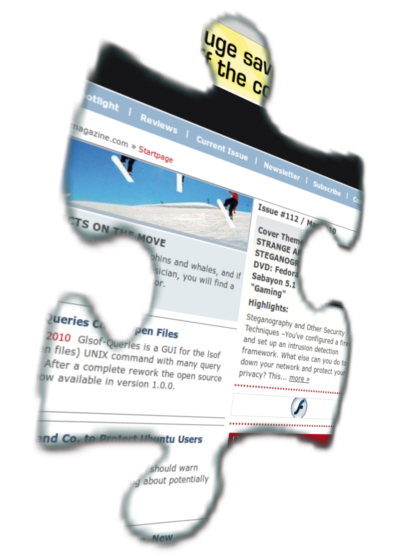
Finally, Shutter offers a number of effects to make your screenshots look really spiffy. Shutter will let you create jigsaw puzzle pieces out of an image, create faux Polaroid shots, make a 3D rotated image out of a screenshot, and so on. Shutter comes with nearly 20 plugins. To use the plugins, just go to Screenshot | Run a Plugin and choose one from the dialog that comes up. You can see the effects of the puzzle and 3D rotation plugins in Figure 7.
If you want an effect or something that Shutter just can't do, there's still hope. Under the Screenshot menu, Shutter has a feature for sending a shot to another program, like Firefox or GIMP. All you have to do is open the picture in GIMP or another program and make your changes, which are automatically reflected in Shutter. As soon as you're done in the other program, you can go back to working in Shutter.
Shutter has a lot to offer. If you need to work with screenshots on a regular basis, you'll love working with Shutter. Although it still has a few rough edges, as befits a program that has not quite reached version 1.0 yet, overall, it's better and more complete than any other screenshot tool I've found for the Linux desktop.
| INFO |
|
[1] openSUSE Build Service: http://software.opensuse.org/search
[2] Shutter website: http://shutter-project.org/downloads/ |