
By Dmitri Popov
At first sight, Inkscape might not seem like a tool you would want to use for presentations; after all, it's a vector graphics editor that lacks even the most basic features that you'd expect from a decent presentation application. But the JessyInk extension [1] changes that completely. Once installed, this nifty extension turns Inkscape into a rather capable tool for working with presentations.
Although the Inkscape/JessyInk combo probably won't appeal to Impress power users, it has advantages that can prove to be more important than all the advanced features of a dedicated presentation application. For starters, presentations created with Inkscape are saved as SVG vector files, which you can open and run in any modern browser. This eliminates the need for any dedicated application, and you can run the presentation on virtually any computer. With Inkscape, you have a wide range of powerful editing tools at your disposal, so you can create rather impressive presentations. Compared with OpenOffice.org Impress, Inkscape's interface looks less cluttered and intimidating, making it easier for you to focus on designing your presentation.
To turn Inkscape into a presentation tool, just install the JessyInk extension. On Ubuntu, the easiest way is to use the packaged version from the JessyInk PPA [2] with the following commands:
sudo apt-add-repository ppa:jessyink-team/ppa
sudo apt-get update
sudo apt-get install jessyink
Alternatively, you can install the latest release of JessyInk manually. To do this, grab the most recent version, unpack the downloaded archive, and move all files in the inkscapeExtensions folder to the /usr/share/inkscape/extensions directory. Then, change permissions with the following commands:
chmod 755 jessy*py
chmod 755 jessyInk.js
chmod 644 jessy*inx
Once installed, the extension adds the Extensions | JessyInk submenu in Inkscape.
To get ready to start working on your slide presentation, launch Inkscape and create a new SVG file. Like GIMP and other image editing applications, Inkscape supports layers; you can add as many layers as you want, hide and show individual layers, and rearrange them. With JessyInk, each layer in the SVG file is treated as a slide, so to create a presentation, you must add a separate layer for each slide. But before you do that, you need to take care of a few things.
To begin, you must specify the page (a.k.a. slide) dimensions. To do this, choose File | Document Properties and enter the desired width and height values in the appropriate fields in the Custom Size section. Here, you can specify a background color as well as enable and tweak other options. For example, you can enable and configure a grid under the Grids tab. The grid can help you position and align objects on the slide.
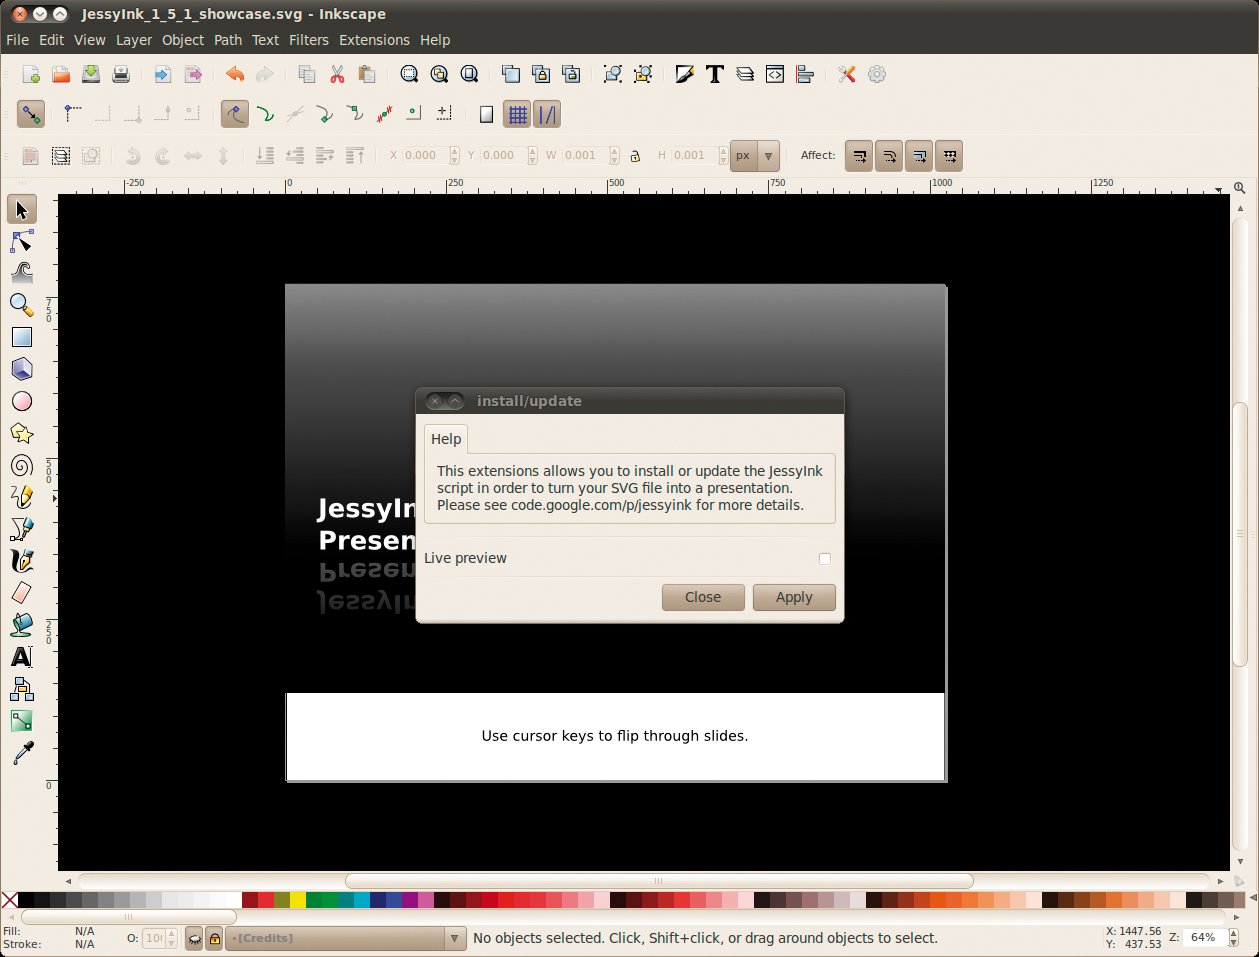
Next, delete the default layer with the Layer | Delete Current Layer command. Then, add a new layer by choosing Layer | Add Layer or by entering the Shift+Ctrl+N keyboard shortcut. Finally, embed the JessyInk script into the current file to turn it into a presentation (Figure 1). To do this, choose Extensions | JessyInk | install/update.
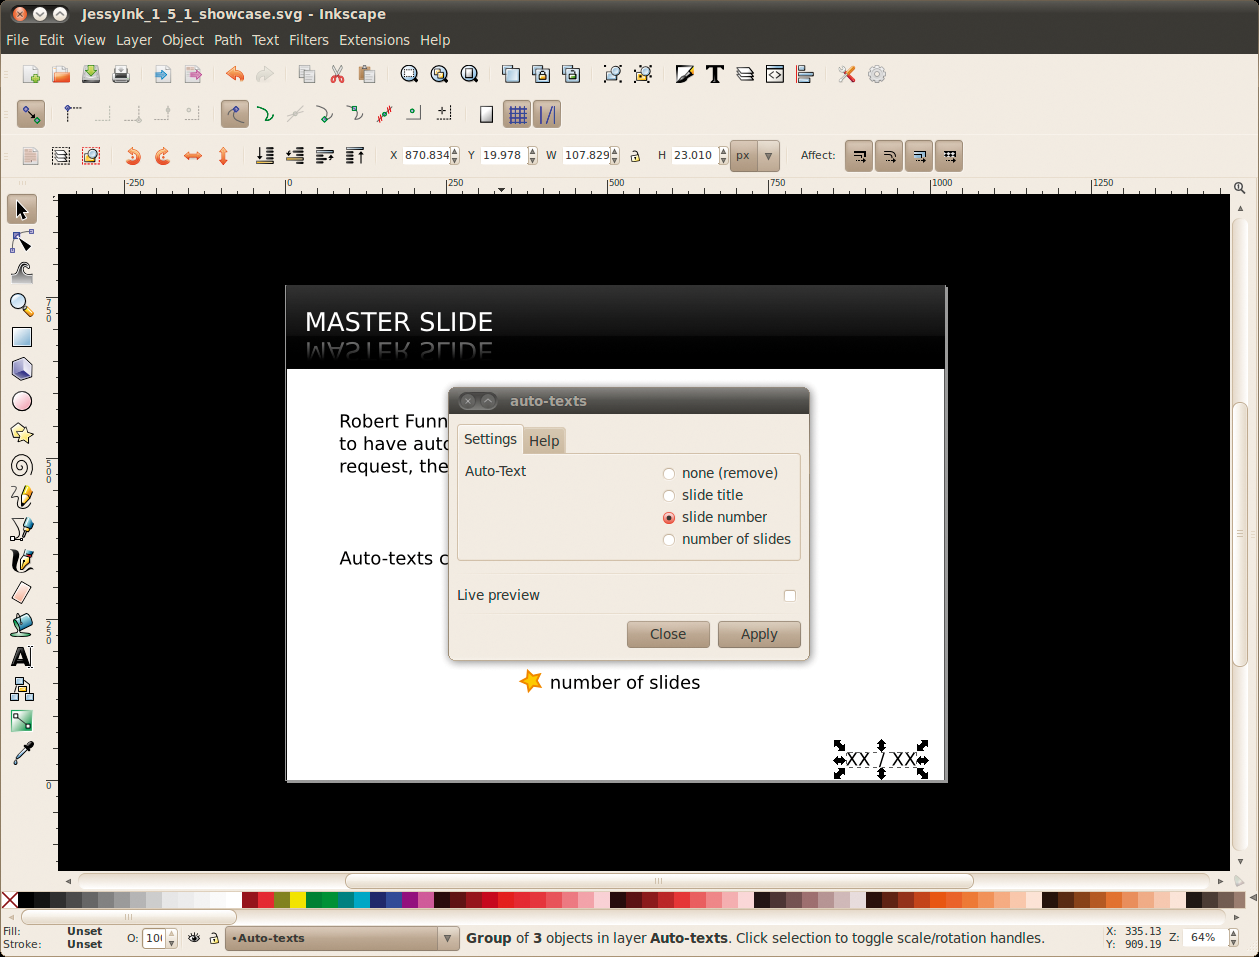
Like any presentation application worth its salt, JessyInk supports master slides. A master slide is applied to every regular slide, thus making your layout more consistent (Figure 2). Additionally, it makes the process of designing a presentation more efficient because you have to specify global elements like headers and footers only once. In other words, it's a good idea to start designing your presentation with a master slide. Once the master slide is ready, give it a descriptive name like MASTER using the Layer | Rename Layer command. Then, choose Extensions | JessyInk | master slide and enter the name of the master slide (in this case, it's MASTER) in the Name of Layer field and press the Apply button.

When working on the master slide, you can use JessyInk's Auto-Text feature to insert dynamic text like the slide title, slide number, or total number of slides (Figure 3). For example, say you want to number all the slides in your presentation. To begin, switch to the master slide and insert a text object with some arbitrary text (e.g., PageNo or Page xx). Then, format the text exactly as you want it to appear on the slides by selecting the text object, choosing Extensions | JessyInk | auto-texts, selecting the slide number option, and pressing Apply. Although you won't notice any changes right away, next time you run the presentation in a browser, the current slide number will appear where you entered the placeholder text.
With the master slide in place, you can start working on regular slides. With the use of the commands in the Layer menu, you can easily add a new layer (or slide), duplicate the currently selected layer (handy when your next slide is based on the previous one), and move the layers around (Raise Layer, Lower Layer, and other commands). Additionally, you can use the Move Selection to Layer Above and Move Selection to Layer Below commands to move selected objects to the layer above or below the current one.
For easier navigation through multiple layers, you can enable the Layers panel by choosing Layers | Layers or pressing the Shift+Ctrl+L keyboard shortcut. Once you've finished working on a slide, lock it by clicking on the Padlock icon next to the Layers drop-down list at the bottom of the main window. This will prevent you from inadvertently modifying the slide. Before you add the next layer, you might want to hide the previous one. To do this, press the Eye icon next to the Padlock icon.
With JessyInk, you can specify transition effects between slides, and you can choose between three effects: appear, fade, and pop. Either apply specific transition effects to each slide individually (useful if you want to use different effects for different slides) or apply the desired transition globally in the master slide.
To add a transition effect to a slide, choose Extensions | JessyInk | transitions, enter the name of the slide in the Name of Layer field, and specify the desired effect. Then, hit the Apply button to add the transition effect to the slide. Similarly, you can apply effects to individual objects. To do this, select the object you want, choose Extensions | JessyInk | effects, and specify the desired effect.
JesssyInk also supports the index sheet feature, which displays all slides in the presentation as thumbnails. This can come in particularly handy when you need to jump to a specific slide in your presentation. The index sheet feature is enabled by default, and you can activate it during the presentation by pressing the i key. This displays a thumbnails sheet with the current slide highlighted. Pressing the i key again returns you to presentation mode.
If you are good at drawing and you have a scanner, you can use hand-drawn images in your Inkscape-based presentation. This way, you don't have to hunt for usable clip art for your presentation - you can just draw whatever you need and use Inkscape's tools to turn drawings into scalable vector graphics. To do this, choose a thick black pen and a white sheet of paper for your drawing. Using a black pen on white paper allows you to achieve maximum contrast, which makes it easier to trace the drawing (i.e., convert it into vector graphics).
With the use of a scanning application like XSane (it's available in the repositories of most mainstream Linux distros), scan the drawing as line art at 300dpi. Save the scanned image as a PNG file. In Inkscape, choose File | Import and insert the scanned image. Select the imported object and choose Trace | Trace Bitmap - just make sure that the Brightness cutoff option is enabled - and press the Update button to preview the result in the Preview pane. Next, adjust Threshold settings if necessary and press OK to trace the image. Then, remove the bitmap original and use Inkscape's path tools to tweak the traced drawing and color it with the use of other available features. Of course, the quality of the final result depends largely on your drawing and editing skills, but if you want to make your presentation stand out and give it a personal touch, the described technique can do just that.
Presentations created with Inkscape and JessyInk can be controlled with the keyboard. The default key bindings are easy to remember: Use the Down arrow and Up arrow keys to move one slide forward or backward (you can also use the Right arrow and Left arrow keys to do that). The Home and End keys let you jump to the first and last slide, respectively; you can use the D key to set the duration of the slide and the p key to toggle the progress bar.
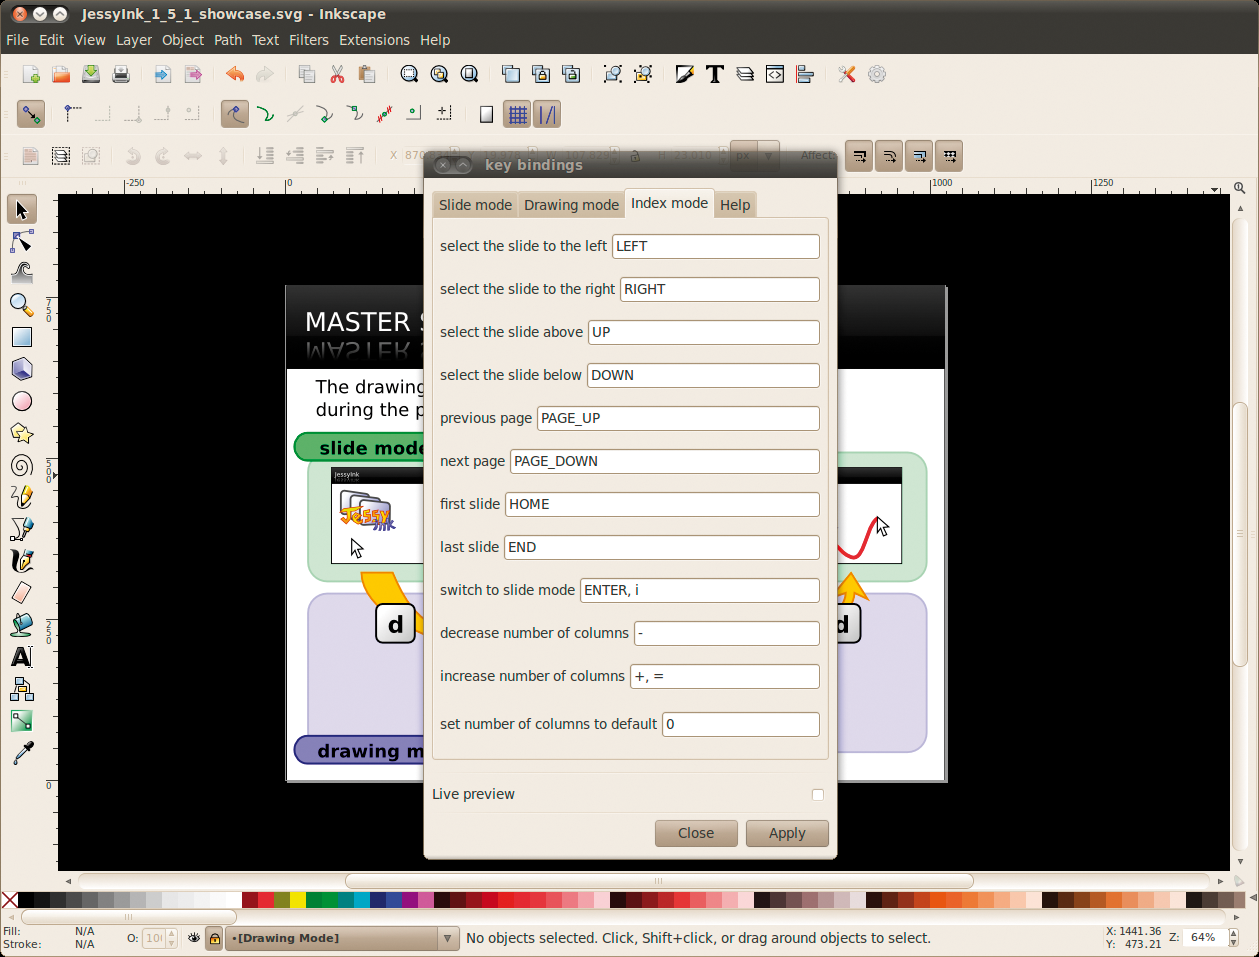
The real fun starts when you press d. This switches the presentation to drawing mode and allows you to draw directly on the slide. The drawing mode has its own key bindings. Keys from 0 to 9 let you set the thickness of the marker, whereas letter keys can be used to change the marker's color (e.g., b for blue, m for magenta, g for green, y for yellow, etc.). With the z key, you can undo the last drawing action. If you don't fancy the default key bindings, you can modify them from Extensions | JessyInk | key bindings (Figure 4).
The Inkscape/JessyInk combo might not replace a dedicated presentation application, but it has a lot going for it. For example, it's not overburdened with useless features, it offers a wide range of drawing and editing tools, and the final presentation can be played on virtually any computer with a browser. So, next time you need to give a presentation, give Inkscape/JessyInk a closer look.
| INFO |
|
[1] JessyInk: http://code.google.com/p/jessyink/
[2] JessyInk PPA: https://launchpad.net/~jessyink-team/+archive/ppa |
| THE AUTHOR |
|
Dmitri Popov holds a degree in Russian language and computer linguistics. He has been writing exclusively about Linux and open source software for several years, and his articles have appeared in Danish, British, North American, German, and Russian magazines and websites. |