
By Bruce Byfield
Creating a PDF file from the desktop is easy. The simplest way is to create a document in an application like OpenOffice.org or Inkscape that exports directly to PDF. If an application does not allow PDF exports, you can install the CUPS-PDF package [1] and print to it.
But from the command line? As I said, it's complicated. Not only that, the matter is not helped by the amount of misinformation floating around online. If you are lucky, you can find a script like chm2pdf or wkhtmltopdf that is specific to your source format. If you are using command-line tools, such as LaTeX, you can create PDFs from within them.
Unfortunately, many formats used on the desktop, such as Open Document Format, are not supported by command-line tools. For these formats, your best option is to create your PDF on the desktop.
However, for plain-text and common graphic formats, creating a PDF at the prompt is a two-step process: You create a PostScript file, then you create a PDF file from that PostScript file. You can carry out this process by using a2ps [2] or Ghostview [3] to create the PostScript file, then using Ghostview or the related ps2pdf script to create the PDF.
| PostScript |
|
The process of creating a PDF revolves around PostScript [4], one of the most popular languages used by computers to communicate with printers about the exact layout of pages. PDF [5] is a subset of the PostScript language, so converting from one to another is both accurate and quick. The process is especially easy in GNU/Linux, which for years has used PostScript in the form of Ghostscript [6] as the basis for its printing subsystem - in fact, at one point, the operating system supported only PostScript printers. Ghostview is simply the interpreter that allows users to interact with Ghostscript without editing it directly - something that is difficult to do and not recommended for most users, because it is no exaggeration that a single typo can corrupt an entire file. Most distributions use GNU Ghostview, a free-license implementation. Despite these advantages, describing something visually in a programming language remains a painstakingly detailed process, even when the interaction is abstracted into a command. For that reason, you will want to take your time with each step, so you're not overwhelmed by all the formatting options. However, in the process, you'll gain insight into some of the oldest parts of your GNU/Linux system, as well as discover what goes on behind the scenes when you work from the desktop. |
From the desktop, creating a PostScript File is a matter of choosing a PostScript printer driver then selecting the Print to File option in the dialog window. The position of the option varies with the application - in OpenOffice.org, it is available from a checkbox, whereas in GIMP, it is available as a printer - but it should generally be there. If you are working in a desktop application, you can quickly complete the first step and move on to creating the PDF.
From the command line, the options are more limited. In theory, you should be able to use the lpr command, specifying a printer that supports PostScript and then redirecting the output. In practice, though, I have been unable to find the right combination of options to make that work.
Instead, the easiest option I have found is a2ps (Figure 1). This command is short for "all to PostScript" and refers particularly to image formats. By calling on other standard utilities, such as ImageMagick, for the conversion of image files, a2ps lives up to its name, seamlessly converting most of the common file formats to PostScript. It is not perfect - for example, it cannot handle Open Document Format or Rich Text Format - but it will work on most graphics formats, as well as plaintext files.
![]()
Assuming that your system's default printer supports PostScript, the basic format of the command is:
a2ps --output=OutputFilename InputFilename
Unless you specify the output file, a2ps will print to the default printer on your system (Figure 2); you can also chose to send the output to another PostScript printer by adding the option --print=PrinterName. In all these cases, a2ps tells you how many original pages are printed to how many pages and where the input file was sent - whether to file or to a particular printer.
![]()
By default, a2ps is set to verbose mode, giving all the information it can about how it is printing the input file. You can use the -q option to suppress all feedback, but running a2ps verbosely is usually a good idea, if only because it can save you the need of opening the output file to see the results.
Moreover, to get the output you want, you might need to specify format options. The possibilities are far too numerous to list here, but, for example, you might want to specify --portrait or --landscape to change the page orientation. If necessary, you can also specify such features as follows:
--lines-per-page=Number --characters-per-page=Number --copies=Number
You might also want to suppress the header that a2ps automatically generates ("Printed by Current User" on Fedora; the date, time, source file, and page number/total pages on Debian) with the -B option or use --header=Text to create your own.
Additionally, you might want a2ps's commands for economical printing. You can affect the size of printing with a number from one to nine, with -1 being the largest and -9 the smallest (Figure 3). You also have the options of using --columns=Number and --rows=Number to specify the layout on a page. If you are using multiple columns and rows, you will probably want to use --major= to specify the direction of text, completing the option with either rows or columns.
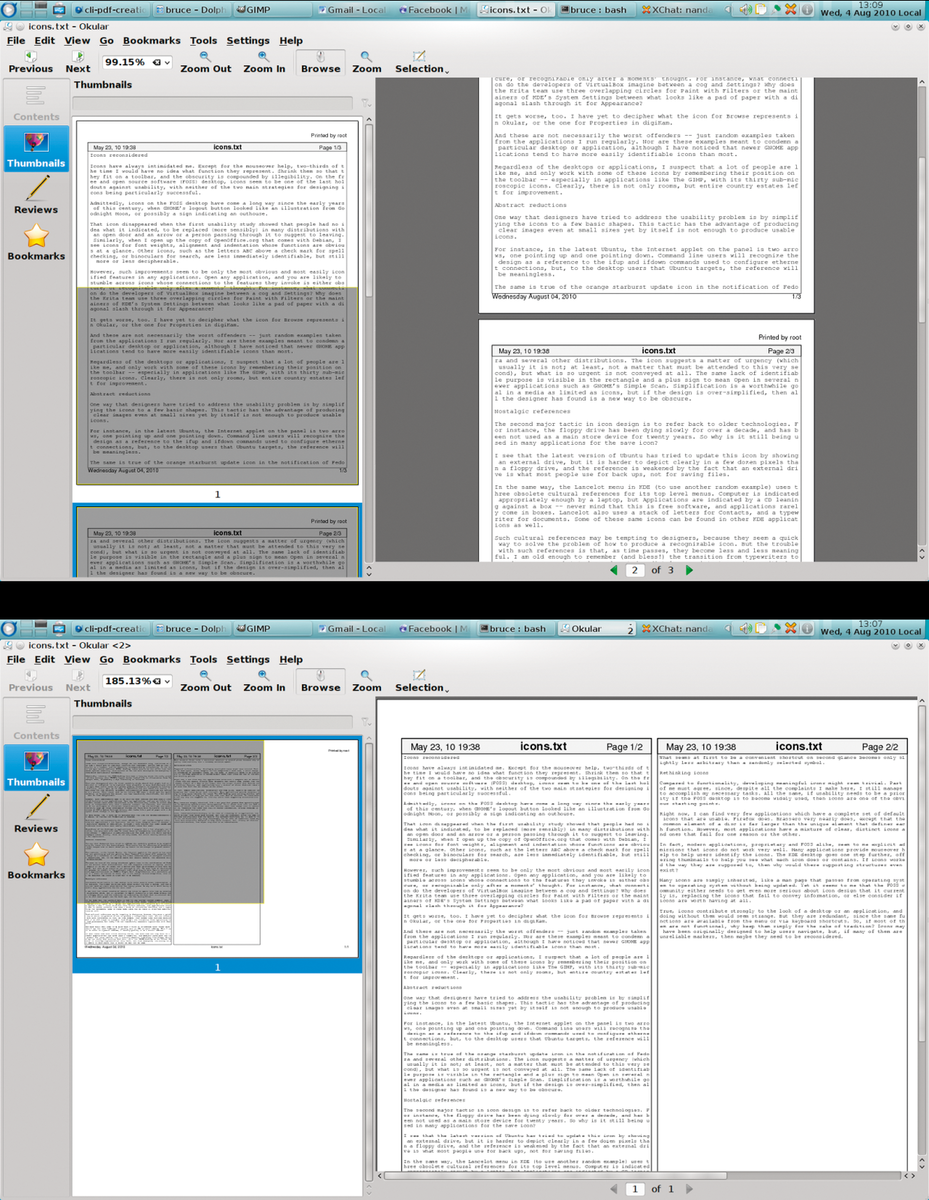
-1 (full-sized) and another set to -3, which halves the length.Chances are you will need to experiment with a2ps, working with its man or info page open, to get exactly what you want. However, with patience, you should be able to produce the PostScript file you need for the next step.
As an alternative to a2ps, you can work directly with Ghostscript to create both the PostScript and the PDF file. Be warned, though: As complex as a2ps can be, it is simple compared with Ghostscript and its formidable array of options [6].
Luckily, in creating PDFs, you are generally working with only a small subset of Ghostscript options [7]. In fact, in many cases, the basic command structure is all that you will need.
For example, if you wanted to create a PostScript file from a file called addresses.txt, the basic command would be:
gs -sDEVICE=pswrite -sOutputFile=addresses.ps -dBATCH
   -dNOPAUSE addresses.txt
Here, -sDEVICE defines a printer or, in this case, a virtual printer for creating PostScript files; -sOutputFile identifies the name of the file to which Ghostscript will write a PostScript version of the file addresses.txt, called addresses.pdf. The other options are not strictly needed, but -dBATCH exits the Ghostscript command line when the command has completed, whereas -dNOPAUSE does not stop to ask for verification from you when a problem arises. If desired, you could specify additional input files, each separated by a space, to be merged into the single output file.
Once you have the PostScript file, the command format for creating the PDF version is exactly the same, except that the value of -sDEVICE is pdfwrite, and the extension of the output file should be changed to *.pdf. The extension of the input file should be changed to *.ps (Figure 4).
![]()
Of course, you can specify far more if you choose. You can specify an output resolution with -r RESOLUTION to produce a higher quality PDF or, if the dimensions of the resolution vary, with:
-rXResolutionYResolution
Alternatively, you can use
-dPDFSETTINGS=Configuration
to set the output to one of the pre-determined settings, including /screen for low resolution, intended for use online, /ebook for medium resolution, and /printer and /prepress for higher resolutions.
Also, you can set standard American and European paper sizes (e.g., A4 or Letter) [8] with -sPAPERSIZE. If none of the standard sizes suit you, set custom paper dimensions in points (one-seventy-second of an inch) with -dDEVICEWIDTHPOINTS=Size and -dDEVICEHEIGHTPOINTS=Size. Also, you can choose to print only a range of pages from the source document, with -dFIRSTPAGE=Pagenumber and -dLASTPAGE=Pagenumber.
Using Ghostscript, you can even secure your PDFs. Use -sOwnerPassword=PASSWORD to set the owner password and -sUserPassword=PASSWORD for the password required to open the newly created PDF file. With -dPermissons=NUMBER, you can set the new file's octal permissions [9].
All of these settings can be used with ps2pdf, a script based on Ghostscript that also allows you to set the version number of the PDF format used, ranging from PDF 1.2 to PDF 1.4. However, these options don't have much point anymore. Even PDF 1.4, to which Ghostscript and PDF default, is far behind PDF 1.7, which is what the latest version of Adobe Acrobat uses.
The use of an older version does ensure that the PDFs created will be readable by just about everyone, but there is no reason to use a PDF version that is any older. Nor, for that matter, is any reason strong enough to compel you to use ps2pdf rather than Ghostscript - unless you discovered it first.
The tips in this article provide a narrowly focused introduction to a2ps, Ghostscript, and ps2pdf. However, they should be enough to get you started writing PDF files from the command line and to provide a sense of how these utilities interact. Although these tools might seem more complicated than a desktop equivalent, they have the advantage of offering more options. In fact, the options available in Ghostscript in particular compare favorably with those available in Adobe's proprietary PDF tools.
If you study Ghostscript further, you will soon learn that it is a tool for working not only with PostScript and PDF files but also a wide variety of other formats, especially graphic ones. Moreover, Ghostscript remains a major part of the GNU/Linux printing and graphics subsystems. In using Ghostscript to create PDF files, you could be accessing only a fraction of its potential, but you are seeing your operating system at a whole new level.
| INFO |
|
[1] CUPS-PDF: http://www.physik.uni-wuerzburg.de/~vrbehr/cups-pdf/
[2] GNU a2ps: http://www.gnu.org/software/a2ps/ [3] Ghostview: http://www.gnu.org/software/gv/ [4] PostScript: http://en.wikipedia.org/wiki/PostScript [5] PDF: http://en.wikipedia.org/wiki/Portable_Document_Format#Technical_foundations [6] Ghostscript: http://en.wikipedia.org/wiki/GhostScript [7] Ghostscript options: http://www.gnu.org/software/gv/manual/gv.html [8] American and European paper sizes: http://pages.cs.wisc.edu/~ghost/doc/svn/Use.htm#Known_paper_sizes [9] Octal permissions: http://en.wikipedia.org/wiki/Permissions#Octal_notation |