Chemistry is one of the heavy hitters in computational science. This has been true since the beginning, and it's no less true today. Because of this, several software packages specifically target this user group. Most of these software packages focus on calculating things within chemistry, like bond energies or protein folding structures. But, once you've done the science portion, you need to be able to communicate your results, usually in the form of papers published in journals. And, part of the information you'll need to disseminate is imagery of the molecules from your work. And, that's where EasyChem, this article's subject, comes into play.
EasyChem helps generate publication-quality images of molecular structures. It should be available in the package management repositories for most distributions. In Debian-based distributions, you can install it with the following command:
sudo apt-get installed easychem
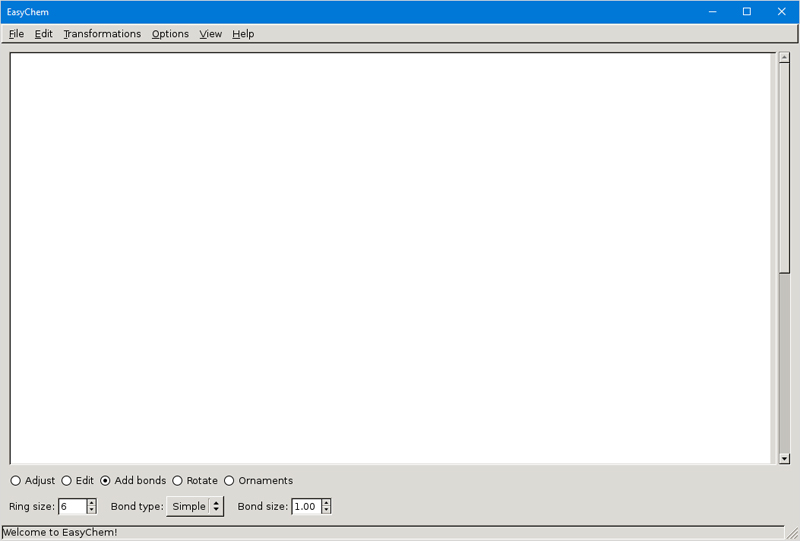
Once it's installed, you can start it either from your GUI's menu system or from the command prompt. When it first starts, you get a blank canvas within which to start your project.

Figure 1. You get a blank workspace when you first start EasyChem.
One of the first things you'll want to check is whether the option to have helpful messages is turned on. You can check this by clicking Options→Learning messages. With this selected, you'll get helpful information in the bottom bar of the EasyChem window.
Let's start with a simple molecule like benzene. Benzene is a ring of six carbon atoms, with every other bond a double bond. You can create this structure by using the options at the bottom of the draw window. Making sure that the "Add bonds" option is selected, select the "Simple" bond from the drop-down of "Bond type". If you now place the mouse pointer somewhere in the window and click and drag, you'll get a single bond drawn. To get a ring, you need to hold down the Ctrl key, and then click and drag. This will draw a ring structure for you.
You can set the number of atoms to use in the ring with the "Ring size" option in the bottom left of the window. The default is six, which is what you'll want for your benzene ring.
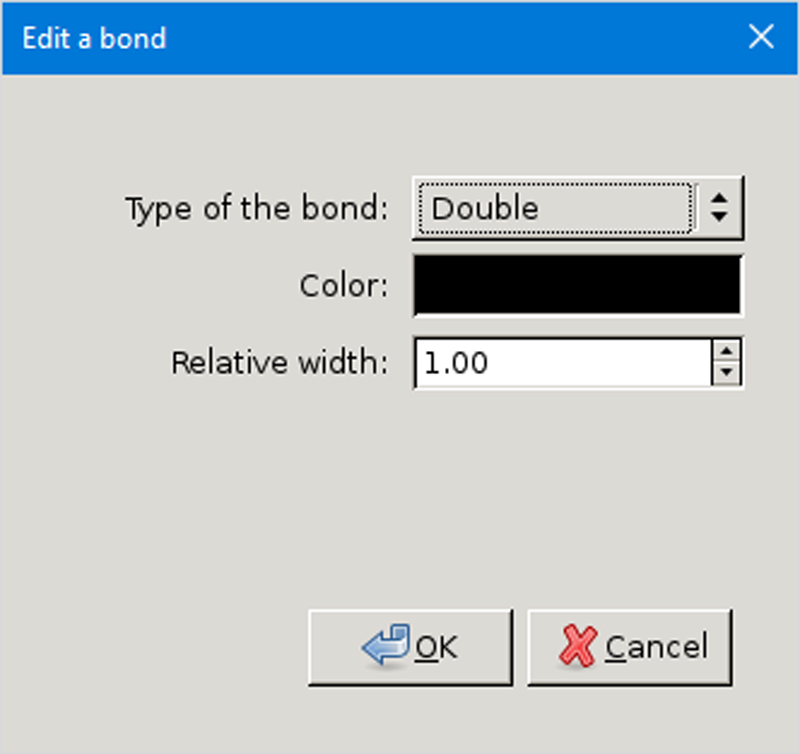
To get the alternating bond types, select the "Edit" option at the bottom, and then you'll be able to select individual bonds and change their types. When you select one of the bonds, you'll see a new pop-up window where you can change the details, such as the type of bond, along with the color and the relative width if it is a multiple bond.

Figure 2. EasyChem lets you change several options of individual bonds.
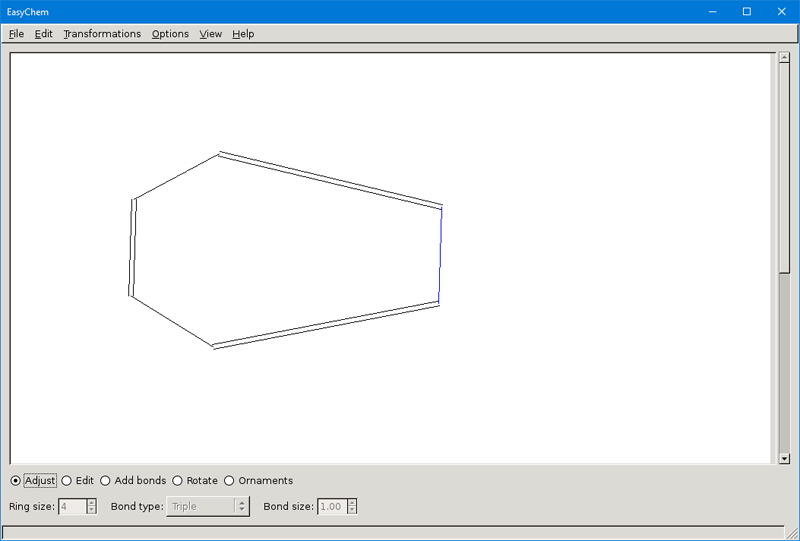
Once you have some of your diagram constructed, you'll likely want to make alterations to the overall look. When you select the first option at the bottom of the window, labeled "Adjust", you can select one or more objects and adjust their position in the diagram. If you have a collection of objects you need to move, you can select them by creating a box around them with your mouse. They'll then change color to show they've been selected and you can move them around. If you select a single bond instead, the rest of the molecule will be adjusted when you move that one single bond.

Figure 3. You can move elements of your diagram around, either individually or as a group.
You can rotate selections of your diagram with the Rotate option. In the benzene ring example, you can't rotate individual bonds. It only makes sense to rotate the complete ring.
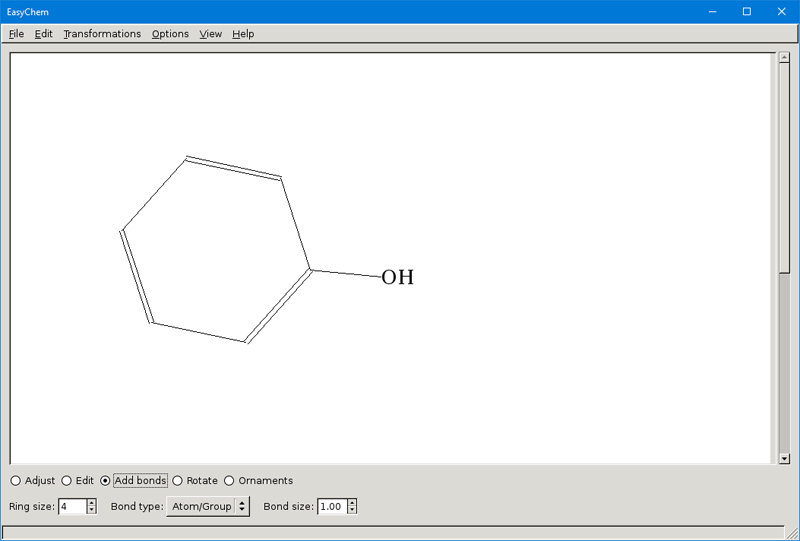
You also can add ornamentation to the ending of the bonds. These are items like non-bonding pairs, electronic gaps or radicals. If you are creating larger additions to a molecule, you'll probably want to build it up from simpler pieces. For example, if you want to add an OH group to the benzene ring, you would add a single bond to one of the vertices. Next, at the end of this new bond, you would add an "Atom/Group" bond type, and then you can add a label to it.

Figure 4. You can use simpler structures to build up more complicated objects.
The bond type list provides other decorative options. For example, you could add a circle to the center of the benzene ring, or you could add arrows or arcs to indicate transitions.
You can save your images using the native file format. When you click File→Save, a dialog window pops up asking you to save your work to a file with the ".ech" ending. This way you can save your intermediate steps and be able to re-create any output files. When you finish your molecule, you'll want to export it so you can use it in one of your documents. EasyChem provides several options for exporting your image into encapsulated PostScript files. These files have the ".eps" filename ending. If you're writing your paper in LaTeX, this probably is your best option, as it provides the best quality. It also has the ability to save in xfig format. You then can import it into any other software that understands xfig. Both of these options are text-based file formats. They're essentially instructions to a printing device. The final option is to export it to PDF format. Although more people may be experienced with PDF files, they're essentially binary in nature. This means that they aren't as easily incorporated into other documents, so you'll most likely want to accept the default EPS file format.
—Joey Bernard