
I recently switched to KDE and Plasma as my main desktop environment, so I thought I'd start digging into some of the scientific software available on KDE. First up is KStars, the desktop astronomy program.
KStars probably won't be installed with the standard KDE desktop, so you may need to install it. If you're using a Debian-based distribution, you can install KStars with the following command:
sudo apt-get install kstars
When you first start it, KStars asks for your current location, and then it gives you the option of installing several extra information files to add to the list of objects that KStars knows about and can display. Once those steps are finished, KStars begins with the current sky at the location you entered earlier.
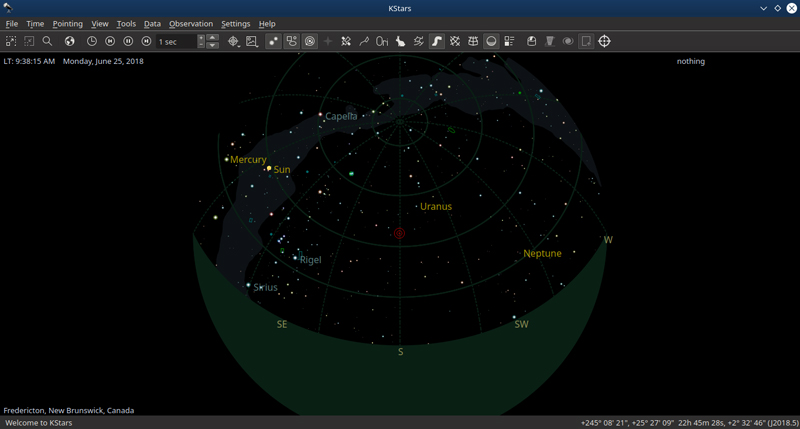
Figure 1. On startup, KStars shows you the current layout of the sky in your location.
So, what can you do with KStars? If you've used programs like Stellarium before, you'll find that you can do the same types of tasks with KStars. You can use your mouse to click and drag the display to change the direction you're facing. The cardinal directions are labeled along the outside of the circle of the sky, and you can zoom in and out to change the field of view. If you see an object you want to examine further, you can double-click it to center it on the display and tag it as the current object of interest.
Depending on what catalogs of data you installed, some of the objects may have more or less information available. For example, selecting the planet Uranus and zooming all the way in shows a reasonably detailed image of the planet, including the ring orientation.
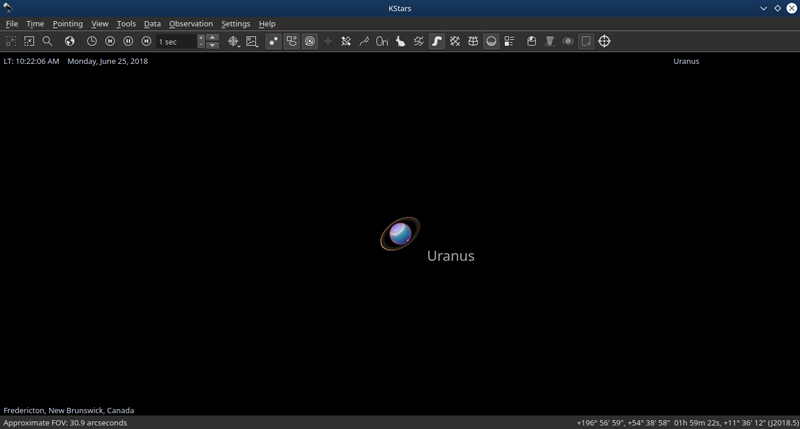
Figure 2. You can easily select and zoom in to objects of interest in KStars.
Quite a few options are available for controlling what's shown in the main window. The toolbar across the top of the window allows you to toggle the following items: stars, deep sky objects, solar system objects, supernovae, satellites, constellation lines, constellation names, constellation art, constellation boundaries, Milky Way, equatorial coordinate grid, horizontal coordinate grid and opaque ground. This allows you to customize the display so that it shows only what you're interested in at the time. The last display option is to toggle the "What's Interesting" pane.
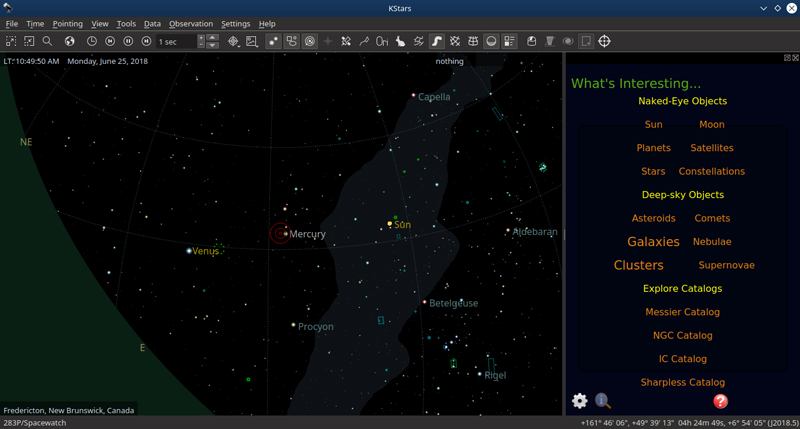
Figure 3. The "What's Interesting" pane lets you focus on a particular type of object visible in the sky with the current location and time.
You can click one an item in the pane, and then an object of that type will be highlighted in the display. The pane also changes to show a detailed list of all of those objects.
What if you want to change the current viewing conditions? Maybe you want to see what will be visible when you're on vacation next week? It's easy to change the time and location. Simply click the globe in the toolbar to pop up the location dialog.
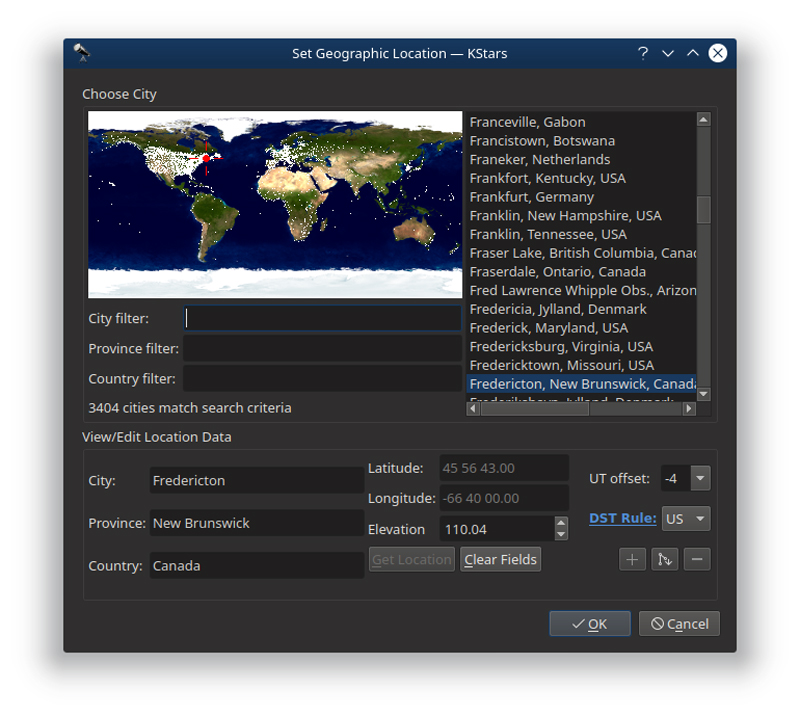
Figure 4. The location dialog lets you set where in the world you are, so you can see what's visible in the sky from that location.
If you click the clock icon in the toolbar, the time dialog pops up where you can set the viewing time and date, allowing you to see what's visible from anywhere and anytime. You also can change what information is available.
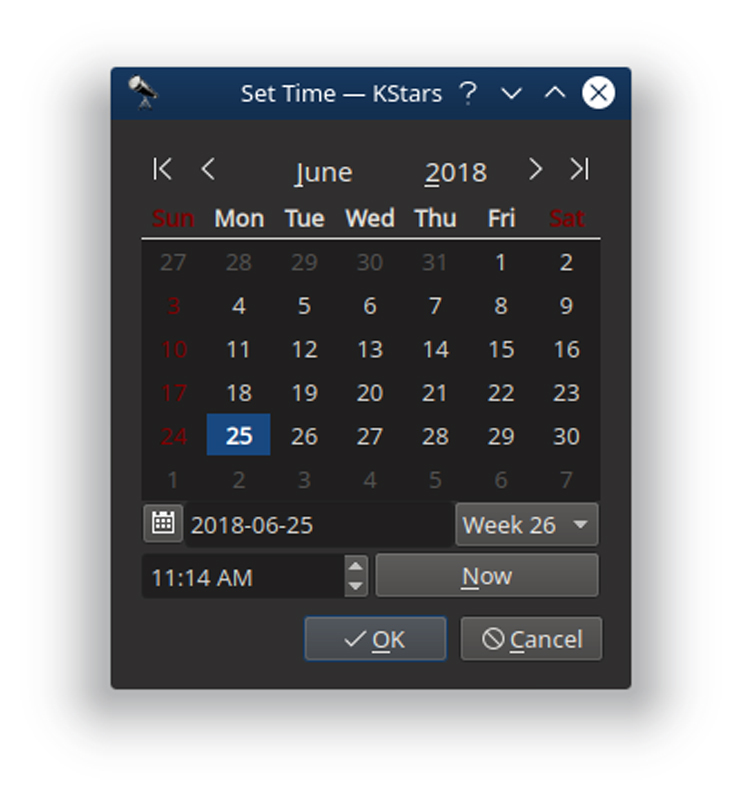
Figure 5. You can set the time and date to see what would be visible a given time and date with the time dialog.
If you declined to download extra information files when you first started KStars, you can go back in to that section and select some catalogs. Clicking Data→Download New Data opens a dialog window where you can select extra catalogs to install.
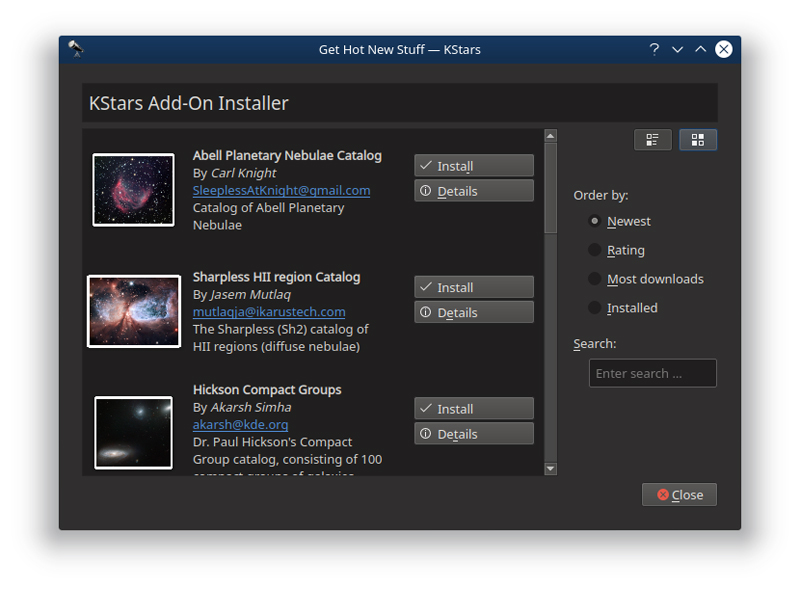
Figure 6. You can select from several extra data catalogs to add even more objects to KStars.
For objects that vary over time, you can download updated data by clicking Data→Updates, and selecting one of comets, asteroids, satellites or recent supernovae.
If your telescope supports computer control, you can use KStars to connect to it and give it instructions on what to do. Clicking Tools→Devices→Telescope Wizard opens a new window that walks you through the steps for adding your telescope's details to KStars.
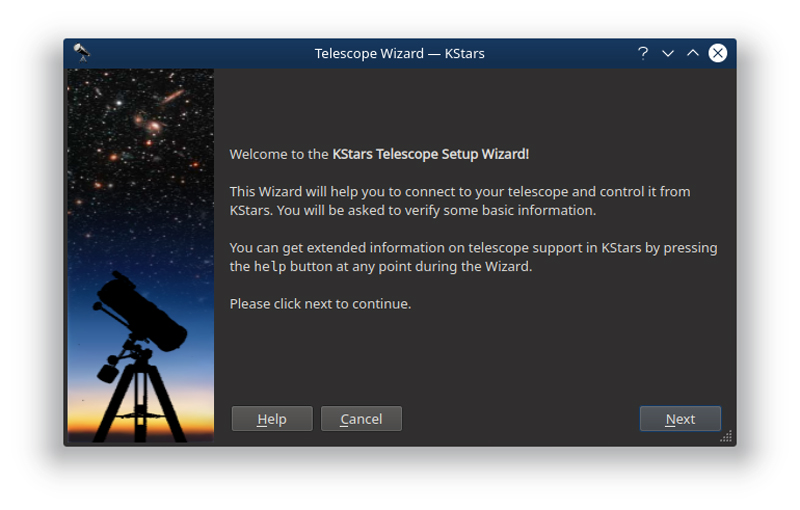
Figure 7. You can go through the telescope wizard to add the details for your particular device and allow KStars to communicate with it.
You can manage these telescopes, along with a huge number of other potential devices, by clicking Tools→Devices→Device Manager, which opens a window of devices that KStars understands grouped by type.
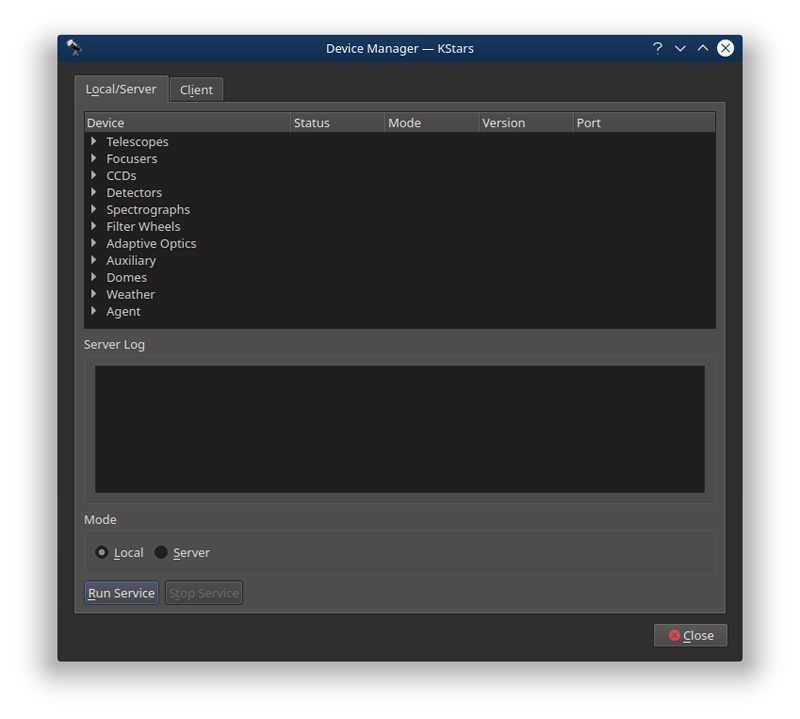
Figure 8. You can control a large number of potential devices with KStars.
Kstars also understands Ekos, the cross-platform observatory control and automation tool from the Open Astronomy Instrumentation group. The group also provides the Instrument Neutral Distributed Interface (INDI) library, which KStars also understands. Clicking Tools→Ekos opens a new window where you can go through the steps to control your entire observatory. You can create a profile of which devices are going to be used, and then start the INDI library and connect to those devices. You then can start collecting data from the sensor devices you defined in the profile.
Although several options are available for doing astronomy from the desktop, if you're already using the KDE environment, you definitely should look at KStars. It has all of the usual features that you will need, and it's tightly integrated to the KDE environment of applications. Visit https://edu.kde.org/kstars for more information.
—Joey Bernard